How Can I Fix Tiny Scratches Or Scuffs On Leather?
Have you ever been faced with the dilemma of minor scuffs or scratches on your beloved leather items? Well, fret no more! In this article, we will share some simple yet effective tips and techniques on how to tackle these unsightly marks that can take away the charm of your leather possessions. So, grab your leather care kit and get ready to restore the beauty and longevity of your leather goods!
Cleaning the Leather
Removing dirt and dust
Before you start any repair or restoration process, it is crucial to thoroughly clean the leather surface. Begin by removing any dirt and dust that may have accumulated on the leather. You can do this by simply wiping the surface with a clean, dry cloth or using a soft-bristle brush to brush off any loose particles. Be gentle during this process, as harsh rubbing can cause further damage to the leather.Using leather cleaner
After removing the dirt and dust, you can use a specialized leather cleaner to further clean the surface. Leather cleaners are designed to gently remove stains, grime, and oils from the leather without causing any harm. Follow the instructions on the leather cleaner product and apply it evenly on the leather surface using a soft cloth or sponge. Work the cleaner into a lather, making sure to cover all areas of the leather. Once done, wipe off the excess cleaner with a clean cloth and allow the leather to dry naturally.Applying a leather conditioner
Once the leather is clean and dry, it is essential to restore its moisture and keep it supple. This is where a leather conditioner comes in. Leather conditioners help nourish the leather, prevent it from drying out, and maintain its natural shine. Apply a small amount of leather conditioner onto a clean cloth and rub it onto the leather surface in gentle, circular motions. Make sure to cover all areas evenly. Allow the conditioner to be absorbed by the leather, and then wipe off any excess with a clean cloth. Regularly conditioning your leather will prevent cracks and keep it looking its best.Using Leather Repair Kits
Identifying the correct repair kit
If you come across minor scratches, scuffs, or even small tears on your leather, using a leather repair kit can save the day. But before you proceed, it is crucial to identify the correct repair kit for your specific leather. Different types of leather require different repair methods and products. Ensure that you read the instructions on the repair kit carefully and choose one that is suitable for your leather type.Preparing the leather surface
To achieve the best results when using a leather repair kit, proper preparation of the leather surface is essential. Start by cleaning the damaged area with a soft cloth and a mild leather cleaner. This will ensure that the repair compound adheres properly to the leather. Once the area is clean, lightly sand the damaged area using fine-grit sandpaper to smooth out any rough edges or scratches. Remove the dust with a clean, dry cloth before proceeding to the next step.Applying the repair compound
Now it’s time to apply the repair compound from your leather repair kit. Use a spatula or a small applicator tool to spread the compound evenly over the damaged area. Make sure to press it firmly into the leather to ensure proper bonding. Smooth out the surface of the compound using the spatula or a putty knife, and remove any excess. Allow the compound to dry completely according to the instructions on the repair kit. Once dry, you can lightly sand the repaired area and apply a leather conditioner to blend it with the rest of the leather. Your leather should look good as new!
Using Home Remedies
Using olive oil or coconut oil
If you prefer a more natural approach to leather repair, you can try using olive oil or coconut oil to rejuvenate and treat minor scratches or scuffs. Simply dab a small amount of olive oil or coconut oil onto a soft cloth or sponge. Gently rub the scratched or scuffed area with the oil in circular motions. This will help moisturize the leather and reduce the appearance of the damage. However, it is important to note that this method may darken the leather slightly, so it’s advisable to test it on a small, inconspicuous area first.Using vinegar and olive oil mixture
Another home remedy that can be effective in repairing minor scratches on leather is a mixture of vinegar and olive oil. Mix equal parts of white vinegar and olive oil in a small bowl and stir well. Dip a clean cloth into the mixture and gently rub it onto the scratched area, following the grain of the leather. The vinegar helps to remove dirt and grime, while the olive oil moisturizes and conditions the leather. Once done, wipe off any excess mixture with a clean cloth and allow the leather to dry naturally.Using toothpaste
Yes, you read that right – toothpaste! Toothpaste can be a quick fix for minor scuffs on leather. Choose a non-gel toothpaste and apply a small amount to a clean, soft cloth. Gently rub the toothpaste onto the scuffed area in circular motions. The mild abrasive properties of toothpaste can help to remove the scuff and restore the leather’s appearance. Afterward, wipe off the toothpaste with a damp cloth and apply a leather conditioner to keep the leather moisturized.Polishing and Buffing
Using a leather polish
To give your leather a polished and finished look, you can use a leather polish. Leather polish is typically available in various colors to match different leather shades. Before applying the polish, clean the leather surface using a mild leather cleaner and allow it to dry completely. Then, using a clean, soft cloth, apply a small amount of leather polish to the cloth and rub it onto the leather in gentle, circular motions. Make sure to cover all areas evenly. Allow the polish to dry according to the product instructions before buffing.Buffing with a soft cloth
After applying the leather polish, it’s time to buff the leather to achieve a shiny, refined finish. Take a clean, soft cloth and gently rub the surface of the leather in circular motions. The buffing action helps to distribute the polish evenly and enhances the shine of the leather. Be careful not to apply too much pressure, as it may cause damage to the leather. Continue buffing until the desired shine is achieved. Regular polishing and buffing of your leather items will not only keep them looking good but also help protect them from future damage.
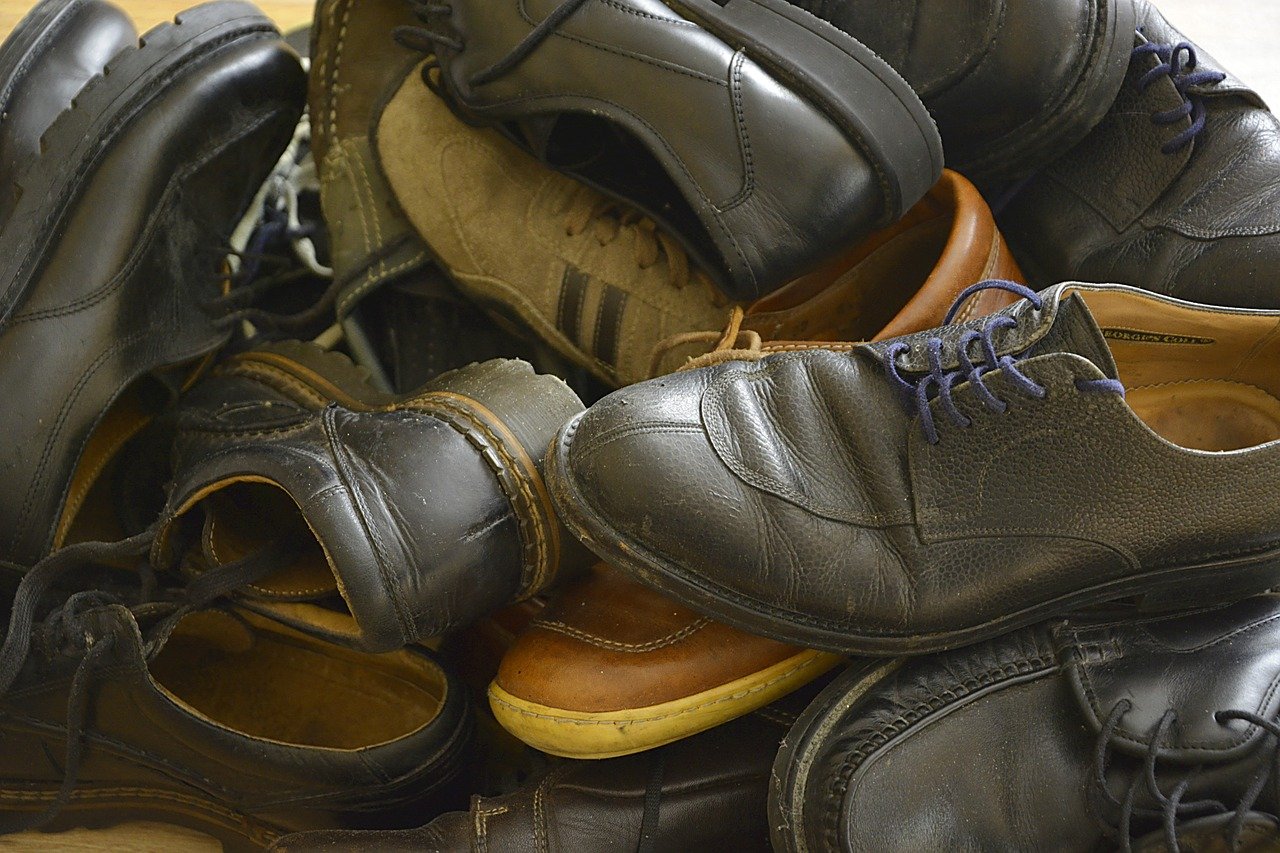
Using Shoe Polish
Matching the color of the shoe polish
When using shoe polish to repair your leather items, it is crucial to choose the right color that matches the leather. Select a shoe polish that closely resembles the color of your leather item. Shoe polishes are available in a range of shades to match different leather tones. If you’re unsure about the color match, it’s best to seek advice from a professional or test the shoe polish on a small, inconspicuous area before proceeding.Applying the polish
Before applying the shoe polish, ensure that the leather surface is clean and dry. Use a soft cloth to apply a small amount of shoe polish to the cloth. Rub the polish onto the leather in gentle, circular motions, making sure to cover all areas evenly. Continue applying the polish until the entire surface is coated. Allow the polish to dry according to the manufacturer’s instructions.Buffing and polishing
Once the shoe polish has dried, take a soft cloth or a shoe brush and begin buffing the leather surface. Apply gentle pressure in circular motions to distribute the polish and bring out the shine. Buffing helps to remove any excess polish and gives the leather a glossy finish. Take your time and buff the leather until it reaches the desired shine. Remember to regularly clean and polish your leather items to maintain their appearance and prolong their lifespan.Using Leather Dye
Selecting the right leather dye color
If you’re dealing with leather that has faded or discolored over time, using a leather dye can help restore its original color. It’s essential to choose the right leather dye color that matches your leather item. Leather dyes come in a variety of shades, so either refer to the manufacturer’s color chart or test the dye on a small, inconspicuous area before proceeding with the entire item. Ensure that the dye is specifically formulated for the type of leather you are working with.Preparing the leather surface
Before applying the leather dye, clean the leather surface thoroughly using a mild leather cleaner. Make sure the leather is completely dry before proceeding. Next, use a fine-grit sandpaper to lightly sand the leather surface. This helps to remove any roughness or imperfections and ensures that the dye adheres properly to the leather. Wipe off the dust with a clean cloth.Applying the dye with a sponge
Once the leather surface is prepared, you can apply the leather dye using a sponge or a dauber. Start by dampening the sponge with water and wringing out any excess moisture. Dip the sponge into the dye and gently apply it to the leather surface, working in small, even strokes. Make sure to cover all areas evenly and avoid applying too much dye in one spot. Allow the dye to dry completely according to the manufacturer’s instructions. Once the leather is dry, you can apply a leather conditioner to protect the dye and keep the leather supple.
Hiring a Professional
Finding a reputable leather repair specialist
If you’re not confident in your own ability to repair your leather items, or if the damage is extensive, it may be best to seek the help of a professional leather repair specialist. Finding a reputable and experienced specialist is crucial to ensure that your leather item is repaired and restored to the highest standards. Seek recommendations from friends or family, or do thorough research online to find professionals with positive reviews and a proven track record.Getting quotes and estimates
Before committing to a leather repair specialist, it’s advisable to get quotes and estimates from different professionals. This allows you to compare prices and assess the services offered by each specialist. Take note of any additional charges or fees that may apply and ask about the turnaround time for the repair. Discuss the specifics of your leather item and the extent of the damage so that the specialist can provide an accurate estimate.Following the professional’s advice
Once you have chosen a reputable leather repair specialist, it is essential to follow their advice and recommendations. They have the expertise and knowledge to assess the damage, recommend the best course of action, and provide guidance on how to care for your leather item after the repair. Listen to their instructions regarding cleaning, conditioning, and any additional maintenance that may be required. By following their advice, you can ensure the longevity and beauty of your repaired leather item.Preventing Future Damage
Using a leather protector spray
To prevent future damage to your leather items, it’s important to use a leather protector spray. Leather protector sprays create a barrier against spills, stains, and damage caused by UV rays. Before applying the protector spray, ensure that the leather surface is clean and dry. Spray the protector evenly onto the leather, making sure to cover all areas. Allow the spray to dry completely before using or storing the leather item. Regularly reapply the protector spray, especially if the leather item is exposed to harsh conditions or frequent use.Avoiding harsh chemicals and excessive heat
To maintain the quality and appearance of your leather items, it’s important to avoid exposing them to harsh chemicals and excessive heat. Harsh chemicals, such as bleach or ammonia-based cleaners, can damage the leather and cause it to dry out or crack. Additionally, excessive heat from sources like direct sunlight or heaters can cause the leather to fade or become brittle. Avoid placing leather items in direct sunlight for prolonged periods and keep them away from heat sources.Regularly cleaning and conditioning the leather
One of the best ways to prevent future damage to your leather items is to establish a regular cleaning and conditioning routine. Cleaning the leather surface regularly helps remove dirt, oils, and grime that can accumulate and cause damage over time. Conditioning the leather keeps it moisturized and prevents it from drying out or cracking. Aim to clean and condition your leather items every few months, or as recommended by the manufacturer or leather care specialist. By taking proactive care of your leather items, you can enjoy them for years to come.Repairing Scratches on Smooth Leather
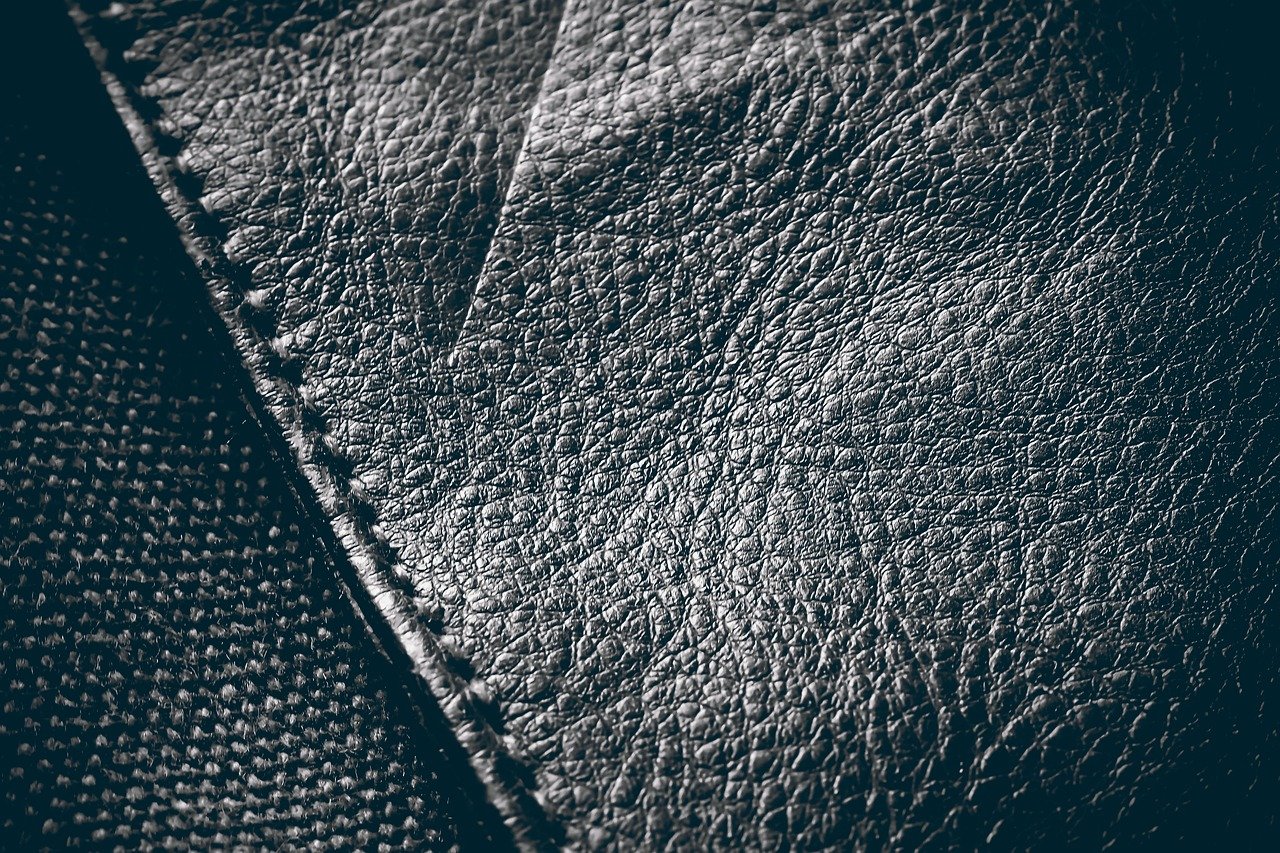
Gently sanding the scratch
For minor scratches on smooth leather, gentle sanding can help minimize their appearance. Start by cleaning the area around the scratch with a soft cloth and a mild leather cleaner. Then, using a fine-grit sandpaper, gently sand the scratch in a back-and-forth motion. Be careful not to apply too much pressure, as it can further damage the leather. Sand until the scratch becomes less noticeable, and then wipe off any dust with a clean cloth.Applying leather filler
Once the scratch is sanded, you can apply a leather filler to further conceal the damage. Leather fillers are specially formulated to fill in and smooth out minor scratches, cracks, or indentations. Use a small spatula or a putty knife to apply the filler onto the scratch. Spread it evenly, making sure to fill the entire area. Allow the filler to dry according to the product instructions.Buffing and polishing the area
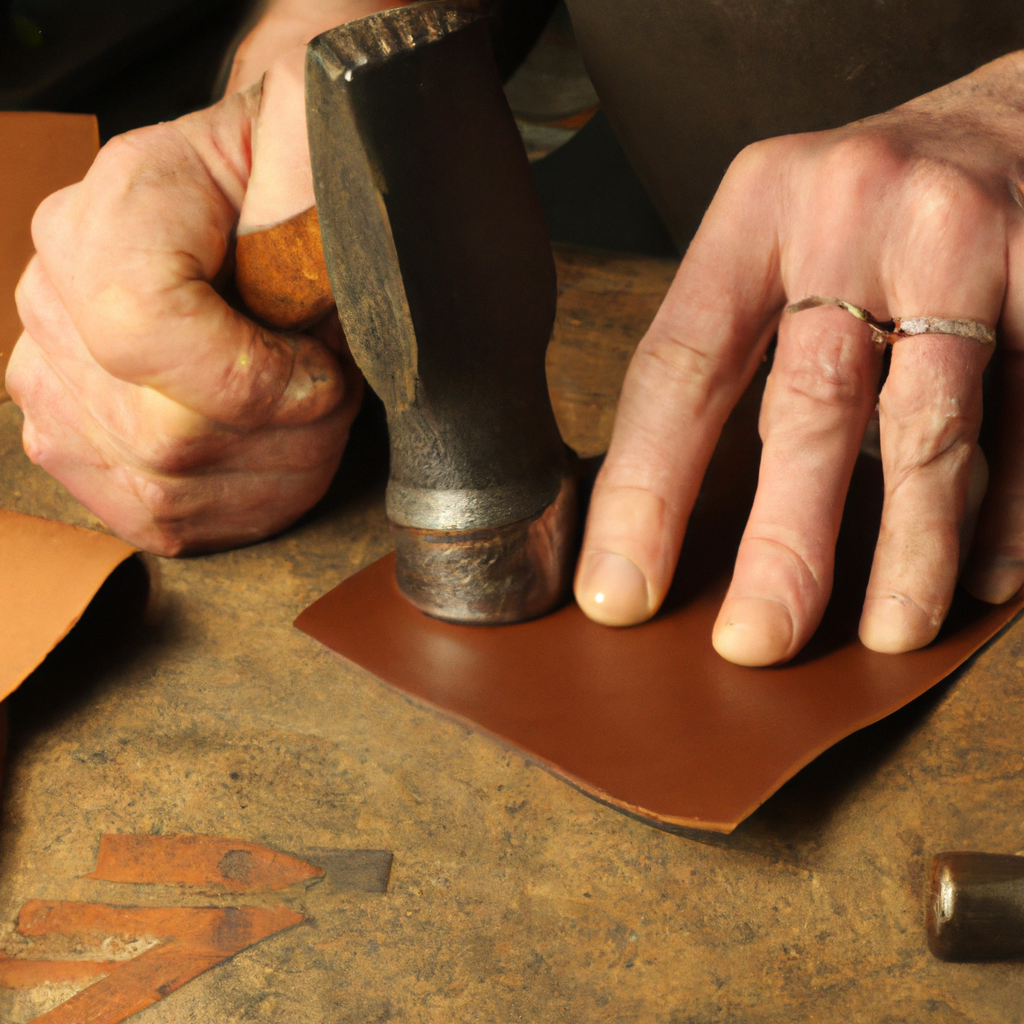
After the filler has dried, lightly sand the repaired area using fine-grit sandpaper to blend it with the rest of the leather. Then, take a soft cloth and buff the area in circular motions. The buffing process helps to further smooth out the surface and restore the shine of the leather. Keep buffing until the repaired area matches the surrounding leather. Finish it off with a leather conditioner to maintain the repaired section and the overall quality of the leather.Can Polishing Leather Edges Help Repair Scratches and Scuffs?
Polishing leather edges by hand can indeed help repair scratches and scuffs. By carefully smoothing out the areas with a gentle rubbing motion, you can diminish the visibility of imperfections. This technique is a great way to restore the appearance of leather goods and extend their lifespan.