What Simple Leather Projects Are Available For Complete Newbies?
If you’ve recently developed an interest in leathercraft but don’t know where to start, look no further! This article will guide you through some simple leather projects that are perfect for total beginners. Whether you’re looking to create a personalized keychain, a stylish wallet, or even a custom bookmark, these projects will help you gain confidence and proficiency in working with leather. So grab your tools and get ready to embark on a fun and rewarding journey into the world of leathercraft!
Leather Types and Tools for Beginners
Leatherworking is a craft that has been around for centuries, and it offers a wide range of possibilities for those who are interested in creating their own leather goods. Whether you’re a complete beginner or have some experience with other crafts, leatherworking can be a rewarding and enjoyable hobby. To get started, it’s important to understand the different types of leather and the basic tools you’ll need.Different Types of Leather for Beginners
When it comes to working with leather, there are several different types to choose from. Each type has its own unique characteristics and is suitable for different projects. Here are some of the most common types of leather beginners can start with:- Full-grain leather: This is the highest quality leather available and is the preferred choice for most leatherworkers. Full-grain leather retains the outermost layer of the hide, which gives it strength, durability, and natural beauty.
- Top-grain leather: This type of leather is slightly more affordable than full-grain leather and is also commonly used by leatherworkers. Top-grain leather is thinner and more flexible, making it easier to work with.
- Split leather: Split leather is made from the lower layers of the hide and is often used for suede products. While it may not be as durable as full-grain or top-grain leather, split leather is still a good option for certain projects.
- Bonded leather: Bonded leather is made by bonding leather scraps together with adhesive. While technically made of leather, it is not as high quality as other types and may not have the same durability.
Basic Tools for Leatherworking
To start your leatherworking journey, you’ll need a few basic tools. Don’t worry, you don’t need to invest in expensive equipment right away. Here are some essential tools for beginners:- Cutting tools: A sharp utility knife or rotary cutter is essential for cutting leather. Make sure to use a cutting mat to protect your work surface.
- Punches: Leather punches come in various shapes and sizes and are used to create holes for stitching or adding hardware. A basic set of punches will serve you well for most projects.
- Needles and thread: To stitch leather, you’ll need a sturdy needle and waxed thread. Be sure to choose a size of needle and thread that is appropriate for the thickness of your leather.
- Mallet: A leather mallet or a rubber mallet is useful for hammering punches or setting hardware in place.
- Edge beveler: An edge beveler helps to smooth the edges of your leather and create a finished look.
- Ruler and measuring tools: Accurate measuring is crucial in leatherworking. Invest in a good ruler, compass, and/or dividers to ensure precise measurements.
Essential Safety Precautions
Before you begin your leatherworking journey, it’s important to prioritize safety. Working with sharp tools and potentially harmful chemicals requires caution. Here are some essential safety precautions to keep in mind:- Protective gear: Wear gloves to protect your hands from cuts and abrasions. Safety glasses are also recommended to protect your eyes from flying debris.
- Ventilation: Some leatherworking processes, such as dyeing and applying finishes, may release toxic fumes. Make sure you work in a well-ventilated area or use a respirator if necessary.
- Proper tool handling: Always handle sharp tools with care and keep them out of reach of children. Follow instructions for each tool and be mindful of proper technique to avoid accidents.
- Safe storage: Store your leatherworking tools and materials in a safe place, out of the reach of children and pets. Keep sharp tools in a protective case or leather tool roll.
Getting Started with Leatherworking
Now that you have a basic understanding of leather types and the necessary tools, it’s time to dive into your first leather project. Starting with a beginner-friendly project will help you practice the essential skills and gain confidence in your abilities. Here’s how to get started:Choosing a Beginner-Friendly Leather Project
As a beginner, it’s important to choose a project that is suitable for your skill level. Starting small with simple projects allows you to focus on mastering the foundational techniques before moving on to more complex designs. Here are a few beginner-friendly leather projects to consider:- Leather keychain: A leather keychain is a great first project as it requires minimal materials and can be completed relatively quickly. You can experiment with different stitching techniques to add a personalized touch.
- Simple leather bracelet: A leather bracelet is another excellent beginner project. It allows you to practice measuring, cutting, and stitching while creating a stylish and wearable accessory.
- Card holder: A card holder is a practical project that can be used to store business cards or credit cards. With a few basic techniques, you can create a functional and personalized accessory.
- Coin purse: A coin purse is a small and simple project that offers plenty of room for experimentation. You can play with different closure methods and decorative elements while honing your cutting and stitching skills.
- Bookmark: If you’re a book lover, a leather bookmark is a perfect project for you. It’s a great way to practice cutting and finishing edges while creating a useful item.
Gathering the Necessary Materials
Once you’ve decided on a project, it’s time to gather the materials you’ll need. Here’s a basic list of materials for your beginner leatherworking projects:- Leather: Depending on your project, you’ll need a small piece of leather in the appropriate thickness and type. Full-grain or top-grain leather is recommended for its durability and flexibility.
- Thread: Choose a strong, waxed thread in a color that complements your leather. Opt for a thread specifically designed for leatherworking to ensure durability.
- Needles: Leather needles are sturdy and sharp, making them perfect for stitching through multiple layers of leather. Make sure you have the appropriate needle size for your thread and leather thickness.
- Hardware: Depending on your project, you may need hardware such as keyring clips, rivets, snaps, or buttons. Consider the function and aesthetics of your project when choosing the appropriate hardware.
- Cutting tools: A sharp utility knife or rotary cutter, along with a cutting mat, will be essential for cutting your leather to size.
- Measuring tools: A ruler, compass, and/or dividers are necessary for accurate measurements and marking.
- Punches: Leather punches will be needed to create holes for stitching or hardware. Start with a basic set that includes different sizes.
- Adhesive: Leather glue or contact cement is useful for securing layers of leather before stitching.
- Finishing tools: A mallet, edge beveler, and burnishing tool will help you achieve clean edges and a professional finish.
Preparing the Leather for Craftsmanship
Before you begin crafting, it’s important to properly prepare your leather. Here are the steps to follow:- Clean the leather: If your leather has any dirt, dust, or stains, gently clean it with a damp cloth or a specialized leather cleaner. Allow it to dry completely before proceeding.
- Condition the leather: Conditioning your leather will keep it soft and supple. Apply a leather conditioner or oil using a clean cloth or sponge and let it absorb. Wipe off any excess conditioner.
- Cut the leather: Measure and mark the desired size and shape of your project on the leather. Use a sharp knife or rotary cutter to cut along the lines. Take your time and make precise cuts for the best results.
- Prepare the edges: To create smooth and finished edges, use an edge beveler to shave off any unevenness. You can also lightly sand the edges with fine sandpaper to remove roughness.
Basic Leather Projects for Beginners
Once you have acquired the necessary materials and understand the basics of leatherworking, it’s time to dive into some simple yet rewarding projects. These beginner-level projects will allow you to practice your skills and create functional items to use or give as gifts. Here are a few ideas to inspire your creativity:Leather Keychain
A leather keychain is a perfect introduction to leatherworking. It requires minimal materials and can be completed within a short time frame. You can experiment with different stitching techniques, such as saddle stitch or whipstitch, to add a touch of personalization. Choose a shape, whether it’s a basic rectangle or a more intricate design, and cut it out of your leather. Add a keyring or lobster clasp, and you’ll have a stylish and practical accessory for your keys.Simple Leather Bracelet
A leather bracelet is not only fashionable but also an excellent way to practice measuring, cutting, and stitching techniques. Using your chosen leather type and thickness, measure your wrist size and add a bit of extra length for the closure. Cut the leather strip according to your measurements and round off the corners if desired. Add a snap button closure or a braided leather closure to finish the bracelet. You can also experiment with decorative elements, such as stamping or dyeing, for added flair.Card Holder
A card holder is a practical project that offers versatility and customization options. Measure and cut two rectangular pieces of leather, ensuring they are large enough to hold your desired number of cards. Use a saddle stitch or running stitch to sew the two pieces together, leaving an opening at the top for easy access to your cards. You can customize your card holder by adding a decorative element, such as a monogram or an embossed design.Coin Purse
A coin purse is a small and simple project that allows you to practice cutting, stitching, and finishing techniques. Cut out two identical shapes of leather, such as circles or rectangles, and sew them together along the edges. Leave a small opening for turning the purse right side out. Add a metal snap button or a zipper closure to secure the coins. For a personal touch, you can dye or emboss the leather and add a decorative element, such as a tassel or a keyring.Bookmark
For book lovers, a leather bookmark is a must-have accessory. Cut a strip of leather in your desired length and width, ensuring it’s long enough to stick out of the book while closed. You can keep it simple or experiment with decorative techniques, such as stamping or embossing, to add a unique touch. To prevent the bookmark from sliding out of the book, you can add a leather loop or a decorative bead at one end. These basic leather projects serve as an excellent foundation for your leatherworking journey. They allow you to practice essential techniques while creating functional and stylish items. Don’t be afraid to experiment, and remember that every project you complete will enhance your skills and confidence.Intermediate Leather Projects for Advancing Skills
Once you’ve mastered the basics of leatherworking and feel confident in your skills, it’s time to challenge yourself with intermediate-level projects. These projects will require more time and attention to detail but will also provide an opportunity to expand your craftsmanship abilities. Here are some ideas to push your leatherworking skills to the next level:Leather Belt
A leather belt is not only a functional accessory but also a statement piece. To create a leather belt, you’ll need a strip of full-grain or top-grain leather in the desired width and length. Measure and cut the leather according to your waist size, allowing extra length for the buckle and holes. Strengthen the belt by adding a layer of reinforcing leather on the backside. Use an edge beveler to smooth the edges, and create evenly spaced holes for the buckle prong. Finish off with a buckle of your choice, and you’ll have a personalized, durable belt that will withstand the test of time.Leather Wallet
A leather wallet is a classic project that allows you to practice more advanced stitching techniques and precision cutting. Start by measuring and cutting the main body of the wallet, as well as any additional compartments such as card slots or a coin pouch. Pay attention to the placement and sizing of each element to ensure proper functionality. Use a saddle stitch or backstitch to sew the pieces together, and finish off with edge beveling and burnishing for a professional look. Personalize your wallet by adding decorative elements, such as embossed initials or a hand-stamped pattern.Leather Notebook Cover
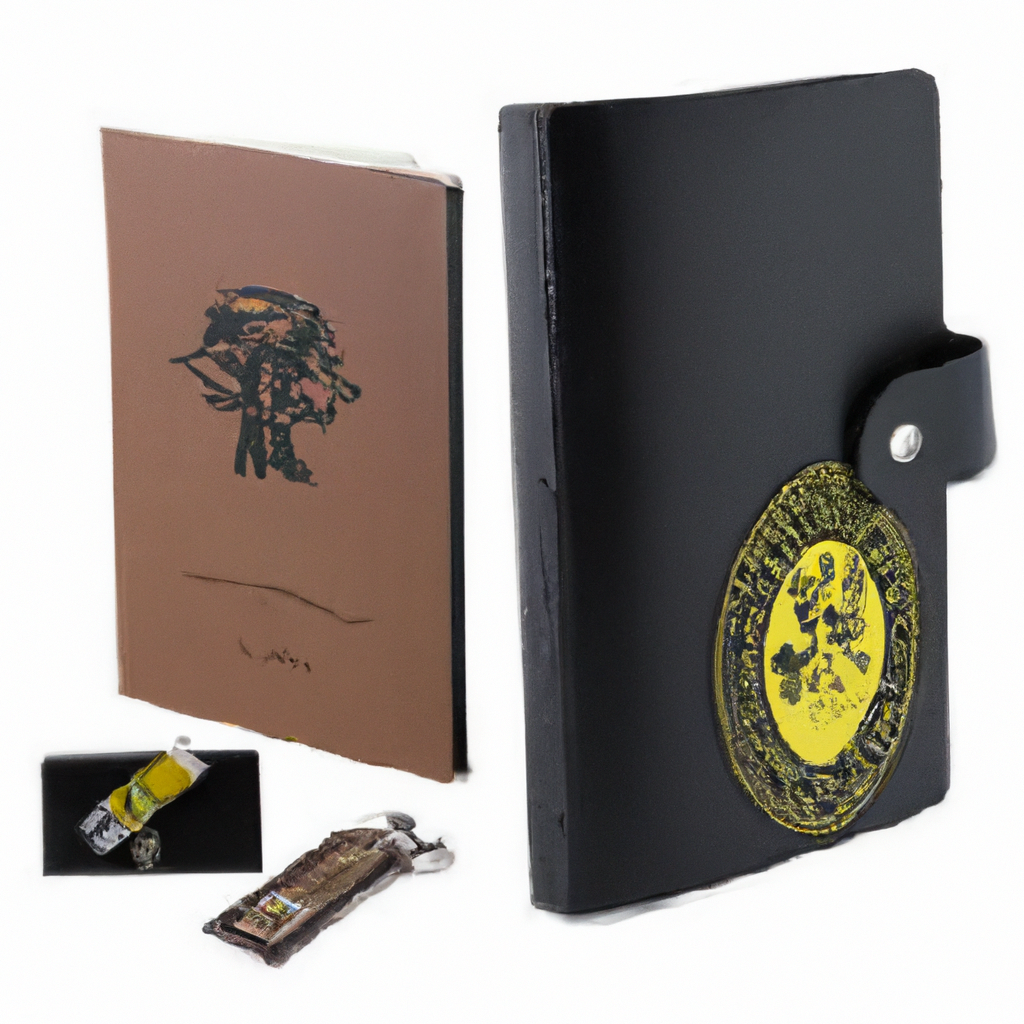
If you love writing or sketching, a leather notebook cover is a perfect project for you. Measure the dimensions of your notebook and add a bit of extra width and height for a snug fit. Cut the leather accordingly, ensuring precise straight lines. Sew the edges together using a saddle stitch or whipstitch, leaving an opening for inserting the notebook. Once the leather cover is assembled, you can experiment with decorative techniques such as stamping, embossing, or carving to add a touch of uniqueness.Leather Sunglasses Case
Protect your sunglasses in style with a handmade leather case. Measure and cut the leather to fit your sunglasses, leaving enough space for easy insertion and removal. Sew the edges together using a saddle stitch or whipstitch. To add extra protection, consider adding a layer of soft fabric or a microfiber lining on the inside. Finish off with decorative elements, such as stamping or dyeing, and a secure closure, such as a snap button or a leather strap.Leather Passport Holder
For the avid traveler, a leather passport holder is both practical and elegant. Measure and cut the leather to the dimensions of a passport, leaving extra space for additional compartments or card slots if desired. Consider including a pocket for boarding passes or travel documents. Stitch the pieces together using a saddle stitch or backstitch, and pay attention to the alignment and functionality of each element. Finish off with edge beveling and burnishing for a professional touch. Personalize your passport holder with embossed initials or a unique design. These intermediate leather projects will help you advance your skills and challenge yourself to create more complex items. As you work on these projects, pay attention to the finer details and continue to refine your techniques. Remember, practice makes perfect, and each project completed is an opportunity to learn and grow as a leatherworker.Exploring Leather Stitching Techniques
Stitching is a fundamental aspect of leatherworking, and there are various stitching techniques you can use to join pieces of leather together. Each technique has its own unique look and benefits, so it’s worth exploring different stitching methods to add variety to your projects. Here are five stitching techniques to experiment with:Saddle Stitch
The saddle stitch is a classic and reliable stitching technique that creates a strong and decorative seam. It involves hand-stitching two pieces of leather together using two needles and a single length of thread. The needles crisscross through the same holes in an alternating pattern, resulting in a secure and visually pleasing stitch. The saddle stitch is known for its durability and is commonly used in leatherworking.Whipstitch
The whipstitch is a simple yet effective stitching technique that is easy to learn and perfect for beginners. It involves stitching through the edges of the leather pieces in an overhand motion, creating a visible seam. While not as secure as the saddle stitch, the whipstitch adds a decorative touch to your leather projects and can be done with a single needle and thread.Running Stitch
The running stitch is one of the most basic and versatile stitching techniques. It involves passing the needle and thread through the leather in a straight line, creating a series of small stitches. This stitch is commonly used for temporary stitches or for adding decorative elements to leather projects. While not as strong as saddle stitching, the running stitch is a great option for lightweight projects or when speed is a priority.Backstitch
The backstitch is a strong and secure stitching technique that is commonly used for leatherworking. It involves inserting the needle through the preceding stitch from the backside, creating a continuous and sturdy seam. The backstitch is particularly useful when sewing thicker or more rigid leather, as it ensures a tight and secure connection between the pieces.Blanket Stitch
The blanket stitch is a decorative stitching technique that creates a looped edge. It involves passing the needle through the edge of the leather, then looping the thread around and through the previous stitch. The blanket stitch adds a decorative touch to the edge of your leather projects and can be used to secure two pieces of leather together in a decorative manner. Experimenting with different stitching techniques allows you to add variety and visual interest to your leather projects. Each technique has its own unique characteristics and uses, so don’t be afraid to try them all and find your favorite stitches.Adding Decorative Elements to Leather Projects
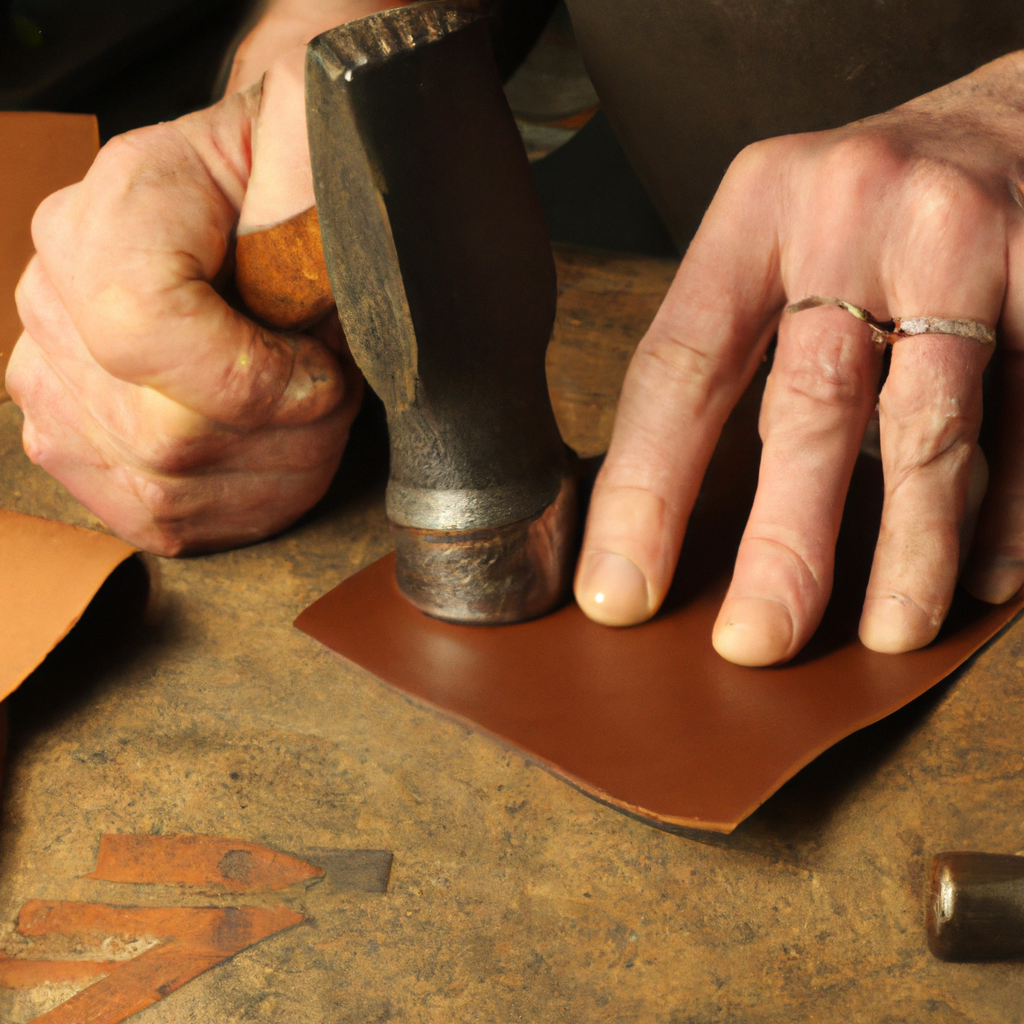
While functional leather goods are essential in leatherworking, adding decorative elements can take your projects to the next level. There are various techniques you can use to enhance the appearance of your leather creations and create truly unique pieces. Here are a few ways to add decorative elements to your leather projects:Stamping Techniques
Stamping is a versatile and accessible decorative technique that adds texture and pattern to your leather projects. Leather stamps come in a wide variety of designs, from floral motifs to geometric patterns, allowing you to create intricate imprints on your leather. To use a stamp, moisten the leather slightly and position the stamp firmly on the surface. Apply pressure evenly and tap the stamp with a mallet to create a clear impression. Experiment with different stamps, stamping techniques, and combinations to personalize your projects.Dyeing and Coloring Leather
Dyeing and coloring leather is an excellent way to add vibrancy and depth to your projects. Leather dyes come in a range of colors, allowing you to achieve the desired shade and tone. Before dyeing, make sure to clean and prepare the leather surface. Apply the dye using a sponge or a brush, and let it dry completely. You can also experiment with layering different colors or adding depth with shading techniques. Finish off with a leather finish or sealant to protect the dyed surface and achieve a professional look.Embossing Leather
Embossing is a technique that creates raised or indented designs on the surface of the leather. You can use specialized embossing tools or even household items like coins or buttons to achieve different textures and patterns. To emboss leather, moisten the leather surface lightly, position the embossing tool or object firmly, and apply pressure evenly. Tap lightly with a mallet or a hammer to create the desired impression. Embossing adds a tactile dimension and visual interest to your leather projects, making them stand out.Burnishing Edges
Burnishing is a technique used to smooth and polish the edges of your leather, creating a clean and finished look. It involves using friction and pressure to compress the fibers along the edge, resulting in a glossy and rounded finish. There are various burnishing tools available, such as a burnishing wheel or a bone folder, which can be used to achieve different effects. Apply water or burnishing solution to lubricate the edge and rub the tool back and forth until the desired result is achieved. Burnishing not only adds a professional touch to your projects but also helps to seal the edges and prevent fraying.Adding Hardware and Fasteners
Hardware and fasteners can elevate the functionality and aesthetics of your leather projects. From buckles and snaps to rivets and eyelets, there are numerous options to choose from. Consider the purpose and design of your project when selecting the appropriate hardware. Use a leather punch or a hole punch to create holes for fasteners, and follow the instructions carefully to ensure a secure and long-lasting attachment. Adding hardware not only enhances the usability of your leather creations but also adds a stylish and professional finishing touch. By incorporating these decorative techniques into your leather projects, you can add uniqueness and personalization to each piece. Creativity knows no bounds in leatherworking, so feel free to experiment, blend techniques, and develop your own signature style.Tips for Beginners in Leatherworking
As a beginner in leatherworking, it’s important to approach the craft with patience and an open mind. While it can be challenging at times, leatherworking also offers a rewarding and enjoyable experience. Here are some tips to help you navigate your leatherworking journey:Start with Small and Simple Projects
When starting out, it’s best to begin with small and simple projects. These projects allow you to practice the essential techniques and build your skills before taking on more complex designs. Starting small also reduces the pressure and allows you to experiment without fear of wasting materials or time. As you gain confidence and experience, you can gradually move on to more challenging projects.Practice Proper Leather Care
Proper leather care is essential to maintaining the longevity and beauty of your leather creations. Make sure to regularly clean your leather using a damp cloth or specialized leather cleaner. Conditioning leather periodically helps to keep it soft and supple. Avoid exposing your leather projects to excessive moisture, heat, or direct sunlight, as these can damage the leather. With proper care, your leather goods can last for many years to come.Take Your Time and Be Patient
Leatherworking is a craft that requires time, precision, and attention to detail. Take your time with each step of the process, from measuring and cutting to stitching and finishing. Rushing through the steps can lead to mistakes and diminish the quality of your work. Embrace the learning process, and don’t be afraid to redo certain steps if needed. Patience and perseverance will reward you with beautifully crafted leather goods.Learn from Leatherworking Communities
Being part of a leatherworking community can be invaluable for beginners. Join online forums, social media groups, or local workshops to connect with fellow leatherworkers who can offer guidance, support, and inspiration. You can learn from their experiences, ask questions, and share your own progress. Remember, leatherworking is a community that celebrates craftsmanship and creativity.Experiment and Have Fun
One of the joys of leatherworking is the opportunity to experiment and unleash your creativity. Don’t be afraid to try new techniques, combine different styles, or customize patterns to suit your preferences. Each project is an opportunity to learn, grow, and develop your own unique style. Stay curious, have fun, and let your creativity shine through your leather creations. These tips will help you navigate the world of leatherworking with confidence and enjoyment. Approach each project with passion and an open mind, and you’ll soon find yourself creating beautiful and functional leather goods.Common Mistakes to Avoid
As a beginner in leatherworking, it’s natural to make mistakes along the way. However, learning from these mistakes can help you improve your skills and avoid costly errors. Here are some common mistakes to be aware of and ways to avoid them:Using the Wrong Type of Leather
Using the wrong type of leather for your project can result in disappointing results. Make sure to choose a leather type that is suitable for your project’s purpose and design. Consider factors such as durability, flexibility, and thickness when selecting the appropriate leather. Full-grain or top-grain leather are generally recommended for their quality and versatility.Neglecting to Measure Accurately
Accurate measurements are crucial in leatherworking. Neglecting to measure properly can lead to ill-fitting pieces, crooked stitching, or uneven edges. Take your time to measure and mark your leather accurately before cutting. Double-check your measurements to ensure precision and avoid unnecessary mistakes.Skipping Proper Leather Conditioning
Leather is a natural material that requires proper care and conditioning. Neglecting to condition your leather can result in dryness, cracking, or stiffness. Regularly apply a leather conditioner or oil to keep the leather soft and supple. Conditioning also helps to protect the leather from moisture and prolong its lifespan.Ignoring Safety Precautions
Working with leather and leatherworking tools requires proper safety precautions. Neglecting safety measures can lead to accidents or injuries. Always wear gloves and safety glasses to protect your hands and eyes. Use cutting tools, punches, and hammers with caution, and keep them out of reach of children and pets. Work in a well-ventilated area when using adhesives, dyes, or finishes.Rushing the Finishing Touches
Finishing touches can make or break the overall look of your leather projects. Rushing through the finishing steps can result in sloppy edges, uneven stitching, or an unfinished appearance. Take the time to carefully burnish the edges, trim loose threads, and inspect your work for any imperfections. A well-finished project showcases your attention to detail and craftsmanship. By being aware of these common mistakes and taking the necessary precautions, you can avoid unnecessary frustrations and achieve better results in your leatherworking projects.Exploring Advanced Leatherworking Techniques
Once you’ve mastered the basics and want to push your leatherworking skills further, it’s time to explore advanced techniques. These techniques allow you to create intricate designs and elevate the artistry of your leather projects. Here are a few advanced techniques to consider:Leather Carving
Carving leather involves cutting and shaping the surface of the leather to create intricate patterns and designs. There are various tools you can use for leather carving, including swivel knives, bevelers, mallets, and stamping tools. With practice and patience, you can create stunning decorative elements on your leather projects, such as floral motifs, animals, or personalized designs.Tooling and Embossing
Tooling and embossing are techniques that create raised or indented designs on the surface of the leather. Tooling involves using specialized tools to shape and imprint the leather, while embossing is achieved by pressing the leather between heated metal or silicone plates. Both techniques allow you to add texture and depth to your projects, enhancing their visual appeal and creating a tactile experience.Dyeing and Aging Techniques
Dyeing and aging techniques go beyond basic coloring to create unique and artistic finishes on your leather projects. Besides using liquid dyes, you can experiment with techniques such as dip-dyeing, ombre effects, or color blending. Aging techniques, such as antiquing or distressing, create a worn or weathered appearance, adding character and depth to your leather goods.Leather Lacing and Braiding
Leather lacing and braiding techniques allow you to create intricate patterns and textures using strips of leather. Whether you’re making laced edges on a bag or a braided handle for a knife sheath, these techniques offer endless possibilities for creativity. Practice various braiding patterns and experiment with different colors and widths of leather to achieve stunning effects.Molding and Shaping Leather
Molding and shaping techniques involve wetting the leather and shaping it to create three-dimensional forms or contours. This is often used in the creation of items such as masks, armor, or leather accessories with complex shapes. By wetting the leather and using molds or shaping tools, you can achieve unique and sculptural designs that combine functionality and artistry. These advanced leatherworking techniques require practice, patience, and a willingness to experiment. Take the time to familiarize yourself with each technique, and gradually incorporate them into your projects. With dedication and creativity, you can enhance your leatherworking skills and create truly exceptional pieces.Can Total Beginners Use Leatherworking Patterns and Templates for Simple Projects?
Yes, total beginners can absolutely use leatherworking patterns and templates for simple projects. These tools are designed to make the process easier for those just starting out. By following the guidelines provided in the leatherworking patterns and templates, beginners can create their own beautiful leather crafts without feeling overwhelmed.