What shortcuts can increase the productivity of leatherworking?
If you’ve ever been interested in the art of leatherworking, you may have found yourself wondering how you can make the process more efficient. Whether you’re a seasoned leatherworker or just starting out, finding ways to streamline your craft can save you time, energy, and resources. In this article, we’ll explore some exciting shortcuts that can make leatherworking more efficient, helping you maximize your productivity and achieve stunning results. So grab your tools and get ready to discover a world of possibilities in the realm of leatherworking shortcuts.Choosing the Right Leather
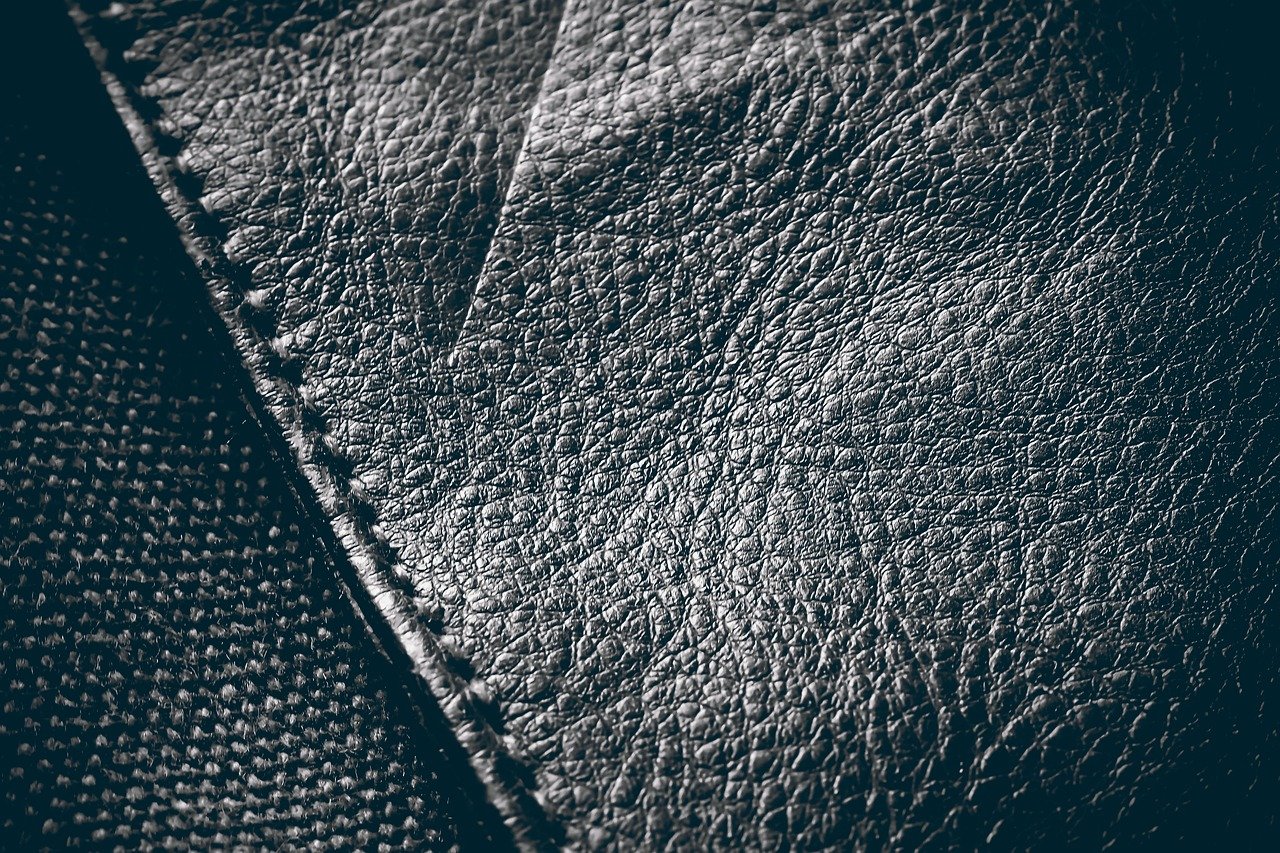
When it comes to leatherworking, one of the most crucial factors in achieving high-quality results is choosing the right type of leather. Understanding leather grades is essential in order to select the appropriate material for your project. Leather grades refer to the quality and consistency of the leather, which can vary significantly. There are generally four main leather grades: full-grain, top-grain, genuine leather, and bonded leather. Full-grain leather is considered the highest quality and is made from the top layer of the hide, which retains the natural grain pattern and is incredibly durable. Top-grain leather is also of good quality, but it is sanded and buffed to remove any imperfections. Genuine leather is made from lower layers of the hide and is more affordable but less durable. Finally, bonded leather is made from leftover scraps of leather, which are fused together with polyurethane. Identifying the best type of leather for your project is crucial, as it will determine the appearance, longevity, and overall quality of your finished product. Consider factors such as the intended use of the item, the desired aesthetic, and your budget when making your decision.Selecting the Appropriate Leather Thickness
Another important aspect to consider when choosing leather for your project is the appropriate thickness. Leather thickness is measured in ounces or millimeters and can range from very thin to extremely thick. The thickness of the leather will determine the level of durability and sturdiness of your finished product. For projects that require flexibility or a more delicate finish, thinner leather such as 2 to 4 ounces may be suitable. This is commonly used in making wallets, bags, or garments. For projects that require more structure and durability, thicker leather such as 6 to 9 ounces may be more appropriate. This thickness is often used in making belts, sheaths, or holsters. It is important to consider the intended use of the item and select the appropriate thickness accordingly.Preparation and Setup
Before diving into your leatherworking project, it is crucial to properly prepare your workspace and gather the necessary tools and materials. Organizing your workspace will not only ensure a more efficient workflow but also help prevent any unnecessary accidents or mistakes. Start by clearing your work area of any clutter or distractions. Make sure you have enough space to move around comfortably and have easy access to your tools and materials. Organize your tools in a way that makes sense to you, whether it be by size, type, or frequency of use. This will save you time and effort when searching for a specific tool during the project. In addition to organizing your workspace, gather all the necessary tools and materials beforehand. This will prevent interruptions in your workflow and allow you to focus on the task at hand. Depending on your project, you may need tools such as a cutting mat, ruler, cutting knife, stitching awl, needles, thread, dye, finish, and many more. Having everything within reach will make your leatherworking experience much smoother.Cutting Techniques
Accurate and precise cutting is a fundamental skill in leatherworking. To ensure clean and professional-looking cuts, there are several techniques and tools you can utilize. Using cutting templates and stencils can greatly simplify your cutting process. These templates are pre-drawn patterns that can be traced onto the leather, ensuring consistent cuts every time. They eliminate the need for measuring and drawing, saving you time and minimizing errors. You can create your own templates or find ready-made ones online or at a local craft store. Investing in quality cutting tools is essential for achieving clean and effortless cuts. A sharp cutting knife or rotary cutter specifically designed for leather will make a significant difference in the precision of your cuts. Replace blades regularly to maintain sharpness and ensure smooth cutting. Additionally, consider using a self-healing cutting mat to protect your work surface and prolong the life of your cutting tools. Utilizing efficient cutting techniques will further enhance your productivity. Position the leather in a way that allows for efficient cutting, such as aligning the edge of the leather with the ruler or using clips to secure the leather in place. Be mindful of the direction of the blade and apply steady pressure while cutting. Practice and patience are key in mastering cutting techniques, so take your time and focus on achieving clean and accurate cuts.
Stitching Methods
Stitching is an essential part of leatherworking that not only adds strength and durability to your projects but also enhances their aesthetic appeal. Choosing the right stitching technique, using proper hand sewing tools, and utilizing time-saving methods can greatly streamline your stitching process. When it comes to stitching techniques, there are various options to choose from, including saddle stitch, whipstitch, and running stitch. Saddle stitch is the most common and durable technique, where two needles are used to create a clean and secure double-stitch pattern. Whipstitch and running stitch are simpler techniques suitable for less intensive projects. Investing in quality hand sewing tools will greatly improve the efficiency and quality of your stitching. Needles specifically designed for leather, such as harness needles or glovers’ needles, are recommended for their strength and sharpness. Waxed thread is also essential to prevent fraying and aid in smooth stitching. Consider using a stitching awl to create precise holes for stitching, especially for thicker leathers. Utilizing time-saving stitching methods such as pre-punching your stitching holes or using a pony clamp to hold the leather in place will significantly speed up your stitching process. These techniques allow for more consistent and accurate stitches, reducing the risk of mistakes and rework. Experiment with different techniques and find what works best for you to achieve efficient and high-quality stitching.Dyeing and Finishing
Dyeing and finishing are crucial steps in leatherworking that can greatly enhance the appearance and longevity of your projects. Furthermore, optimizing dyeing techniques, utilizing time-saving finishing methods, and applying protective coatings can help you achieve professional results efficiently. When it comes to dyeing leather, there are various techniques to consider. Direct dyeing involves applying dye directly to the leather surface, either by brushing, spraying, or dipping. This method allows for better color penetration and can create vibrant results. Alternatively, antique dyeing involves applying a darker dye over a lighter base color to achieve a vintage or aged look. Experiment with different dyeing techniques and colors to achieve your desired effect. Utilizing time-saving finishing techniques can help streamline your process. Applying finishes such as leather balm, wax, or acrylic resolene not only enhances the appearance of your leather but also provides protection against moisture, dirt, and scratches. Consider using a sponge or applicator for even application and use a soft cloth to buff the leather to a desired sheen. This will save you time and effort compared to hand-rubbing the finish. Applying protective coatings, such as leather protectant sprays or water-resistant finishes, is essential to prolong the life and maintain the quality of your leather products. These coatings create a barrier against liquids, stains, and UV damage, keeping your projects looking their best over time. Follow the manufacturer’s instructions for application and reapply as necessary.Trimming and Edging
Trimming and edging are finishing touches that add a polished and professional look to your leather projects. Employing efficient trimming methods, using quality edging tools, and applying appropriate edge finishes can simplify these processes. Efficient trimming methods involve carefully removing excess leather from the edges of your projects. This helps achieve clean and straight edges, ensuring a professional finish. Use a sharp trimming knife or shears specifically designed for leather and take your time to make precise cuts. Practice on scrap leather before working on your actual project to gain confidence and accuracy. Using quality edging tools is essential for achieving neat and smooth edges. Edge bevelers, groovers, and slickers are commonly used to shape and finish edges. Bevelers round off the corners of the leather, groovers create decorative grooves along the edge, and slickers smooth and burnish the edges. Invest in good quality tools that are appropriate for your projects and take the time to learn how to use them effectively. Applying appropriate edge finishes is the final step in achieving professional-looking edges. Edge paints or dyes can be applied to give the edges a uniform color and a polished appearance. Alternatively, edge beveling and burnishing can create a natural and rustic look. Experiment with different finishes and techniques to achieve the desired result. Remember to allow the finish to dry completely before handling the edges.Embellishments and Decorations
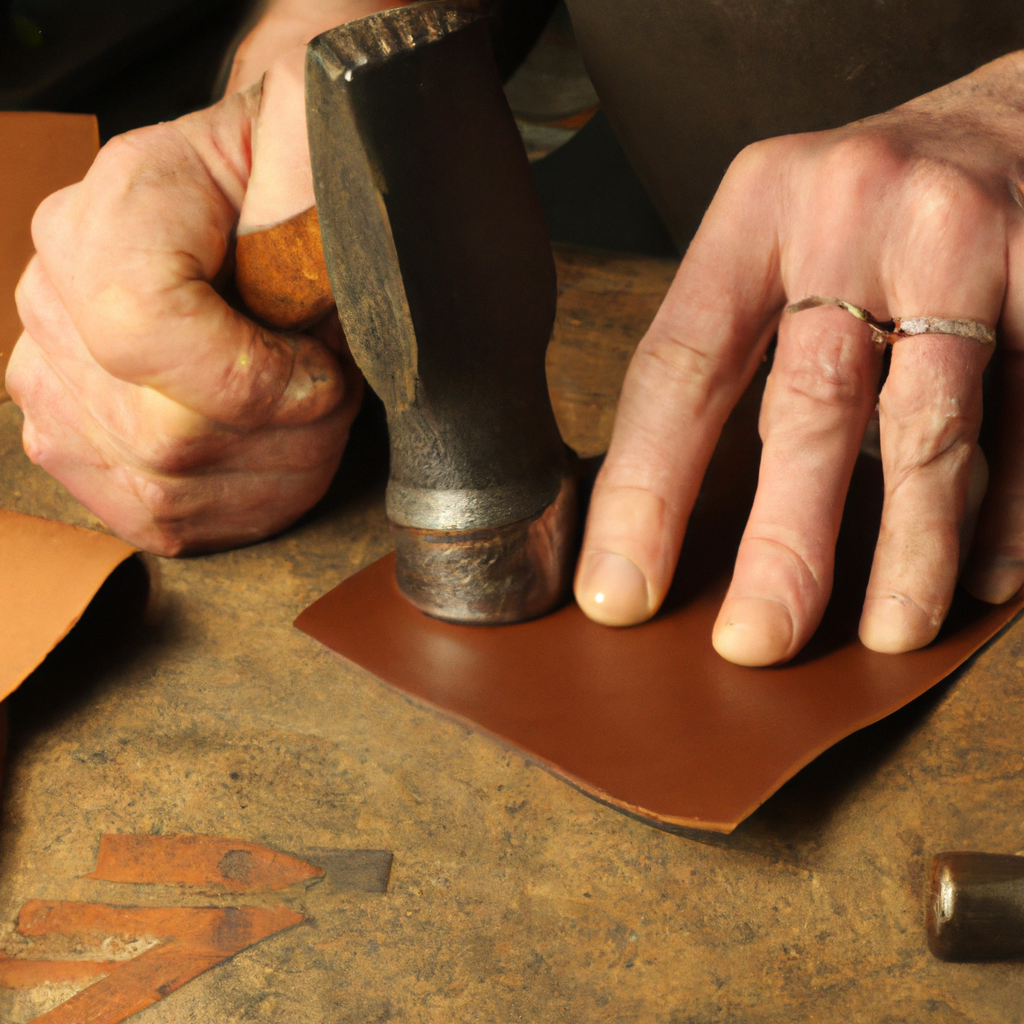
Adding embellishments and decorations is a creative way to customize and elevate your leather projects. Incorporating time-saving embellishments, choosing the right decorative materials, and utilizing efficient decoration techniques can enhance your productivity and create stunning final products. Incorporating time-saving embellishments such as pre-made decorative hardware, buttons, or studs can significantly reduce the time and effort required to add visual interest to your projects. These embellishments can be easily attached using tools such as rivets, screws, or a hand press. Explore different options and designs to find what fits your style and saves you time. Choosing the right decorative materials is crucial in creating visually appealing designs. There is a wide range of options available, including leather stamps, embossing plates, metal conchos, or fabric inserts. Consider the theme or style of your project and select materials that complement your overall design. Experiment with different textures and colors to create unique and eye-catching decorations. Utilizing efficient decoration techniques, such as stamping or embossing, can help you achieve intricate patterns or textures with ease. Stamps and embossing plates are pressed onto the leather, creating raised or indented designs. Use a mallet or hammer to apply pressure evenly and practice on scrap leather to achieve consistent results. Take your time and enjoy the creative process of embellishing your projects.Burning and Tooling
Burning and tooling are techniques used in leatherworking to create intricate designs and patterns by using heat and specialized tools. Using time-saving burning techniques, investing in quality leather tools, and applying efficient tooling methods can help you achieve beautiful and intricate designs without sacrificing efficiency. Using time-saving burning techniques, such as pyrography, allows you to create intricate designs in a fraction of the time compared to traditional tooling methods. Pyrography involves using a heated tool or pen to burn designs onto the surface of the leather. This technique is ideal for creating precise and detailed patterns and can be used on both thick and thin leathers. Practice on scrap leather to control the heat and achieve the desired effect. Investing in quality leather tools is essential for achieving clean and precise burn or tool marks. Tools such as swivel knives, bevelers, and modeling tools are commonly used in burning and tooling. Ensure the tools are sharp and well-maintained for optimal results. Experiment with different tool designs and sizes to achieve a variety of patterns and textures. Applying efficient tooling methods is crucial for achieving consistent and visually appealing designs. Start with lighter and shallower cuts or burns, gradually deepening or darkening as desired. Make sure to position the tool or pen at a consistent angle and apply even pressure. Take your time and enjoy the process of creating unique and intricate designs on your leather projects.Assembly and Construction
The assembly and construction phase is where all the components of your leather project come together to create the final product. Streamlining the assembly process, using effective joining techniques, and optimizing construction methods can greatly improve efficiency and ensure a high-quality result. Streamlining the assembly process starts with meticulous planning and organization. Lay out all the components and ensure you have everything you need before starting. Follow a logical and systematic sequence of steps to prevent mistakes or confusion. Take your time during this phase to ensure each component is properly aligned and secured. Using effective joining techniques is essential for creating strong and durable connections between leather pieces. Techniques such as gluing, stitching, or riveting can be employed depending on the project. Utilize appropriate tools and materials for each joining method. Consider factors such as aesthetics, functionality, and ease of assembly when selecting the best joining techniques for your project. Optimizing construction methods involves finding efficient ways to assemble and attach various components. Using clips, clamps, or magnetic holders can help hold pieces together while you work. Practice proper technique and take your time to ensure accurate alignment and secure attachment. Avoid rushing through the construction phase as it may result in mistakes or compromised durability.Can an Ergonomic Workspace Setup Improve Leatherworking Efficiency?
Setting up an ergonomic leatherworking workspace can significantly improve efficiency and comfort. By using adjustable workbenches, proper lighting, and supportive chairs, leatherworkers can reduce strain and fatigue, leading to increased productivity. A well-designed workspace can also prevent common musculoskeletal injuries associated with prolonged sitting and repetitive hand motions.