If you’ve ever wondered how to give your leather pieces that professional touch, look no further! This article will provide you with all the tips and tricks you need to finish and treat the edges of your leather items. From techniques for smoothing out rough edges to suggestions for enhancing durability, we’ve got you covered. Whether you’re a seasoned leatherworker or just starting out, this article will help you achieve those perfectly polished edges every time. So grab your leather pieces and get ready to elevate your craftsmanship to the next level!

Preparing the Leather Edges
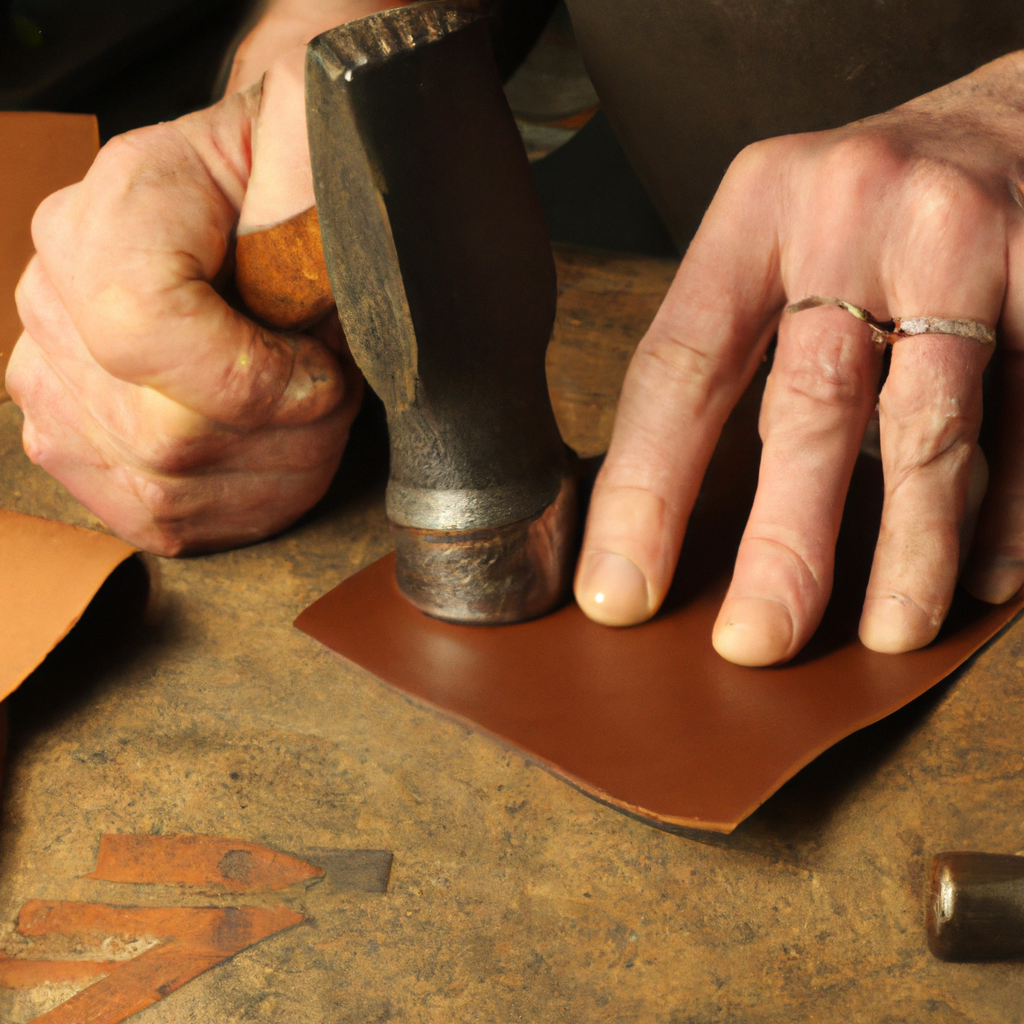
When it comes to working with leather, one of the most important steps is preparing the edges. Properly finished edges not only enhance the overall appearance of your leather piece, but also ensure durability and longevity. There are several techniques you can use to achieve beautifully finished edges, including trimming, sanding, beveling, and smoothing.
Trimming the Edges
Before you can start the finishing process, it’s crucial to trim any excess or uneven edges of your leather piece. This step will give your final product a clean and professional look. Using a sharp utility knife or leather trimming tool, carefully shave off any rough edges or irregularities. Take your time and make sure to maintain an even and straight cut.
Sanding the Edges
After trimming, sanding the edges will further refine them and create a smooth and polished finish. Start by using fine-grit sandpaper or a sanding block to gently rub the edges in a back-and-forth motion. This will eliminate any remaining roughness or unevenness. Be cautious not to over-sand, as it can damage the leather. The goal is to achieve a consistent and velvety feel to the edges.
Beveling the Edges
Beveling the edges of your leather piece helps prevent the edges from fraying and adds a more refined appearance. To achieve this, you’ll need a beveling tool with a rounded edge. Start by moistening the edge of the leather using a damp sponge. This will make it more malleable and easier to work with. Then, carefully run the beveling tool along the edge, applying consistent pressure. This will create a smooth slope from the face of the leather to the edge.
Smoothing the Edges
After beveling, you can further refine the edges by smoothing them. This step is especially important for achieving a professional look. Use a piece of canvas or denim, folded into a square or rectangle, and hold it firmly in your hand. Rub the folded fabric vigorously along the edges in a circular motion. This will buff away any remaining imperfections, leaving you with silky-smooth edges.
Types of Leather Edge Treatments
Once you have prepared the edges of your leather piece, you have a range of treatments to choose from to give them the desired finish. Each treatment method offers unique results, allowing you to customize the look of your leather piece. Let’s explore some of the most popular leather edge treatments.
Burnishing
Burnishing is a technique that involves creating a glossy and polished appearance on the edges of your leather piece. This is achieved by using a burnishing tool, gum tragacanth, or a burnishing compound. The tool is typically made of wood or bone and is used to vigorously rub the edges in a circular motion. The friction generated by this process heats up the leather, allowing it to create a smooth polished surface.
Dyeing
If you want to add a touch of color to your edges, dyeing is a great option. Choose a dye that is specifically formulated for leather and matches the color of your leather piece. Before applying the dye, ensure that the edges are clean and free from any dust or debris. Use a sponge or a small brush to apply the dye evenly, making sure to cover the entire edge. Multiple coats may be necessary to achieve the desired color intensity.
Painting
Painting is a versatile option for edge treatment, as it allows for a wide range of colors and finishes. Acrylic leather paints are commonly used for this purpose. Before applying the paint, prepare the edges by sanding and cleaning them. Use a fine brush to apply thin coats of paint, allowing each layer to dry completely before applying the next. Once the paint is dry, you can protect it with a leather finisher or sealer.
Staining
If you want to enhance the natural beauty of your leather and achieve a vintage or antique look, staining is an excellent choice. Leather stains come in various shades and can be applied using a sponge or a brush. Prepare the edges by sanding and cleaning them thoroughly. Apply the stain evenly, allowing it to penetrate the leather. Depending on the desired effect, you can apply multiple layers of stain and buff the edges to achieve a rich and aged appearance.
Edge Coating
Edge coating is a method that involves applying a specially formulated liquid coating to the edges of your leather. This treatment not only finishes the edges but also provides a protective layer, making them more resistant to wear and tear. Apply the edge coating evenly, using a sponge or a brush. Make sure to cover the edges entirely and let the coating dry before handling the leather piece.
Edge Paint
Similar to edge coating, edge paint is a liquid treatment that provides a durable and smooth finish to the edges. However, edge paint offers a wider range of color choices and can create a more vibrant and glossy appearance. Apply the edge paint carefully, ensuring even coverage. You may need multiple coats to achieve the desired result. Let each layer dry before applying the next and remember to protect the paint with a leather finisher.
Edge Dressing
Edge dressing is another option for finishing the edges of your leather piece. It typically comes in the form of a wax-based or resin-based product. Edge dressing is easy to apply using a small brush or an applicator pen. Make sure to clean the edges before applying and use gentle, even strokes to prevent any clumping or unevenness. Once applied, the dressing adds a subtle shine and provides some level of protection to the edges.
Edge Beveling
While beveling primarily serves as a preparation step, it can also be considered a treatment in itself. By beveling the edges, you create a smooth and rounded appearance. This not only gives the edges a finished look but also enhances the overall comfort and feel of your leather piece. Follow the previously mentioned beveling steps to achieve neatly beveled edges.
Edge Creasing
Edge creasing is a technique commonly used to add decorative or functional details to the edges of leather. It involves creating distinct lines or patterns along the edges. To achieve this, you’ll need a creasing tool with a sharp edge. Moisten the edges of the leather and carefully apply the creasing tool along the desired lines. The pressure applied will create a crease that adds visual interest and definition to the edges.
Edge Gilding
Edge gilding is a luxurious treatment that involves applying metallic materials, such as gold leaf, to the edges of your leather piece. This technique adds an exquisite touch and elevates the overall aesthetic appeal. To gild the edges, prepare the leather by sanding and cleaning it thoroughly. Apply a gilding adhesive or size to the edges and let it dry until it becomes tacky. Then, carefully apply the metallic material to the edges, pressing it gently with a soft brush or cloth. Buff the edges gently to remove any excess material and protect the gilding with a leather finisher.

Burnishing the Edges
Burnishing is a popular technique used to achieve smooth and glossy edges on leather pieces. It creates a refined and polished look that enhances the overall appearance of your project. There are a few key steps to follow when burnishing your leather edges.
Using a Burnishing Tool
To begin, you will need a burnishing tool, which can be made from wood, bone, or other smooth materials. Hold the burnishing tool firmly and place it against the edge of your leather piece. Apply firm pressure and move the tool in a circular or back-and-forth motion along the edge. The friction generated by the burnishing tool will heat up the leather, allowing it to smoothen and polish the edges.
Applying Gum Tragacanth or Burnishing Compound
To aid in the burnishing process, you can choose to apply gum tragacanth or a specialized burnishing compound to the edges. Gum tragacanth is a natural substance that softens the leather, making it more receptive to burnishing. Use a damp cloth or sponge to apply a thin layer of gum tragacanth to the edges before burnishing. Alternatively, you can use a burnishing compound specifically designed for this purpose. Follow the manufacturer’s instructions for application.
Buffing the Edges
Once you have burnished the edges, take a clean, dry cloth or canvas and gently rub the edges in a circular motion. This buffing step helps enhance the shine and smoothness of the edges. Be sure to apply gentle pressure to avoid damaging the burnished surface. Buffing also has the added benefit of removing any excess gum tragacanth or burnishing compound residue.
Dyeing the Edges
Dyeing the edges of your leather piece is an excellent way to add color and dimension to your project. It allows you to create a cohesive and polished look by matching the edge color with the rest of the leather. Here’s a step-by-step guide on how to dye the edges effectively.
Choosing the Right Dye
Before you begin dyeing, select a leather dye that matches the desired color. Make sure the dye is specifically formulated for leather and is compatible with the type of leather you are working with. Consult the instructions provided by the manufacturer for recommended dye application techniques.
Preparing the Leather
Prepare the edges by trimming, sanding, and beveling them according to the techniques mentioned earlier. Ensure that the edges are clean and free from any dust, debris, or finishing products that may interfere with the dye absorption.
Applying the Dye
Using a small sponge or brush, apply the dye evenly to the edges of your leather piece. Start from one end and work your way towards the other, making sure to cover the entire edge. Apply multiple thin coats rather than a single heavy one to achieve an even and consistent color. Allow each coat to dry before applying the next. If you accidentally get dye on the face of the leather, quickly wipe it off with a clean cloth.
Buffing and Sealing
Once the dye has dried completely, you can buff the edges with a clean, dry cloth to remove any excess dye and enhance the finish. If you desire a more intense color or added protection, you can apply a leather finisher or sealer. Follow the instructions provided by the manufacturer for proper application. This step will seal in the dye and contribute to the longevity of the finish.

Painting the Edges
Painting the edges of your leather piece provides an opportunity to customize the look and add a vivid splash of color. With the right tools and techniques, you can achieve a professional and durable painted edge. Follow these steps to paint your leather edges effectively.
Choosing the Right Paint
Select a high-quality acrylic leather paint that is formulated for use on leather. Consider the color and finish you desire for your leather piece. Ensure that the paint is compatible with the leather type and check the instructions provided by the manufacturer for proper application.
Preparing the Leather
Prepare the edges of your leather piece by trimming, sanding, and beveling them as outlined earlier. Ensure that the edges are clean and free of any dust or debris. If desired, you can apply a leather primer to enhance adhesion, especially if you’re working with a lighter-colored leather or using a dark paint.
Applying the Paint
Dip a fine brush into the paint, ensuring that it’s evenly loaded but not saturated. Hold the brush at a slight angle and apply thin coats of paint to the edges, starting from one end and moving towards the other. Use smooth and controlled strokes to achieve an even application. Allow each layer to dry completely before applying additional coats, if necessary.
Protecting the Paint
Once the paint has dried, you can protect it by applying a leather finisher or sealer. This will help prevent the paint from chipping or peeling off. Follow the instructions provided by the manufacturer for proper application. Be mindful not to apply too much pressure during sealing, as it may disturb the painted surface. Allow the finisher to dry completely before handling the leather piece.
Staining the Edges
Staining the edges of your leather piece is an excellent choice if you want to achieve a vintage or antique look. It adds depth and character to the edges, enhancing the overall aesthetic appeal. Here’s a step-by-step guide on how to stain your leather edges effectively.
Choosing a Suitable Stain
Select a leather stain that matches the desired color. Leather stains come in a variety of shades, allowing you to create a custom look. Consider the type of leather you’re working with, as certain stains may work better with specific types.
Preparing the Leather
Prepare the edges by trimming, sanding, and beveling them, as discussed earlier. Ensure that the edges are clean and free from any dust, debris, or finishing products.
Applying the Stain
Using a sponge or brush, apply the stain evenly to the edges of your leather piece. Start from one end and work your way towards the other, ensuring complete coverage. Apply multiple thin coats for a more intense color or a single coat for a subtle effect. Allow each coat to dry before applying the next. If you accidentally get stain on the face of the leather, swiftly wipe it off with a clean cloth.
Buffing and Sealing
Once the stain has dried completely, you can buff the edges with a soft, dry cloth to remove any excess stain and enhance the finish. If desired, you can seal the stained edges with a leather finisher to protect the color and provide additional durability. Follow the manufacturer’s instructions for proper application. Allow the finisher to dry completely before handling the leather piece.

Protective Coatings for Edges
To ensure the longevity and durability of your leather edges, applying a protective coating is a wise step. There are several types of coatings available, each offering distinct benefits. Let’s explore some common protective coatings for edges.
Edge Coating
Edge coating is a liquid treatment that creates a protective layer on the edges. It provides excellent resistance against wear, tear, and moisture damage. To apply an edge coating, use a sponge or a brush and ensure even coverage. Allow the coating to dry completely before handling the leather piece.
Edge Paint
Edge paint acts as both a decorative and protective coating for the edges of your leather piece. It offers a more vibrant and glossy finish compared to other protective coatings. Apply the edge paint using a fine brush, following the techniques mentioned earlier. Multiple thin coats may be necessary for sufficient coverage. Allow each layer to dry before applying the next.
Edge Dressing
Edge dressing is a type of protective coating typically comes in the form of a wax-based or resin-based product. Apply edge dressing using a small brush or an applicator pen. Ensure even strokes and easy application. This protective coating not only adds a subtle shine to the edges but also provides some resistance against moisture and wear.
Remember to always read and follow the instructions provided by the manufacturer for proper application and drying times when using protective coatings.
Edge Beveling
Beveling the edges of your leather piece is a crucial step in achieving a refined and elegant finish. Beveled edges not only prevent fraying but also give your project a more professional and inviting look. Let’s explore the steps involved in edge beveling.
Choosing the Right Beveler
Selecting the right beveler is essential for achieving clean and precise edges. Bevelers come in various sizes and angles, allowing you to choose one that matches the thickness and shape of your leather piece. Experiment with different bevelers to find the one that gives you the desired result.
Marking the Beveling Line
Before beveling, use a leather marker or a stylus to mark a line within the desired distance from the edge. This line will guide you during the beveling process, ensuring consistent results. Take your time to mark the line accurately, as it will determine the width and shape of your bevel.
Beveling the Edges
Moisten the edge of the leather piece with a damp sponge to make it more pliable and easier to work with. Hold the beveler at a slight angle and apply consistent pressure as you run it along the marked line. Be careful to maintain a steady motion and avoid applying too much pressure, as it may damage the leather. Bevel the entire length of the edge, stopping just before the end to maintain a clean edge. Repeat this process on all edges, ensuring uniformity.
Edge Creasing
Edge creasing is a fantastic way to add decorative or functional details to the edges of your leather piece. It accentuates the shape and definition of your project, whether it’s a wallet, bag, or belt. Here’s a step-by-step guide on achieving well-creased edges.
Choosing the Right Creasing Tool
To ensure clean and crisp creases, choose a creasing tool that matches the desired size and shape of the crease you want to achieve. Creasing tools come in various styles, such as V-groove or decorative grooves. Experiment with different sizes and patterns to find the one that best complements your leather piece.
Preparing the Leather
Prepare the edges by trimming, sanding, and beveling them as discussed earlier. Ensure that the edges are clean and free from any dust or debris.
Creasing the Edges
Moisten the edge of the leather piece using a damp sponge to make it more malleable. Hold the creasing tool firmly and align it along the edge in the desired position. Apply firm and even pressure as you run the creasing tool along the edge, creating a distinct crease. Repeat this process on all edges, ensuring consistency in the size and spacing of the creases.
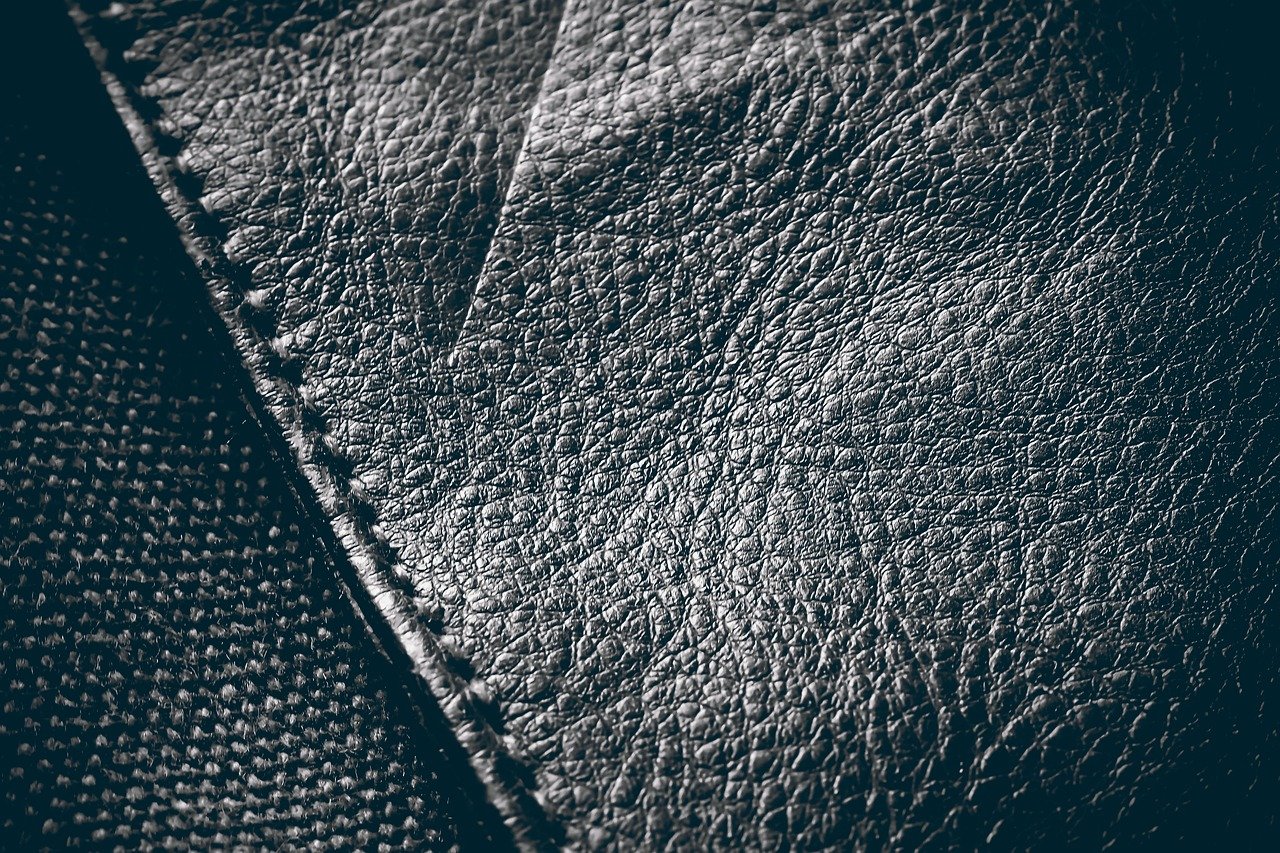
Can Treating Leather Edges Impact the Cleanliness of Stitching Lines?
Treating leather edges is crucial to maintain clean stitching lines on leather garments. This process helps prevent fraying and ensures durability. By carefully finishing the edges, the stitching remains intact and provides a polished appearance to the garment. Clean stitching lines are essential for a neat and professional look in leather clothing.
Edge Gilding
Edge gilding is a luxurious treatment that adds a touch of elegance to your leather piece. It involves applying metallic materials, such as gold leaf or foil, to the edges to create a dazzling effect. Follow these steps to achieve stunning gilded edges.
Preparing the Leather
Prepare the edges of your leather piece by trimming, sanding, and beveling them as mentioned earlier. Ensure that the edges are clean and free from any dust, debris, or finishing products.
Applying Gilding Materials
Apply a gilding adhesive or size to the edges of your leather piece. This adhesive acts as a bonding agent between the leather and the gilding material. Follow the manufacturer’s instructions for proper application. Allow the adhesive to dry until it becomes tacky, which usually takes a few minutes.
Carefully place the metallic material, such as gold leaf or foil, onto the tacky adhesive. Use a soft brush or cloth to gently press and smooth the metallic material onto the edges. Be cautious to avoid tearing or creasing the gilding material. Repeat this process until the edges are completely covered with the metallic material.
Buffing and Sealing
To remove any excess gilding material and enhance the shine, gently buff the gilded edges with a soft, dry cloth. Be careful not to rub too hard, as it may dislodge the gilding material. Once you’re satisfied with the finish, protect the gilding by applying a leather finisher or sealer. Follow the instructions provided by the manufacturer for proper application.
In conclusion, finishing and treating the edges of your leather pieces is an essential step in creating high-quality and visually appealing leather goods. By following the techniques outlined in this article, you’ll be able to achieve a polished and professional finish that enhances the overall appearance and durability of your leather projects. Remember to choose the appropriate treatment method, be mindful of the materials you’re using, and take your time to ensure accurate and consistent results. Whether you prefer burnishing, dyeing, painting, staining, beveling, creasing, or gilding, there are countless options available to suit your design preferences. Have fun experimenting and creating stunning leather pieces with beautifully finished edges!