
Everyone loves the sleek and polished look of smooth leather finishes, but achieving that desired result can sometimes seem like a daunting task. Luckily, we’re here to help! In this article, we’ll share some valuable tips and tricks to help you achieve those flawless, slick leather finishes you’ve been dreaming of. So, dust off your leather jackets and get ready to level up your leather game!

Choosing the Right Leather
When it comes to achieving smooth and slick leather finishes, the first step is to choose the right type of leather. There are various types of leather available, each with its own characteristics and qualities. It’s important to consider the purpose and desired outcome of your leather project before selecting the leather type.Consider the Leather Type
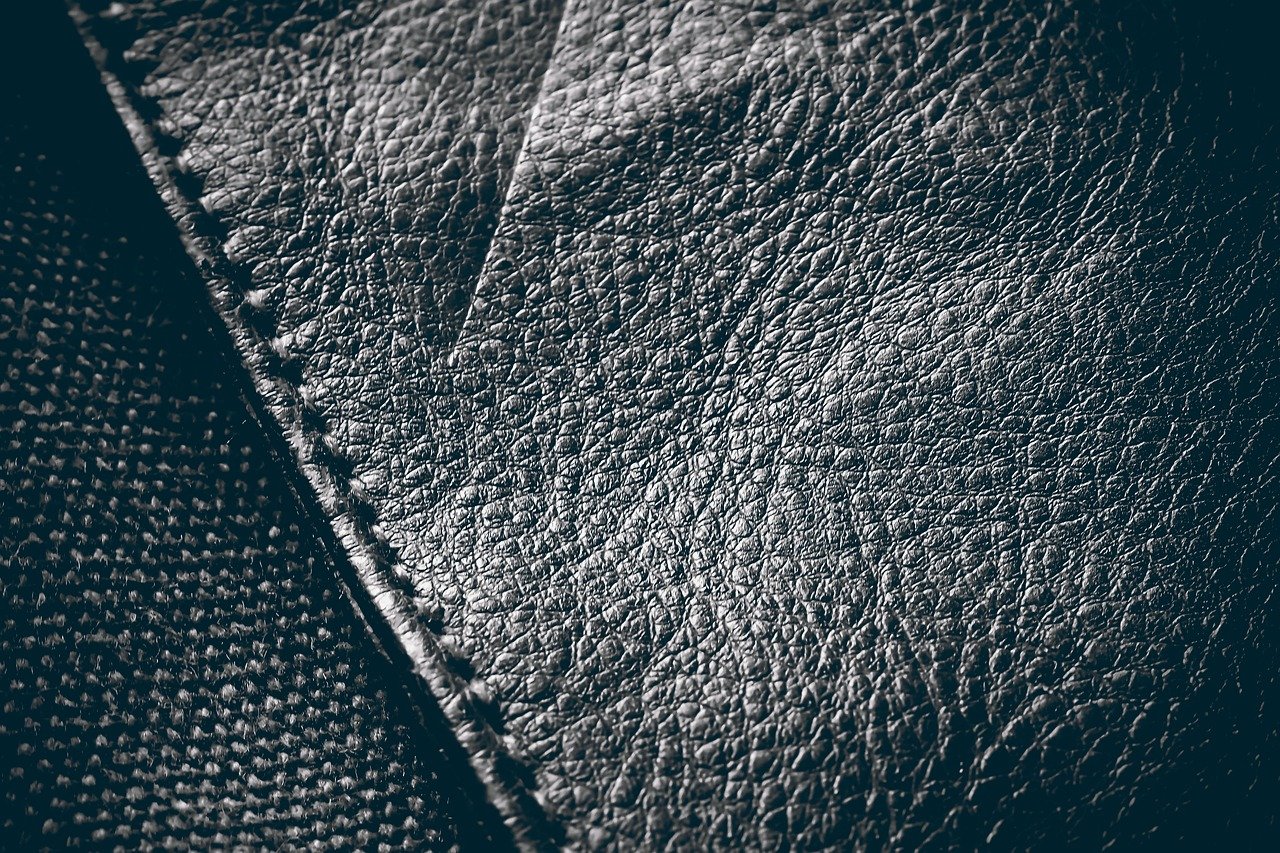
Different leather types have different textures and finishes. Some common leather types include full-grain leather, top-grain leather, corrected-grain leather, and suede. Full-grain leather is considered the highest quality and is known for its natural markings and durability. Top-grain leather is also a popular choice due to its durability and versatility. Corrected-grain leather is often used for less expensive items and can have a more uniform look. Suede, on the other hand, has a soft and fuzzy texture and is commonly used for shoes, bags, and jackets. Before deciding on a leather type, consider the look and feel you want to achieve and choose accordingly.Opt for Full-Grain Leather
If you’re aiming for a smooth and slick leather finish, opting for full-grain leather is highly recommended. Full-grain leather is made from the top layer of the hide and retains the natural grain and imperfections, which adds character to the leather. This type of leather is more durable and ages beautifully over time. By selecting full-grain leather, you can ensure a high-quality base for achieving the desired smoothness and slickness in your leather project.Ensure High-Quality Leather
No matter which type of leather you choose, it’s important to ensure the leather is of high quality. Inspect the leather for any visible flaws, such as cuts, scars, or blemishes that may affect the final finish. Look for smooth and even surfaces, as these will provide a better foundation for achieving a smooth and slick leather finish. Investing in high-quality leather will not only enhance the overall appearance of your project but also ensure long-lasting durability and satisfaction.Proper Leather Preparation
Before embarking on any leather finishing project, proper preparation is key to achieving smooth and slick results. This involves cleaning the leather surface, removing any imperfections, and conditioning the leather to improve its texture and appearance.Clean the Leather Surface
Start by cleaning the leather surface to remove dirt, dust, and any other contaminants. Use a soft, dry cloth to gently wipe the leather, being careful not to scratch or damage it. If there are any stubborn stains or marks, you can use a mild leather cleaner specifically designed for the type of leather you’re working with. Be sure to follow the manufacturer’s instructions and perform a patch test on a small, inconspicuous area before applying the cleaner to the entire surface. A clean leather surface will provide a smooth canvas to work on and ensure that the finishing products adhere properly.Remove Any Imperfections
Inspect the leather surface for any imperfections, such as scratches, cuts, or rough edges. Depending on the severity of the imperfection, you may need to take different approaches to address them. For minor scratches or scuffs, you can use a leather conditioner or a leather repair kit to minimize their appearance. Apply the conditioner or repair solution using a soft cloth, following the manufacturer’s instructions. If there are larger imperfections or rough edges, you may need to use sandpaper or a leather edge beveler to smooth them out. Gently sand the surface or carefully trim the edges, being cautious not to damage the surrounding leather. This step will ensure a seamless and professional finish.Condition the Leather
After cleaning and addressing any imperfections, it’s essential to condition the leather to nourish it and improve its texture. Leather conditioning products help to moisturize the leather and restore its natural oils, making it supple and less prone to cracking or drying out. Apply a small amount of leather conditioner to a soft cloth and rub it gently onto the leather surface in circular motions. Make sure to evenly distribute the conditioner to avoid any uneven patches. Allow the conditioner to penetrate the leather for the recommended amount of time before wiping off any excess with a clean cloth. Conditioning the leather will not only enhance its appearance but also prepare it for the subsequent steps in achieving a smooth and slick finish.Applying Leather Dyes or Stains
Once the leather is properly prepared, you can proceed with applying leather dyes or stains to achieve the desired color and finish. It’s important to test the dye or stain, apply even layers, and fix any unevenness or spots that may occur.Test the Dye or Stain
Before applying the dye or stain to the entire leather surface, it’s crucial to perform a patch test on a small, inconspicuous area. This will ensure that the color is compatible with the leather and that you achieve the desired result. Apply a small amount of the dye or stain to the test area and observe how it reacts with the leather. If you’re satisfied with the test result, you can proceed with the full application.Apply Even Layers
When applying the dye or stain, it’s important to do so in even layers to avoid any streaks or blotches. Start by applying a thin coat and allow it to dry completely before applying additional coats. Use a sponge, bristle brush, or cloth to evenly distribute the dye or stain, working it into the leather’s surface. Make sure to follow the manufacturer’s instructions regarding drying times and the number of coats required.Fix Unevenness or Spots
In the event that you encounter any unevenness or spots during the dye or stain application, don’t panic. There are several ways to fix these issues and achieve a smooth and slick finish. If the unevenness is minor, you can try gently buffing the affected area with a soft cloth to even out the color. For more stubborn spots, you may need to apply a color correction solution or use a small brush to reapply the dye or stain to the specific area. Take your time and be patient, as it may require multiple attempts to achieve the desired result.Using Leather Sealants
Once the dye or stain has been applied and dried, using leather sealants is crucial to protect the color, add shine, and achieve a smooth and slick finish. It’s important to choose the right sealant, apply thin and even coats, and buff the surface for a polished look.Choose the Right Sealant
There are a variety of leather sealants available, such as leather finishes, edge coats, or acrylic sealers. Choose a sealant that is suitable for the type of leather you’re working with and the desired finish. Matte sealants provide a natural-looking finish, while glossy sealants add shine and luster. When selecting a sealant, consider factors such as durability, flexibility, and ease of application. Read customer reviews and follow the manufacturer’s recommendations to ensure the best results.Apply Thin and Even Coats
Apply the sealant in thin and even coats to avoid any buildup or unevenness. Use a clean sponge, brush, or cloth to apply the sealant, following the manufacturer’s instructions. Allow each coat to dry completely before applying the next one. Multiple thin coats are usually more effective than a single thick coat, as they allow for better absorption and coverage. Apply the sealant in a well-ventilated area and be mindful of any flammable ingredients. Take your time and work systematically to achieve an even and flawless finish.Buff the Surface
After applying the sealant, it’s important to buff the leather surface to bring out its shine and achieve a smooth and slick finish. Use a soft cloth or a horsehair brush to gently polish the leather in circular motions. This will help to blend the sealant layers and remove any excess residue, resulting in a polished and professional look. Be cautious not to apply too much pressure while buffing, as this may damage the leather or remove the sealant. A gentle touch combined with consistent motion will ensure a smooth and slick surface.
Utilizing Leather Edge Treatments
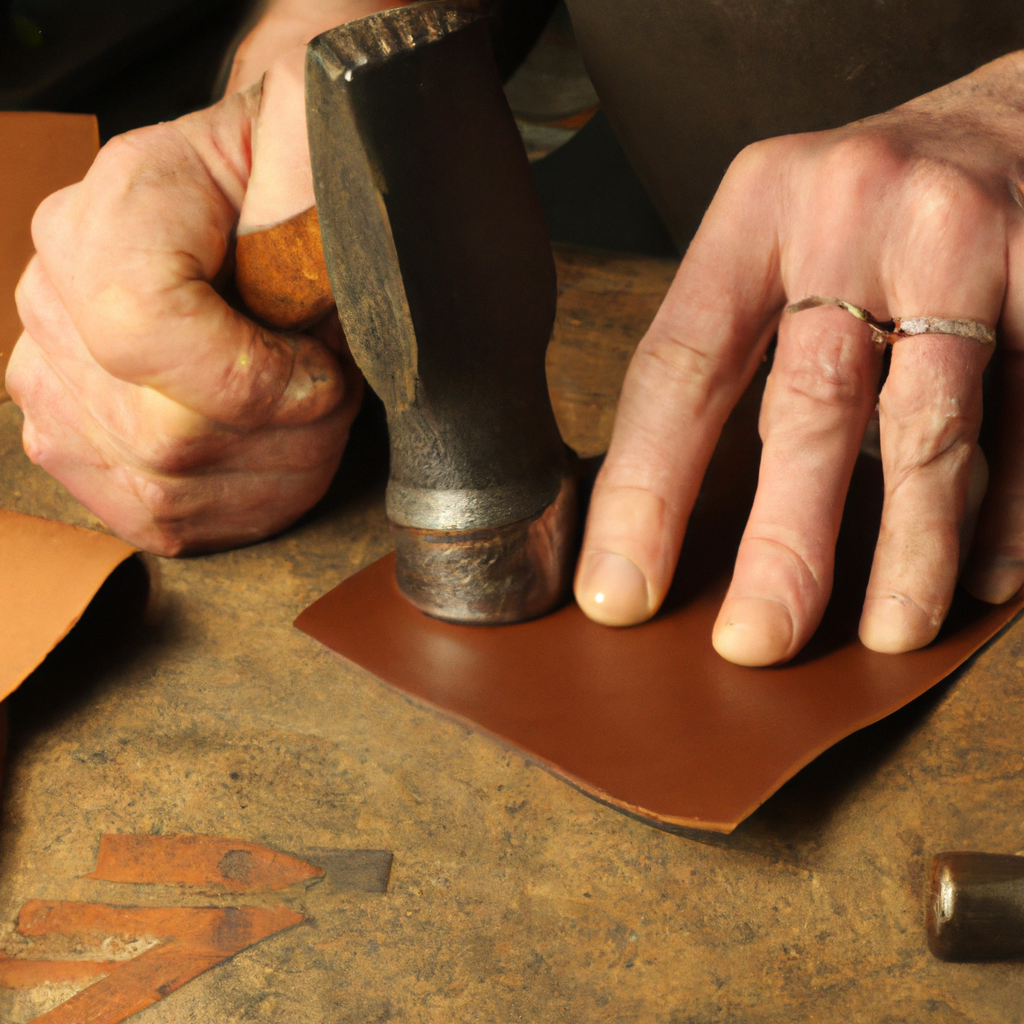
When working with leather projects that have exposed edges, such as belts, bags, or wallets, utilizing proper edge treatments is essential to achieve a finished and professional look. This involves trimming and beveling the edges, burnishing them, and applying edge paint or dye.Trim and Bevel the Edges
Start by trimming the edges of the leather to remove any uneven or excess material. Use a sharp knife or a leather edge beveler to carefully trim the edges, following the contours of the leather. This will create clean and smooth edges, preparing them for the next step. Once the edges are trimmed, you can use a leather edge beveler to create a slight beveled angle. This will soften the edges and allow for a more seamless and comfortable finish. Beveling the edges not only improves the appearance but also minimizes the risk of fraying or peeling over time.Burnish the Edges
After trimming and beveling the edges, burnishing them is crucial to achieve a polished and refined look. Burnishing involves using friction and a burnishing tool to create heat and pressure, which smooths out the leather fibers and seals the edges. To burnish the edges, apply a leather burnishing solution or water to the edge and rub it gently with a burnishing tool. Use circular motions and consistent pressure to generate heat and friction. As you burnish, you will notice the edges becoming smoother and sleeker. Continue burnishing until the desired smoothness and shine are achieved. This step will give your leather project a professional and aesthetically pleasing finish.Apply Edge Paint or Dye
To further enhance the appearance and durability of the edges, you can apply edge paint or dye. This step is optional but can add an extra touch of refinement to your leather project. Choose a paint or dye color that complements the overall design and aesthetic. Using a small brush or an applicator, carefully apply the edge paint or dye to the trimmed and burnished edges. Take your time to ensure even coverage and avoid any smudges or spills. Allow the paint or dye to dry completely before handling the leather project. The edges will now have a smooth, slick, and vibrant finish, enhancing the overall beauty and longevity of the piece.Achieving Smooth and Shiny Surfaces
Smooth and shiny leather surfaces can elevate the overall appearance and appeal of your leather projects. To achieve this desirable finish, it’s important to sand the leather, use leather conditioner, and buff it with a soft cloth.Sand the Leather
If you’re looking to achieve a smooth and even surface on your leather, sanding can be an effective technique. It helps to remove any roughness, unevenness, or minor imperfections. To sand the leather, use fine-grit sandpaper and gently rub it over the surface. Use circular motions and exert light pressure to avoid damaging the leather. Sanding should be done carefully and gradually, taking breaks to assess the progress. Keep in mind that excessive sanding may remove the dye or stain, so proceed with caution. Be sure to clean off any sanding residue before moving on to the next step.Use Leather Conditioner
After sanding the leather, it’s important to use a leather conditioner to moisturize and protect the surface. The sanding process may strip away some of the natural oils, leaving the leather dry and vulnerable to cracking or damage. Apply a small amount of leather conditioner to a soft cloth and gently rub it onto the sanded surface. Ensure even coverage and allow the conditioner to soak into the leather for the recommended time. This will restore the moisture, suppleness, and smoothness of the leather.Buff with a Soft Cloth
To achieve a smooth and shiny finish, buffing the leather with a soft cloth is essential. After applying the leather conditioner, use a clean cloth to gently rub and buff the surface. This will help to distribute the conditioner evenly and bring out the natural shine of the leather. Use circular motions and moderate pressure to avoid any streaks or damage to the leather. Take your time and continue buffing until a smooth and shiny finish is achieved.
Handling Leather Creases and Wrinkles
Leather can sometimes develop creases or wrinkles over time, which may affect its appearance and overall finish. Fortunately, there are techniques you can use to minimize and fix these creases and wrinkles to achieve a smooth and slick leather finish.Condition the Leather
One of the first steps in handling leather creases and wrinkles is to condition the leather. Conditioning not only helps to moisturize the leather but also makes it more pliable and less prone to creasing. Apply a leather conditioner to the affected area and gently massage it in using circular motions. Allow the conditioner to penetrate the leather and work its magic. This will help to improve the flexibility and smoothness of the leather.Apply Heat
If the creases or wrinkles are more stubborn, applying heat can help to relax and minimize them. Use a hairdryer or a heat gun on the lowest heat setting and direct it towards the creased or wrinkled area. Move the heat source back and forth while gently stretching or massaging the leather. The combination of heat and manipulation can help to smooth out the creases and wrinkles. Be cautious not to apply excessive heat or hold the heat source too close to the leather, as this may cause damage or discoloration. It’s always best to start with low heat and gradually increase if necessary.Stretch the Leather
For more persistent creases or wrinkles, stretching the leather can be an effective technique. This can be done by gently pulling or stretching the affected area in the opposite direction of the crease or wrinkle. Apply even pressure and continue stretching until the crease or wrinkle is minimized or eliminated. Be mindful not to pull or stretch the leather too forcefully, as this may lead to excessive stretching or distortion. Take your time and assess the progress periodically to ensure the desired result.Avoiding Common Mistakes
When working on achieving smooth and slick leather finishes, it’s important to be aware of common mistakes that should be avoided. By steering clear of these pitfalls, you can ensure better results and a more satisfactory outcome.Over-Applying Dye or Stain
One common mistake is over-applying dye or stain, which can result in an uneven or blotchy appearance. It’s important to follow the manufacturer’s instructions regarding the number of coats and drying times. Applying thin and even coats allows for better control and ensures a smooth and uniform finish. If you notice any excess dye or stain, promptly remove it with a clean cloth or cotton swab to prevent it from setting and causing permanent discoloration.Using Excessive Heat
Using excessive heat when working with leather can cause irreversible damage, such as discoloration, shrinkage, or warping. Whether you’re using a heat source for crease removal or heat setting a sealant, it’s crucial to use the lowest heat setting and maintain a safe distance from the leather. Always test the heat source on a small, inconspicuous area before applying it to the entire leather surface to avoid any potential harm.Rushing the Process
Achieving smooth and slick leather finishes takes time and patience. Rushing the process can lead to mistakes or unsatisfactory results. It’s important to allow each step to fully dry or set before moving on to the next one. Take breaks, assess the progress, and make adjustments as necessary. By giving your leather project the time and attention it deserves, you’ll be rewarded with a beautiful and professional finish.Maintaining Smooth Leather Finishes
Once you’ve achieved a smooth and slick leather finish, proper maintenance is crucial to ensure its longevity and continued beauty. Regular cleaning, conditioning, and protection from sunlight and moisture are key factors in maintaining smooth leather finishes.Clean Regularly
Regular cleaning is vital to remove dirt, dust, and other contaminants that can dull the leather’s shine and texture. Use a soft, dry cloth or a mild leather cleaner specifically designed for the type of leather you have. Gently wipe the surface, paying attention to any creases or folds where dirt may accumulate. Avoid using harsh chemicals or abrasive cleaners, as they can damage the leather. Be sure to follow the manufacturer’s instructions or consult a professional for specific cleaning recommendations.Condition and Moisturize
Just like skin, leather needs hydration to stay supple and resilient. Regular conditioning not only moisturizes the leather but also helps to prevent cracking, drying, or peeling. Apply a leather conditioner according to the manufacturer’s instructions. Use a soft cloth to gently rub the conditioner into the leather, ensuring even coverage. Allow the conditioner to penetrate the leather for the recommended time before wiping off any excess with a clean cloth. Conditioning should be done periodically, especially in dry or humid environments, to maintain the leather’s smoothness and prevent any potential damage.Protect from Sunlight and Moisture
Exposure to sunlight can fade and discolor leather, while excessive moisture can cause mold or mildew growth. It’s important to protect your leather items from both sunlight and moisture to maintain their smooth finishes. When not in use, store leather items in a cool, dry place away from direct sunlight. Avoid placing them near windows or in areas with high humidity. If your leather item is exposed to moisture, gently blot the excess with a clean cloth and allow it to air dry naturally. Avoid using heat sources to dry the leather, as this can cause further damage. Using leather protectant sprays or creams can provide an additional layer of protection against UV rays and water damage. Look for products specifically designed for the type of leather you’re working with and follow the manufacturer’s recommendations. By taking these maintenance measures, you can keep your leather finishes smooth, slick, and looking their best for years to come.How Can Smooth, Slick Leather Finishes Save Time in Leatherworking Projects?
Smooth, slick leather finishes can be valuable leatherworking efficiency shortcuts. By choosing high-quality leather with a smooth surface, you can save time usually spent evening out rough patches. This allows you to focus on crafting the project rather than fixing imperfections, ultimately saving time in the long run.