
If you’ve ever wondered how to give your leather products a stunning alligator skin pattern, you’re in the right place! In this article, we’ll explore the process of creating this unique texture on leather, providing you with all the tips and tricks you need to transform your ordinary leather items into eye-catching pieces. Whether you’re a passionate DIY enthusiast or a professional leatherworker looking to expand your skill set, we’ve got you covered! So grab your tools, put on your creative hat, and let’s get started on giving your leather the alligator skin pattern it deserves.
Materials Needed
To give leather an alligator skin pattern, you will need a few materials:Leather piece
Start with a piece of leather that is suitable for your desired project. The size of the leather will depend on what item you plan to create, such as a wallet, belt, or even a small bag.Alligator skin pattern template
To achieve an authentic alligator skin look, you will need a template of the pattern. You can find printable templates online or create your own by tracing an actual alligator skin texture onto a thin piece of paper or cardboard.Pencil
A pencil will be used to trace the alligator skin pattern onto the leather. It is important to use a pencil that makes visible marks without causing damage to the leather.Craft knife
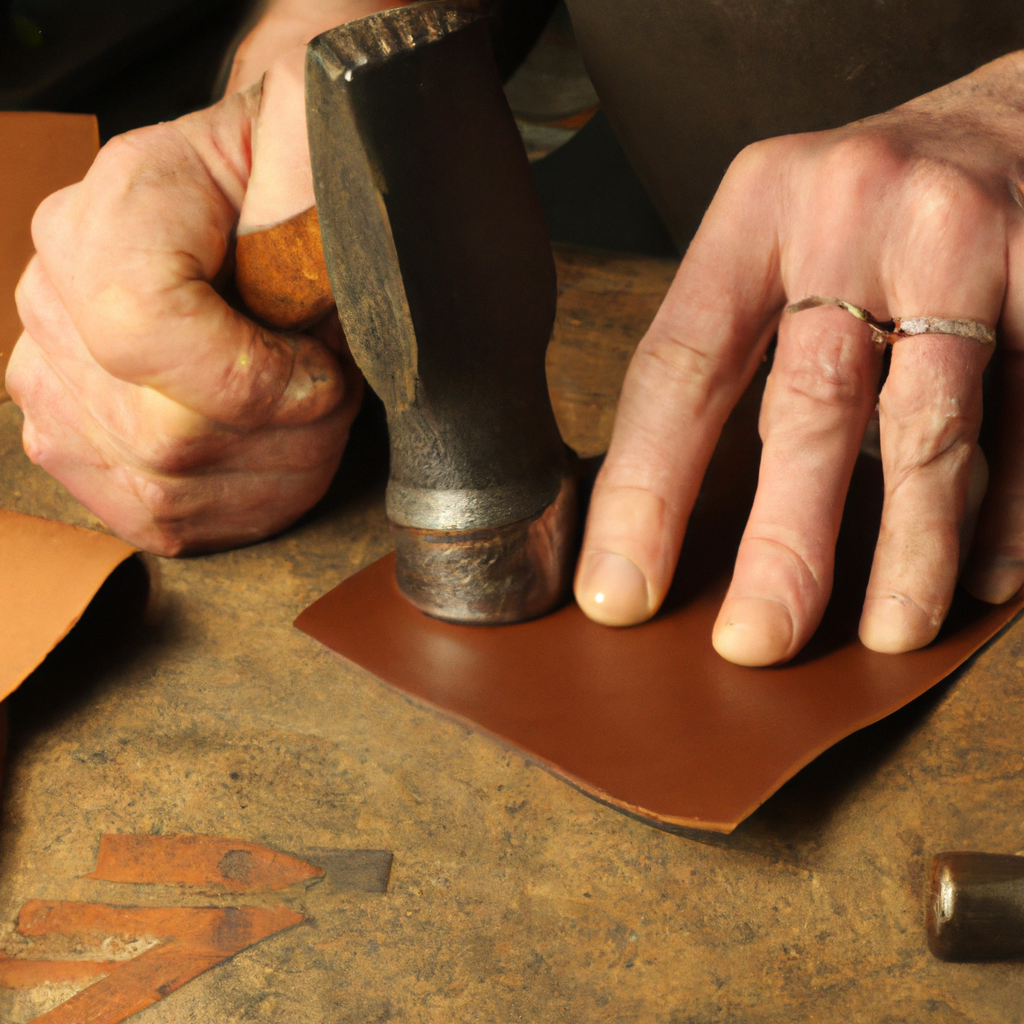
A craft knife will be used for cutting the pattern into the leather. Make sure to use a sharp craft knife to ensure clean and precise cuts.Edge beveler
An edge beveler is a tool used to smooth the edges of the leather after cutting. It adds a polished look to the final product.Leather dye
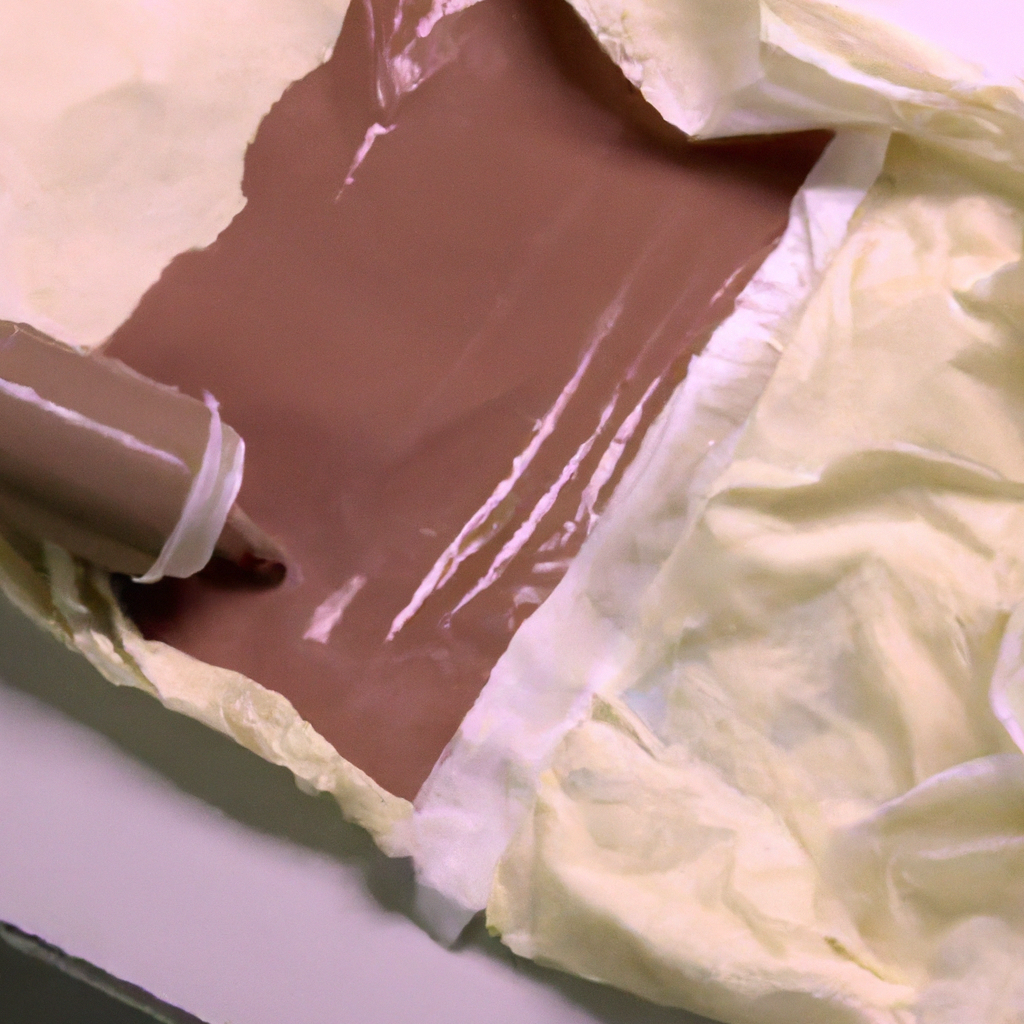
Leather dye is essential for adding color and depth to the alligator skin pattern. Choose a dye color that closely resembles the natural shades found in alligator skin.Sponge or brush
A sponge or brush is used to apply the leather dye evenly onto the cut pattern. It helps to blend the dye and achieve a smooth and natural appearance.Leather finish
Applying a leather finish is important to protect the pattern and seal in the dye. The finish adds durability and provides a polished look to the leather.Sandpaper
Sandpaper is useful for smoothing any rough edges or surfaces of the leather before and after cutting the pattern.Stitching tools
If you want to add extra durability and detail to your alligator skin pattern, you may consider using stitching tools to sew around the pattern. This step is optional but can elevate the overall look of your leather project. Now that you have gathered all the necessary materials, let’s move on to the next steps of giving leather an alligator skin pattern.Preparing the Leather
Before you start transferring and cutting the alligator skin pattern on your leather, it is important to properly prepare the leather.Clean and dry the leather
Begin by cleaning the leather thoroughly to remove any dirt or dust that may be present. Use a mild soap or leather cleaner and a soft cloth to gently cleanse the surface. Ensure that the leather is completely dry before proceeding to the next step.Smooth the surface
To achieve the best results, it is important to have a smooth and even surface on the leather. You can use sandpaper of a suitable grit to gently sand any rough spots or uneven areas. This step will ensure that the alligator skin pattern appears more defined and polished.Trim the edges
Using a sharp pair of scissors, trim the edges of the leather to your desired shape and size. This step will help make the pattern stand out and give your final project a clean and professional look.Dampen the leather
Before transferring the alligator skin pattern onto the leather, it is recommended to dampen the leather slightly with a damp sponge or cloth. This will make the leather more pliable and help the pattern transfer more easily and accurately. With the leather properly prepared, it’s time to move on to the next step of transferring the pattern.Transferring the Pattern
To create an alligator skin pattern on your leather, you will need to transfer the pattern onto the leather surface.Select a suitable alligator skin pattern
Choose an alligator skin pattern that suits your preferences and the size of your leather project. Look for patterns that closely resemble the natural texture and markings found on alligator skin. There are various patterns available online or you can create your own by tracing an actual alligator skin texture.Print or trace the pattern onto a template
If you have found a suitable pattern online, print it out to the desired size. Alternatively, if you have chosen to create your own pattern, trace it onto a thin piece of paper or cardboard.Position and secure the template on the leather
Place the template onto the leather in the desired position. Use small pieces of tape or clips to secure the template in place. Ensure that the template is aligned properly to achieve a symmetrical and accurate pattern.Trace the pattern onto the leather
Using a sharp pencil, carefully trace the pattern onto the leather, applying moderate pressure to ensure the lines are visible. Take your time during this step to ensure an accurate transfer of the alligator skin pattern onto the leather surface. Once the pattern is transferred, it’s time to move on to the next step – cutting the pattern.Cutting the Pattern
Now that the alligator skin pattern is traced onto the leather, it’s time to start cutting and creating the textured look.Choose the appropriate cutting tool
Using a sharp craft knife or leather cutting tool, choose the appropriate blade size for your desired texture. A small pointed blade is ideal for creating fine details, while a wider blade is better for larger textures.Make initial incisions along the pattern lines
With a steady hand, start making small incisions along the traced pattern lines. Make sure to follow the lines precisely to achieve an accurate representation of the alligator skin texture. Take your time during this step to ensure clean and intentional cuts.Continue cutting to create the alligator skin texture
Extend the initial incisions by cutting additional parallel lines to create the textured appearance of alligator skin. The spacing between the lines should be consistent and mimic the natural texture of alligator skin.Refine the cuts with a craft knife
To add depth and realism to the alligator skin pattern, use a craft knife to refine and shape the cuts. You can gently deepen some of the incisions or create variations in the depth to mimic the natural texture of alligator skin. Be careful not to cut too deeply and damage the leather.Smooth any rough edges with sandpaper
After cutting the pattern, use sandpaper to smooth any rough edges or surfaces of the leather. This step will help create a more polished and refined finished product. Now that you have successfully cut the alligator skin pattern, it’s time to move on to adding depth and definition to the texture.Adding Depth and Definition
To enhance the alligator skin pattern and make it more visually appealing, you can add depth and definition to the texture.Bevel the edges around the pattern
Using an edge beveler, gently bevel the edges around the alligator skin pattern. This will give the pattern a more polished and refined look. Be careful not to press too hard and damage the leather.Dye the cut pattern to enhance definition
Choose a suitable leather dye color that closely resembles the natural shades found in alligator skin. Apply the dye evenly onto the cut pattern using a sponge or brush. Make sure to saturate the cuts fully to enhance definition and highlight the texture.Apply multiple layers of dye for depth
To create depth and dimension in the alligator skin pattern, apply multiple layers of dye. Allow each layer to dry before applying the next one. Adding layers of dye will enhance the overall appearance and make the pattern more realistic.Blend the dye with a sponge or brush
After applying multiple layers of dye, use a sponge or brush to blend the dye and achieve a smooth and natural appearance. This step will help soften any harsh lines or edges and create a more realistic alligator skin texture. Now that you have added depth and definition to your alligator skin pattern, it’s time to move on to the finishing touches.Finishing Touches
To complete the alligator skin pattern on your leather, you will need to apply a leather finish and give the leather a polished look.Use a leather finish to protect the pattern
A leather finish is important to protect the pattern and seal in the dye. Choose a leather finish that suits your preferences, such as matte or glossy. Apply the finish evenly onto the leather using a sponge or brush.Allow the finish to dry completely
After applying the leather finish, allow it to dry completely. Follow the manufacturer’s instructions for drying time, as it may vary depending on the type of finish used.Buff the leather for a polished look
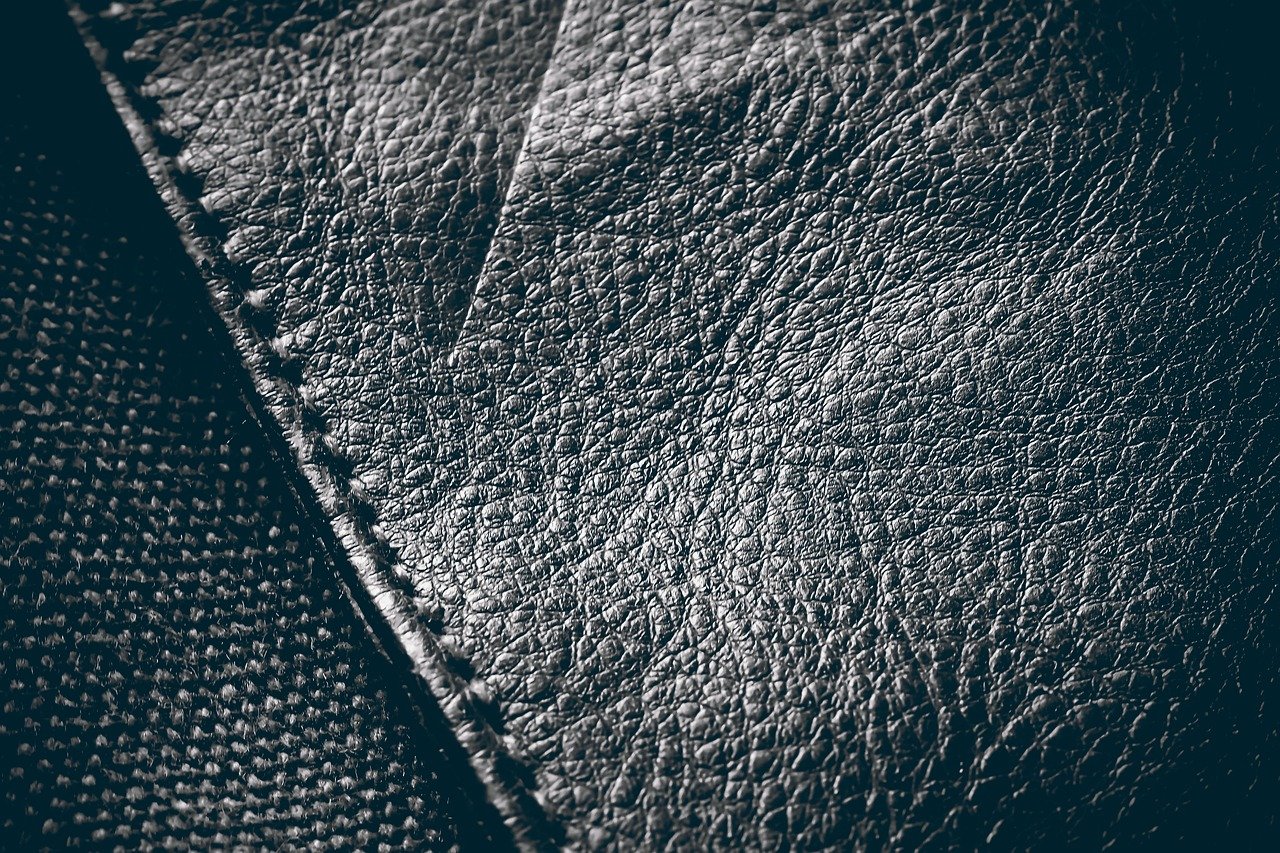
Once the leather finish is dry, use a soft cloth or buffing tool to gently buff the leather. This will enhance the shine and give your alligator skin pattern a polished and professional look. Congratulations! You have successfully given leather an alligator skin pattern. However, there are still some optional steps you can consider to further enhance your project.Optional Steps
If you want to take your alligator skin pattern to the next level, here are some optional steps you can try:Adding additional details or textures
If you want to add more intricate details or textures to your alligator skin pattern, you can experiment with additional tools or techniques. For example, you can use a leather stamping tool to create small scales or other unique patterns that can complement the alligator texture.Embossing the pattern for a 3D effect
To give your alligator skin pattern a three-dimensional effect, you can emboss the pattern using an embossing tool. This will create a raised texture that adds depth and realism to the pattern.Experiment with different dye colors
While traditional alligator skin patterns are often in natural shades of brown and black, don’t be afraid to experiment with different dye colors. You can create unique and eye-catching alligator skin patterns by using dyes in various shades, such as blue, green, or even metallic colors.Stitching around the pattern for added durability
If you want to add extra durability and detail to your project, consider stitching around the alligator skin pattern. This step is optional but can elevate the overall look of your leather item and make it more sturdy. With these optional steps, you can truly make your alligator skin pattern project your own and showcase your creativity.Tips and Precautions
Here are some tips and precautions to keep in mind when giving leather an alligator skin pattern:Practice cutting on scrap leather before attempting on the final piece
Before cutting the alligator skin pattern on your final piece of leather, it is recommended to practice on scrap leather. This will help you get a better understanding of the cutting technique and ensure that you achieve the desired results.Be careful with the craft knife to avoid accidents
When using a craft knife, always exercise caution. The blade is sharp and can cause accidents if not handled properly. Make sure to keep your fingers away from the blade and use a cutting mat or surface to protect your work area.Test the dye on a small, inconspicuous area of the leather
Before applying the dye to the entire pattern, it is advisable to test it on a small, inconspicuous area of the leather. This will help you determine if the dye produces the desired color and if it reacts well with the leather.Work in a well-ventilated area when using dye or finish
When working with leather dye or finish, it is important to do so in a well-ventilated area. Some products may contain strong fumes that can be harmful if inhaled, so ensure that you have proper ventilation to protect your health.Maintenance and Care
To ensure the longevity of your leather item with an alligator skin pattern, it is important to properly maintain and care for it.Clean the leather regularly with a mild soap
Regularly clean the leather item with a mild soap specifically designed for leather. Gently wipe away any dirt or stains using a soft cloth. Avoid using harsh chemicals or excessive water, as this can damage the leather and affect the alligator skin pattern.Avoid excessive exposure to sunlight or moisture
To prevent fading or damage to the alligator skin pattern, avoid exposing the leather item to excessive sunlight or moisture. Prolonged exposure to sunlight can cause the dye to fade, while moisture can lead to mold or mildew growth.Condition the leather to keep it supple and prevent cracking
Leather conditioning is important to keep the leather supple and prevent cracking. Use a quality leather conditioner and apply it regularly, following the manufacturer’s instructions. This will help maintain the overall quality and appearance of the alligator skin pattern.Can I Use the Same Techniques for Creating Alligator Skin Pattern on Leather as I Would for Getting Smooth Finishes?
Yes, you can apply the same techniques for creating an alligator skin pattern on leather as you would for getting smooth finishes. By following the “tips for smooth leather finishes,” such as sanding, burnishing, and applying multiple layers of dye, you can achieve both textured and smooth leather surfaces effectively.