If you’re looking to give your leather items a unique and aged appearance, there’s no better way than using leather dye to achieve an antique or distressed look. By applying specific dye techniques and color variations, you can transform your leather pieces into vintage treasures that exude character and charm. Whether it’s a worn-out leather jacket or a tired-looking handbag, this article will guide you step-by-step on how to achieve that coveted antique or distressed look with leather dye. Get ready to revive your leather goods and add a touch of old-world beauty to your collection.

Choosing the Right Leather Dye
When it comes to achieving an antique or distressed look with leather dye, the first step is to choose the right dye for the job. There are two main types of leather dyes to consider: natural and synthetic dyes.
Natural vs. Synthetic Dyes
Natural dyes are derived from plant or animal sources and are known for their vibrant and earthy colors. They are often preferred by those who value a more natural and organic approach to dyeing leather. Synthetic dyes, on the other hand, are chemically created and offer a wider range of color options. They are often more durable and resistant to fading over time.
Both natural and synthetic dyes have their own advantages, so it ultimately depends on your personal preference and the desired outcome of your project. Consider factors such as color intensity, longevity, and environmental impact when making your decision.
Water-Based vs. Oil-Based Dyes
Another important consideration when choosing a leather dye is whether to opt for a water-based or oil-based dye. Water-based dyes are easier to work with and tend to dry faster, making them a popular choice among beginners. They also offer a wider range of colors and are more environmentally friendly. On the other hand, oil-based dyes penetrate deeper into the leather and provide a richer and more lustrous finish. They are often preferred for achieving an antique look.
Take into account the specific characteristics you want to achieve in your project and weigh the pros and cons of each type of dye. You can also experiment with combining different dyes to achieve unique effects.
Preparing the Leather Surface
Before applying any dye, it is crucial to properly prepare the leather surface. This ensures that the dye adheres well and produces a smooth and even finish. There are two main steps in preparing the leather surface: cleaning and conditioning, and sanding or buffing.
Cleaning and Conditioning
Start by thoroughly cleaning the leather surface to remove any dirt, oils, or previous finishes. Use a mild leather cleaner or a solution of warm water and gentle soap. Gently scrub the surface with a soft cloth or sponge, making sure to reach all the corners and crevices. Once clean, allow the leather to dry completely.
After cleaning, it is important to condition the leather to restore its moisture and flexibility. Apply a leather conditioner or a mixture of natural oils to the surface, using a soft cloth or a sponge. Allow the conditioner to soak in for a few minutes before wiping off any excess. Conditioning helps prevent the leather from drying out or cracking during the dyeing process.
Sanding or Buffing
In some cases, especially when working with old or worn-out leather, sanding or buffing the surface may be necessary to achieve a smooth and even base for the dye. Use a fine-grit sandpaper or a leather-specific abrasive pad to gently sand or buff the leather. This helps remove any imperfections, stains, or roughness. Make sure to wipe away any dust or debris before proceeding to the next step.
Applying the Base Color
Once the leather surface is properly prepared, it is time to apply the base color. This step sets the foundation for the antique or distressed look you are trying to achieve. There are several factors to consider when applying the base color: selecting the base color, preparing the dye, and applying the base coat.
Selecting the Base Color
When selecting the base color, think about the desired vintage aesthetic and how it will complement the overall look of the leather item. Darker shades, such as browns and burgundies, are commonly used for achieving an antique look, while lighter shades can create a more weathered appearance. Consider the color of the final product and ensure it aligns with your vision.
Preparing the Dye
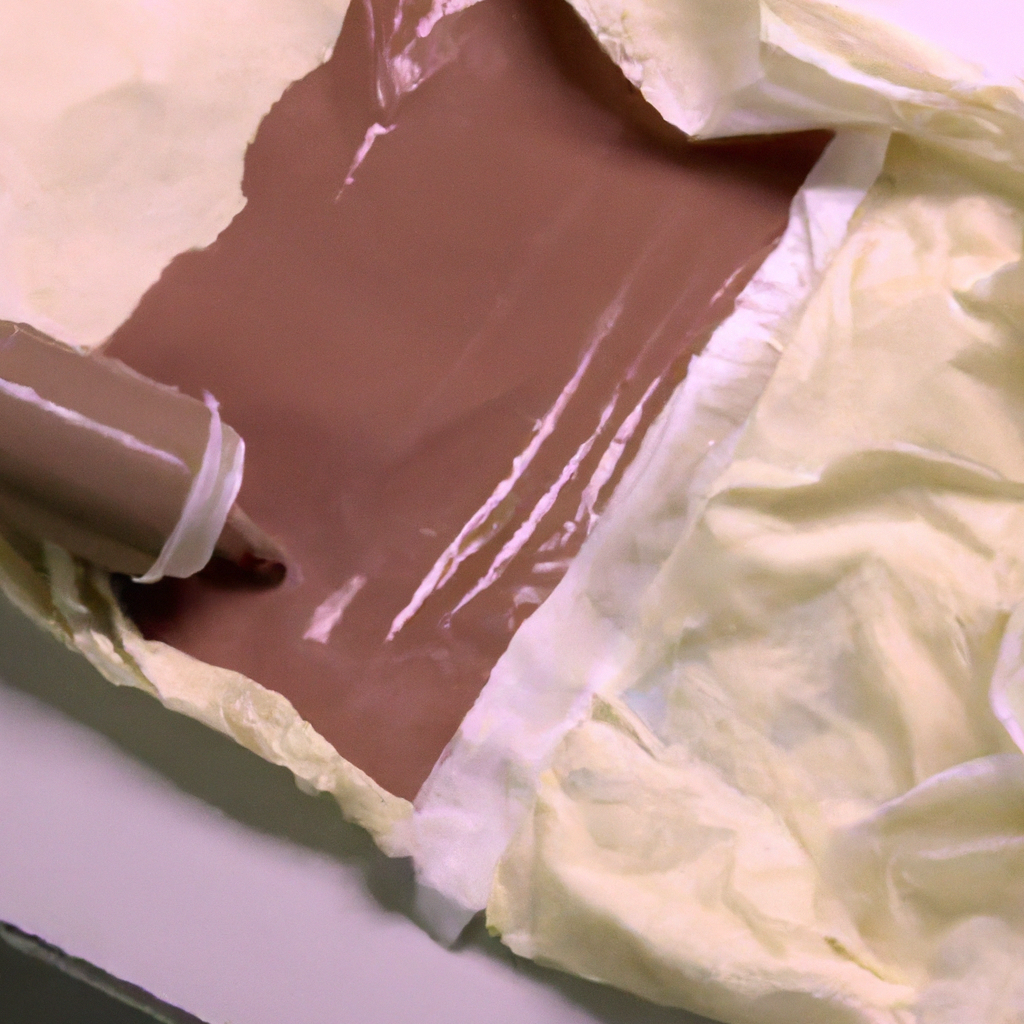
Properly preparing the leather dye is essential for achieving the desired results. Follow the instructions provided by the dye manufacturer to mix the dye solution in the correct proportions. Some dyes may require dilution with water or a specific type of solvent, so be sure to read the packaging carefully. Mixing the dye thoroughly helps ensure an even and consistent color application.
Applying the Base Coat
To apply the base coat, use a clean sponge, brush, or lint-free cloth. Start by applying a thin layer of dye in smooth and even strokes, working in a small area at a time. Make sure to reach all the nooks and crannies of the leather item. Allow the first coat to dry completely before applying additional coats if needed. Multiple coats may be necessary to achieve the desired color intensity and coverage.
Remember to follow the dye manufacturer’s instructions regarding drying time and any additional steps required for setting the base color. Once the base coat is dry, you can proceed to the next step of creating an antique look.
Creating an Antique Look
To truly achieve an antique look with leather dye, it is important to go beyond simply applying a base coat. There are various techniques and solutions that can be used to add depth, character, and an aged appearance to the leather. Let’s explore some of the key steps in creating an antique look: selecting the antiquing technique, using an antiquing solution, and applying the antiquing solution.
Selecting the Antiquing Technique
There are several antiquing techniques you can employ to create a distressed or aged look on your leather item. Some popular options include:
-
Dry brushing: This technique involves applying a small amount of contrasting dye or paint to a dry brush and lightly brushing it over the raised areas of the leather. This highlights the texture and adds depth to the overall look.
-
Rubbing with a cloth: By rubbing a cloth with a small amount of contrasting dye or polish onto the leather surface, you can create a worn and weathered appearance. Focus on areas that would naturally experience more wear and tear, such as corners or edges.
-
Staining with tea or coffee: For a more natural and subtle antique look, you can steep tea or coffee and use the liquid to stain the leather. This method adds a gentle patina and can be layered for a more pronounced effect.
Consider the desired level of distressing and select the technique that best suits the look you want to achieve.
Using an Antiquing Solution
In addition to using various techniques, you can enhance the antique look by utilizing an antiquing solution. These solutions are specifically designed to age leather and provide a vintage appearance. They come in different shades, such as sepia or walnut, and can be brushed or sprayed onto the leather surface.
Before applying the antiquing solution, it is important to test it on a small, inconspicuous area of the leather to ensure it produces the desired effect. Once you are satisfied with the result, you can proceed to apply it to the entire leather item.
Applying the Antiquing Solution
To apply the antiquing solution, use a clean sponge, brush, or lint-free cloth. Start by applying a small amount of the solution onto the applicator and gently work it into the leather surface using circular motions. Pay attention to details, such as stitching or embossed patterns, to create an authentic aged look. Experiment with different amounts of solution and application techniques to achieve the desired effect.
Once the antiquing solution is applied, allow it to dry according to the manufacturer’s instructions. Some solutions may require an additional step of sealing or buffing, so be sure to follow the recommended process. The result will be a beautifully aged and distressed appearance that adds character and charm to your leather item.
Distressing the Leather
If you want to take the antique look a step further, you can distress the leather to create a more worn and aged appearance. There are several techniques you can use to distress leather, including using distressing tools and applying heat or solvents.
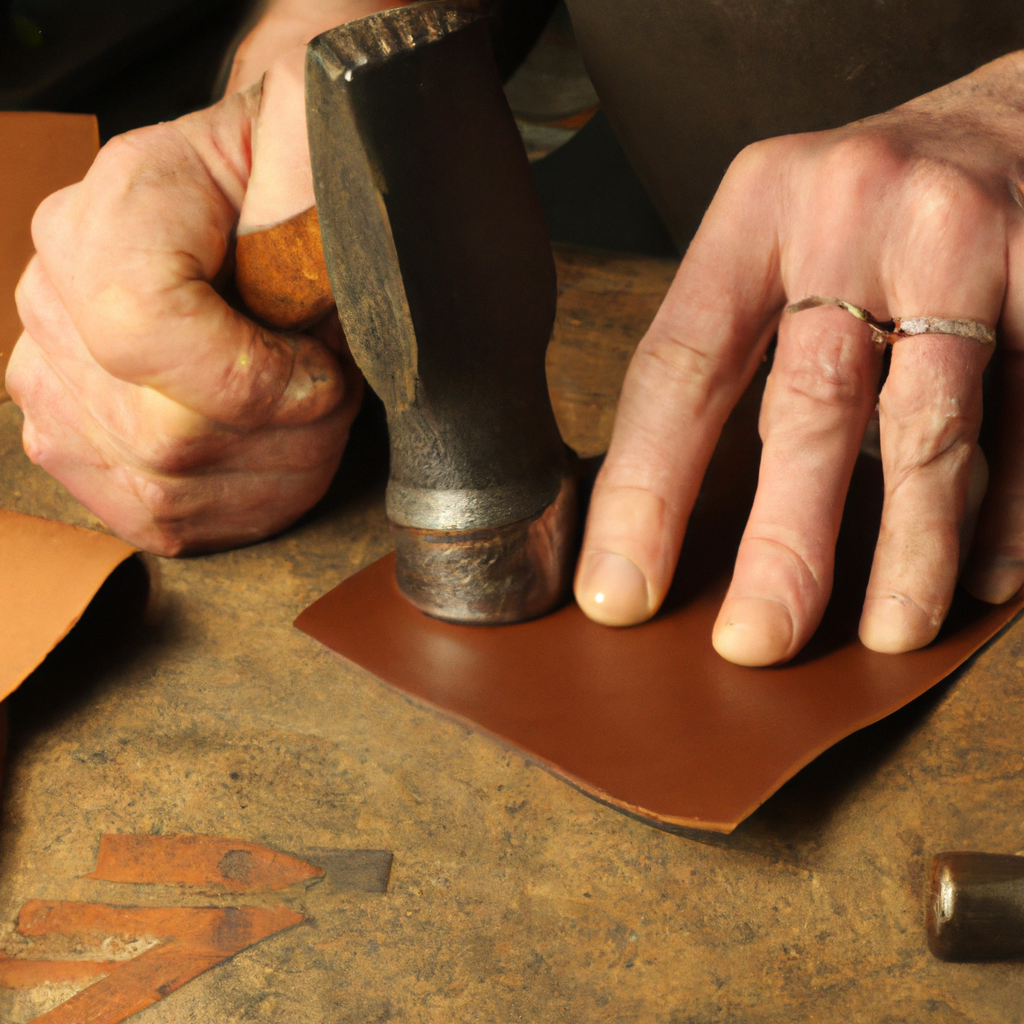
Using Distressing Tools
Distressing tools, such as sandpaper, wire brushes, or even nails, can be used to simulate years of wear and tear on the leather. Lightly sand or brush the areas that would naturally experience friction or abrasion, such as corners, edges, or any raised surfaces. Be mindful not to overdo it and cause irreversible damage to the leather. The goal is to create a subtle and natural-looking distressing effect.
Applying Heat or Solvents
Heat or solvents can also be employed to distress leather and achieve an aged appearance. Use a heat gun or a hairdryer set on low heat to warm up the leather surface. This makes the leather more pliable and allows you to create creases, wrinkles, or folding marks. Alternatively, you can apply solvents, such as rubbing alcohol or acetone, to certain areas of the leather to create subtle fading or discoloration. Always test any heat or solvent application on a small, inconspicuous area first to ensure it does not cause any damage.
Remember that distressing leather is an art form, and experimentation will help you achieve unique and personalized results. It is recommended to practice on scrap pieces of leather before attempting distressing techniques on your main project.
Sealing the Finish
After achieving the desired antique or distressed look, it is important to seal the finish to protect the leather and prolong its lifespan. Choosing the right sealant and applying it correctly are crucial steps in completing your project.
Choosing a Sealant
There are various types of sealants available, including leather finishes, waxes, or protective sprays. Consider factors such as the level of gloss or shine you desire, the flexibility of the sealant, and its compatibility with the dye and antiquing products you have used. Some sealants may alter the appearance of the leather slightly, so it is important to test them on a small area before applying them to the entire surface.
Applying the Sealant
To apply the sealant, use a clean sponge, brush, or lint-free cloth. Start by applying a thin and even layer, working in small sections. Make sure to cover the entire surface, including any seams or stitching. Allow the first coat to dry completely before applying additional coats if necessary. Multiple coats of sealant can provide added protection and longevity to your distressed leather item.
Follow the instructions provided by the sealant manufacturer regarding drying time, curing, and any specific care requirements. Once the sealant is fully dried and cured, your distressed leather is ready to be enjoyed for years to come.
Caring for Your Distressed Leather
Taking proper care of your distressed leather ensures its longevity and maintains its appearance over time. Regular cleaning, conditioning, and moisturizing are key to preserving the beauty and functionality of your leather item.
Regular Cleaning
Dust and dirt can accumulate on the surface of distressed leather over time, so it is important to clean it regularly. Use a soft, dry cloth or a brush to gently remove any surface dust or debris. If necessary, a mild leather cleaner or a damp cloth can be used to tackle stubborn stains or spots. Avoid using excessive water or harsh chemicals, as they can damage the dye or disrupt the antiquing and distressing effects. Always spot test any cleaning products on an inconspicuous area before applying them to the entire leather item.
Conditioning and Moisturizing
Distressed leather requires regular conditioning and moisturizing to prevent it from drying out or cracking. Apply a leather conditioner or a mixture of natural oils to the surface of the leather using a soft cloth or a sponge. This helps replenish the natural oils and keeps the leather supple. Allow the conditioner to absorb for a few minutes before wiping off any excess. Conditioning should be done periodically, depending on the level of use and environmental conditions.
Maintaining proper care of your distressed leather will ensure that it continues to age gracefully and maintain its unique characteristics.
Consulting with a Professional
If you are unsure about any aspect of the leather dyeing and distressing process or if you want to achieve a complex or specialized look, it may be beneficial to consult with a professional. Seeking expert advice from a leather craftsman or a professional dyeing service can provide valuable insights and ensure that your project turns out exactly as you envision.
Seeking Expert Advice
A leather craftsman or a professional dyeing service can offer guidance on choosing the right type of dye, recommending specific techniques, and providing personalized advice based on your unique project. They have experience working with different types of leather and can troubleshoot any challenges or questions you may have. Consulting with an expert can save you time, resources, and potential disappointments.
Leaving it to the Professionals
If you find the leather dyeing and distressing process daunting or if you want a flawless and expertly finished result, you may opt to leave the project in the hands of professionals. Leather dyeing and distressing specialists have the knowledge, experience, and specialized tools to achieve professional-grade results. They can create custom color blends, apply intricate techniques, and provide expert care for your distressed leather item. By entrusting your project to professionals, you can have peace of mind knowing that it will be executed with precision and skill.
Experimenting with Different Techniques
Leather dyeing and distressing offer endless possibilities for creativity and personalization. Once you have mastered the basics, feel free to experiment with different techniques and explore various combinations of dyes and colors.
Mixing Dyes and Colors
Mixing dyes and colors can yield unique and unexpected results. Consider blending different shades to create custom hues that enhance the aesthetic you are trying to achieve. Gradual color transitions or subtle variations can add depth and character to your distressed leather item. Remember to document your dye concoctions and take note of the proportions used for future reference.
Trying Different Distressing Methods
Distressing leather is a versatile art form, and there are countless methods to explore. Try combining different distressing tools, heat applications, or solvents to achieve distinct textures and patterns. Experiment with varying degrees of distressing, from subtle and natural-looking aging to more pronounced wear and tear. Each technique will contribute to the uniqueness of your distressed leather and showcase your creativity.
Remember, leather dyeing and distressing is an ongoing learning process, and the more you experiment and practice, the more you will hone your skills and discover new techniques to achieve stunning results.
Can Distressed Leather be Colored with Leather Dye?
Yes, distressed leather can be colored with leather dye. The dye can revitalize the worn-out leather, bringing new life to the material. Additionally, adding decorative leather cuts can enhance the overall look and style of the distressed leather, creating a unique and personalized touch.
Understanding the Leather’s Age and Quality
To fully appreciate and successfully distress leather, it is important to understand its age and quality. Different types of leather and their unique characteristics can significantly influence the outcome of the dyeing and distressing process.
Researching Leather Types
Before starting your project, take the time to research and familiarize yourself with different types of leather. Full-grain leather, top-grain leather, and genuine leather are just a few examples of the variations you may encounter. Each type has distinct qualities, such as texture, durability, and natural markings. Understanding these differences will help you choose the right dye and distressing techniques for your specific leather type.
Identifying Characteristics of Aged Leather
Aged leather displays certain characteristics that can be replicated when distressing leather. Natural creases, patina, and color variations are common features found in vintage leather items. By studying and observing aged leather, you can replicate these traits and create an authentic antique look. Consider the location and intensity of wear and tear on vintage leather, and use it as a guide when distressing your own leather item.
Developing an understanding of leather types and the nuances of aged leather will refine your overall approach to dyeing and distressing, helping you achieve more authentic and visually stunning results.
In conclusion, achieving an antique or distressed look with leather dye requires careful consideration and attention to detail. From choosing the right dye and preparing the leather surface to creating an authentic vintage appearance and properly caring for your distressed leather, each step contributes to the final result. Whether you decide to take on the project yourself or seek expert assistance, the possibilities for creating unique and personalized distressed leather items are endless. So, unleash your creativity, experiment with different techniques, and enjoy the transformation process as your leather develops its own character and tells its story.