Are you looking to enhance the professional finish and durability of your leather crafts? If so, then you’ll want to know the best techniques for polishing edges or beveling leather pieces by hand. Whether you’re a seasoned leatherworker or just starting out, this article will guide you through the step-by-step process to achieve smooth, glossy edges that will truly elevate the quality of your leather creations. From selecting the right tools to mastering the art of burnishing, discover the secrets to achieving that perfect polished look that will make your leather projects truly stand out.

1. Understanding the importance of polishing edges and beveling leather pieces
1.1 Enhancing the appearance and durability of leather products
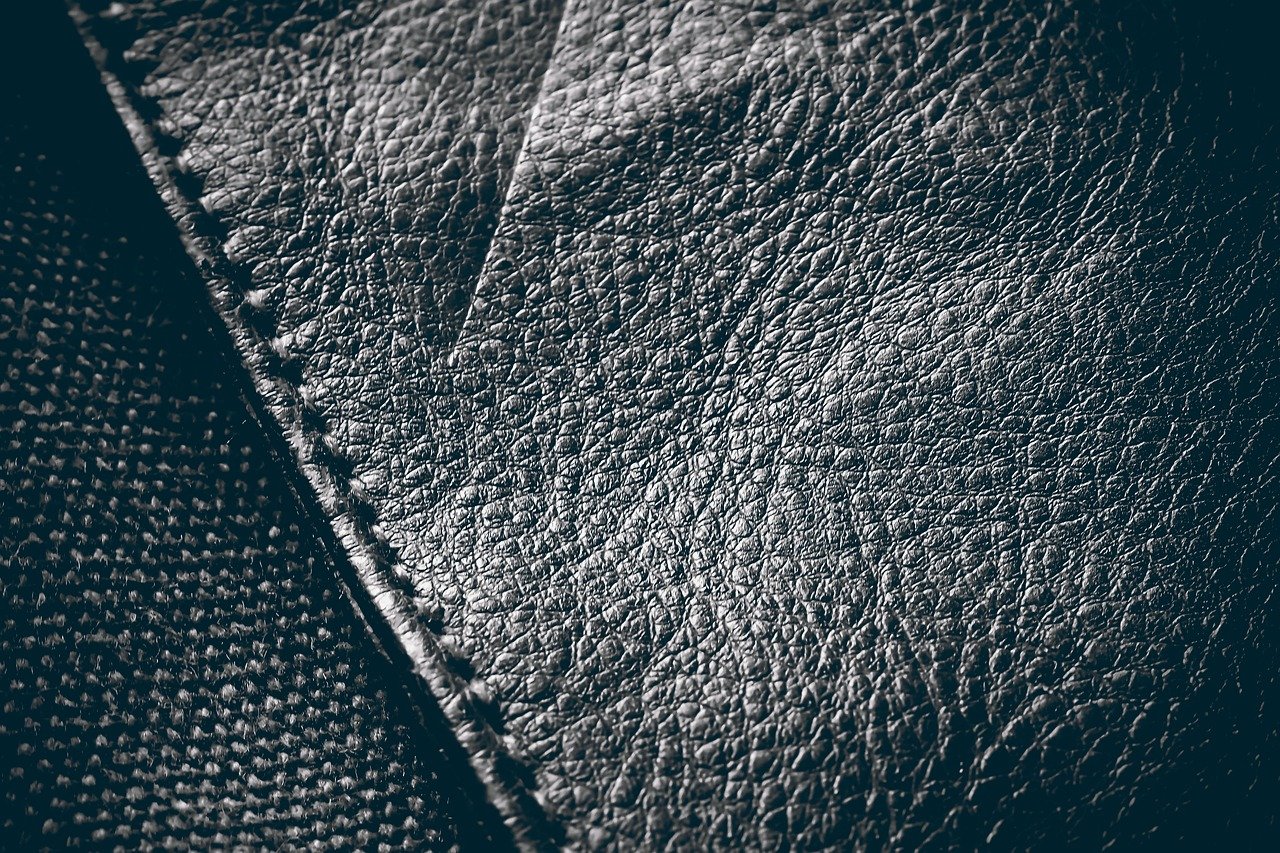
When it comes to leather crafting, one of the most crucial steps is polishing the edges and beveling the leather pieces. This not only enhances the overall appearance of the finished product but also significantly improves its durability. Polished edges give a professional and refined look to leather goods, making them stand out from the crowd. The edges are often the most noticeable part of a leather item, and by polishing them, you add a touch of elegance and sophistication to your craftsmanship.1.2 Creating smooth and rounded edges
Polishing the edges of leather pieces is essential for creating smooth and rounded edges. Raw edges tend to be rough and uneven, and this can detract from the overall quality and beauty of the piece. By carefully smoothing and rounding the edges, you not only improve the aesthetics but also ensure a comfortable and pleasant touch. Imagine running your fingers along a perfectly polished leather edge – it feels luxurious and refined, doesn’t it?1.3 Minimizing the risk of fraying and damage
One of the main reasons for polishing edges and beveling leather pieces is to minimize the risk of fraying and damage. Unfinished edges are prone to fraying, especially with regular use. This can lead to the deterioration of the leather over time, compromising its structural integrity. By properly polishing the edges, you create a protective barrier that prevents fraying and extends the lifespan of the leather item. Whether it’s a bag, wallet, or belt, ensuring the edges are polished will make it more resistant to wear and tear.1.4 Achieving a professional and refined finish
Lastly, polishing the edges and beveling leather pieces is essential for achieving a professional and refined finish. As a leather crafter, you take pride in your work, and attention to detail is crucial. Polishing the edges allows you to achieve a level of craftsmanship that sets your products apart. It gives your leather pieces a high-end, luxurious look that appeals to customers who appreciate quality and sophistication. A well-finished edge adds that final touch of finesse and elevates your leather items to a whole new level.2. Gathering the necessary tools and materials
2.1 Required tools for polishing edges and beveling leather
Before diving into the process of polishing edges and beveling leather, it’s essential to gather the necessary tools and materials. To start, you’ll need a few basic tools, including a wooden slicker, burnishing tool, sandpaper, and polishing solution. These tools are readily available at leatherworking supply stores and online retailers.2.2 Optional tools for more specialized techniques
If you want to explore more advanced or specialized techniques, there are additional tools you can consider. Some leatherworkers opt for electric burnishers or edge painting machines to achieve specific finishes. While these tools are not essential for beginners, they can provide added convenience and efficiency in the long run.2.3 Selecting appropriate polishing compounds and solutions
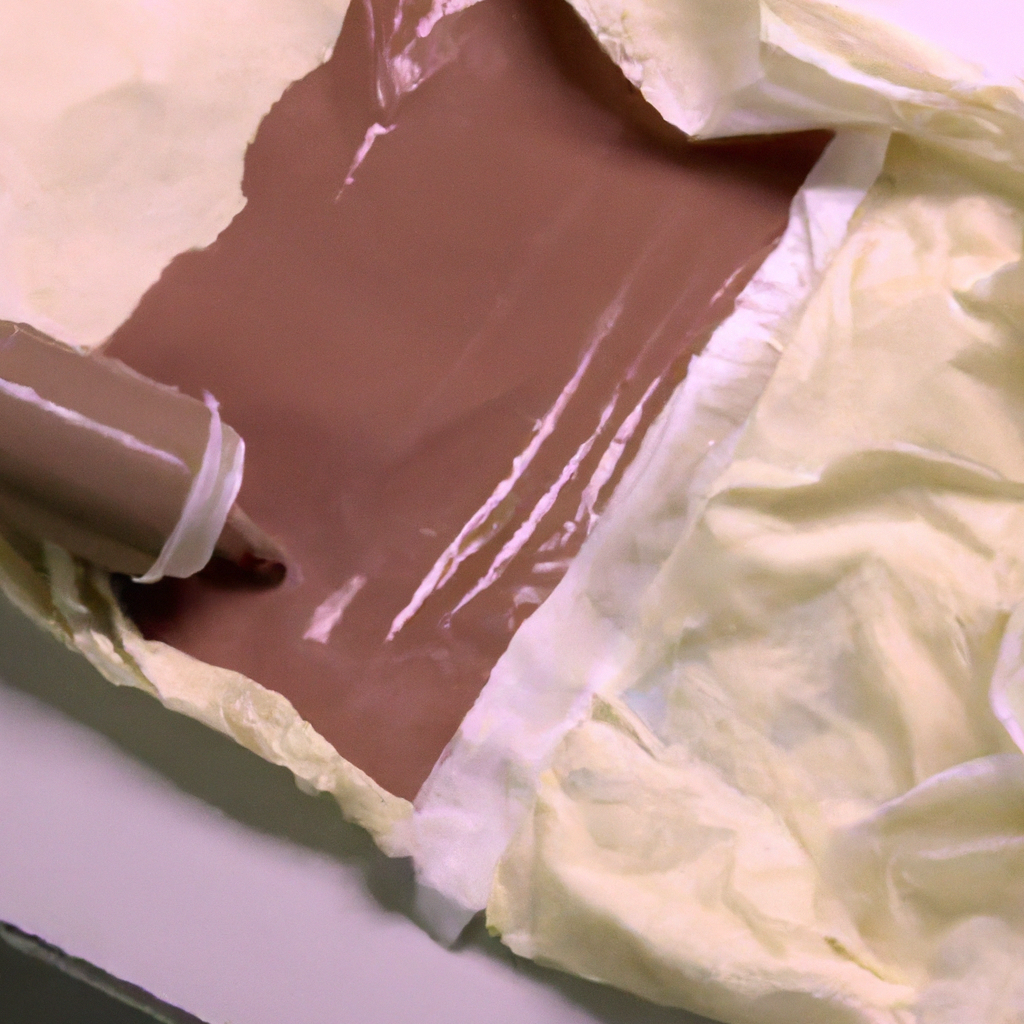
When it comes to selecting polishing compounds and solutions, it’s best to choose those specifically designed for leather. These compounds enhance the shine and durability of the edges and come in various types, such as wax, gum tragacanth, and water-based solutions. Experimenting with different compounds can help you achieve the desired finish for your leather projects.
3. Preparing the leather for edge polishing
3.1 Cleaning and degreasing the leather surface
Before you begin polishing the edges, it’s important to ensure that the leather surface is clean and free from any dirt, dust, or grease. Use a soft cloth or brush to gently remove any debris from the leather. If there are grease stains or dirt spots, you can lightly dampen a cloth with warm water and mild soap to clean the affected area. Be sure to thoroughly dry the leather before proceeding to the next step.3.2 Sanding or trimming any uneven edges
To create smooth and even edges, it may be necessary to sand or trim any uneven parts of the leather. This step ensures that the finished product has a polished and refined look. Using sandpaper with a grit suitable for your leather type, gently sand the edges in a consistent motion. Alternatively, you can use a sharp knife or trimming tool to carefully trim off any excess or uneven parts of the edges. Be cautious during this step to avoid cutting too much or damaging the leather.3.3 Dampening the leather for smooth polishing
To facilitate smooth and effective polishing, consider dampening the leather edges slightly. This can be done by lightly spraying or applying water to the edges with a damp sponge or cloth. The moisture helps soften the leather and makes it more receptive to the polishing compounds and solutions. However, be cautious not to oversaturate the leather, as excessive moisture can affect its integrity.3.4 Masking or protecting areas not intended for polishing
Before initiating the polishing process, it’s important to protect any areas of the leather that are not intended for polishing. This can be achieved by using painter’s tape or masking tape to cover the surface adjacent to the edges. By creating a barrier, you prevent any excess polish or solutions from staining or damaging the rest of the leather. This step ensures a neat and clean finish without any unwanted marks or residue.4. Polishing leather edges by hand
4.1 Using leather burnishing tools for edge polishing
To polish leather edges by hand, one of the most effective methods is using leather burnishing tools. These tools, such as wooden slickers or edge slickers, help create friction, heat, and pressure to smooth the edges and achieve a glossy finish. Leather burnishing tools come in various shapes and sizes, allowing you to cater to different edges and curves.4.2 Applying polishing compounds and solutions
Before burnishing the edges, it’s important to apply the appropriate polishing compounds or solutions. This step enhances the shine and durability of the edges. Apply a small amount of the selected compound or solution onto the edge of the leather, making sure to distribute it evenly along the surface. This can be done with a soft cloth or directly using your finger in a circular motion.4.3 Rubbing and burnishing the leather with a wooden slicker
Once the polishing compound or solution is applied, it’s time to start burnishing the leather edges with a wooden slicker. Hold the slicker firmly against the edge at a slight angle and apply moderate pressure. Move the slicker back and forth along the edge, creating friction and heat. Continue rubbing until the edge starts to smooth and shine.4.4 Achieving smooth and glossy edges through friction
As you continue burnishing the leather edges with the wooden slicker, you’ll notice the transformation taking place. The friction generated by the rubbing motion helps smooth out any roughness or unevenness. The heat produced softens the polishing compound or solution, allowing it to penetrate the surface of the leather and create a glossy finish. Be patient and persistent, ensuring that you cover the entire edge evenly.4.5 Repeating the process for multiple layers or thicker edges
If you’re working with multiple layers of leather glued together or thicker edges, it may be necessary to repeat the polishing process. Start by applying additional polish or solution, ensuring that it’s evenly distributed. Increase the pressure and continue burnishing with the wooden slicker until the desired result is achieved. Remember to maintain a consistent motion and avoid applying excessive force, as this may damage the leather.
5. Beveling leather pieces for a professional look
5.1 Understanding the purpose of beveling
Beveling is the process of angling or chamfering the edges of leather pieces. Its purpose is to create a smooth transition from the flat surface to the edge, giving the piece a more polished and professional look. Beveling not only enhances the aesthetics but also reduces the likelihood of the edges catching or fraying over time.5.2 Selecting appropriate beveling tools
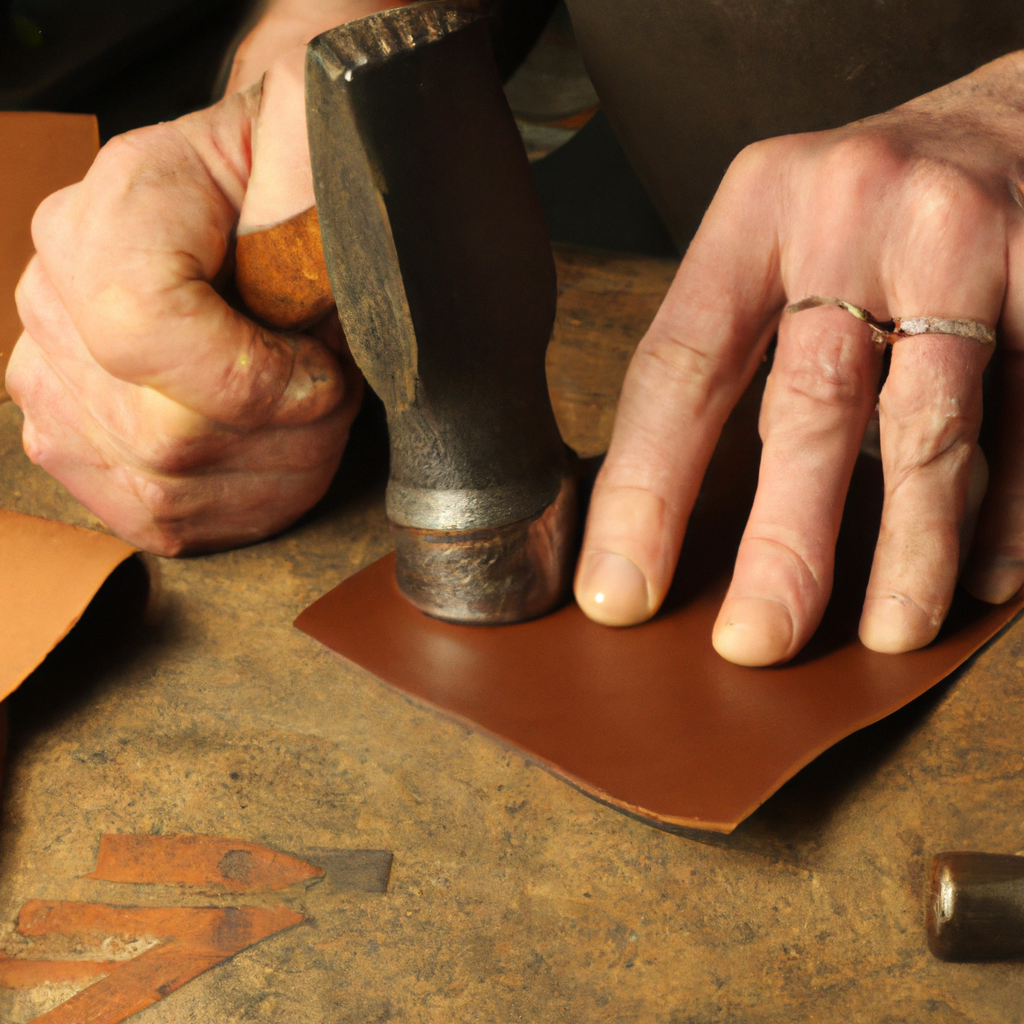
To effectively bevel leather pieces, you’ll need suitable beveling tools. Bevelers come in different shapes and sizes, allowing you to choose the one that best fits your project. The most common types are V-shaped bevelers and flat bevelers. V-shaped bevelers are ideal for creating clean and precise bevels, while flat bevelers work well for wider or straight edges. Experimenting with different beveling tools can help you achieve the desired effect for your leather pieces.5.3 Marking the desired beveled area on the leather
Before beveling, it’s important to mark the desired beveled area on the leather. This will serve as a guide, ensuring that you achieve consistent and even bevels throughout the piece. Use a ruler or a wing divider to mark a line along the edge, indicating the width and length of the bevel. This step helps you stay on track and maintain uniformity in your beveling.5.4 Positioning the beveling tool at the correct angle
To start beveling, position the beveling tool at the correct angle against the edge of the leather. The angle will depend on the desired depth of the bevel. Typically, a 45-degree angle provides a good balance between aesthetics and functionality. However, you can experiment with different angles to achieve various effects. Make sure to hold the beveler firmly and steadily to ensure a clean and accurate cut.5.5 Applying even pressure to create a consistent bevel
With the beveling tool in position, apply even pressure as you guide the tool along the marked beveled area. Maintain a steady hand and consistent motion to create a smooth and uniform bevel. Take your time and ensure that the beveling tool cuts through the leather evenly, avoiding any jagged or incomplete cuts. Repeat the process for all the edges that require beveling.5.6 Ensuring smooth transitions between beveled and flat areas
When beveling leather pieces, it’s crucial to ensure smooth transitions between the beveled and flat areas. This creates a natural flow and prevents any abrupt or uneven edges. Pay attention to the areas where the beveled and flat surfaces meet, ensuring that they blend seamlessly. You can use sandpaper or a burnishing tool to smoothen out any rough transitions, achieving a polished and professional look.6. Finishing touches and post-polishing care
6.1 Removing excess polish or residue
After polishing the edges and beveling the leather, it’s essential to remove any excess polish or residue. This step ensures a clean and professional finish. Use a soft cloth or brush to gently wipe away any remaining polish or solution. Be thorough but gentle to avoid damaging the polished edges. A clean and residue-free surface enhances the appearance and quality of your leather craftsmanship.6.2 Buffing the edges for a refined finish
To further refine the edges and enhance their shine, consider buffing them with a soft cloth or wool dauber. Lightly rub the cloth or dauber along the polished edges in circular motions. This will help spread and distribute any remaining polish, creating a uniform and lustrous finish. The buffing process adds an extra level of smoothness and attractiveness to the edges, elevating the overall quality of your leather item.6.3 Conditioning and moisturizing the leather
To maintain the longevity and suppleness of your leather pieces, it’s important to condition and moisturize them regularly. After polishing and beveling, apply a leather conditioner or moisturizer to the entire surface of the leather. This helps prevent drying, cracking, and stiffness. Follow the instructions provided with the conditioner or moisturizer to ensure proper application and absorption.6.4 Protecting polished edges with edge paint or sealants
To provide additional protection to the polished edges, you can consider using edge paint or sealants. These products offer a barrier against moisture, friction, and general wear and tear. Apply the edge paint or sealant carefully, ensuring that it doesn’t seep onto the rest of the leather. Allow it to dry completely before handling or using the leather item. Edge paint or sealants not only protect the polished edges but also add a professional and finished look.
7. Troubleshooting common challenges
7.1 Dealing with unevenly polished edges
If you encounter issues with unevenly polished edges, there are a couple of troubleshooting steps you can try. Firstly, make sure you apply the polishing compound or solution evenly along the edge, ensuring full coverage. Secondly, check your technique and ensure that you’re applying consistent pressure and movement with the burnishing tool. Adjusting these factors should help you achieve more even results.7.2 Correcting mistakes and imperfections
Mistakes and imperfections are a natural part of the learning process. If you make a mistake or encounter imperfections during the edge polishing or beveling process, don’t be discouraged. There are ways to correct or minimize these issues. For small mistakes or smudges, you can gently sand the affected area with fine-grit sandpaper to remove the imperfection. For more significant mistakes, you may need to trim and re-polish the edge or start over. Remember, practice makes perfect, and each attempt will bring you closer to achieving the desired results.7.3 Addressing fraying or unraveling edges
Fraying or unraveling edges can be a common concern, especially if the leather is not properly finished. To address this issue, consider using a leather edge finish or wax. Apply a thin layer of the edge finish or wax along the edge, ensuring full coverage. This will help bind and protect the fibers, preventing fraying and unraveling. Be sure to follow the instructions provided with the product for optimal results.7.4 Solving issues related to beveling techniques
If you’re experiencing difficulties with the beveling process, it’s important to troubleshoot the technique. Firstly, check the angle at which you’re holding the beveling tool. Adjusting the angle can significantly impact the depth and precision of the bevel. Secondly, ensure that you’re applying consistent pressure throughout the beveling process. This will help you achieve clean and even bevels. Lastly, practice patience and take your time to develop a steady hand and rhythm. Beveling requires precision and focus, so don’t rush through the process.8. Advanced techniques for specialized finishes
8.1 Edge dyeing and color customization
Once you master the basics of edge polishing and beveling, you can explore more advanced techniques to further enhance your leather pieces. One such technique is edge dyeing and color customization. Edge dyeing involves applying a colored dye or paint to the edges, creating a contrasting or complementary color. This adds a unique and personalized touch to your leather items, allowing you to showcase your creativity and craftsmanship.8.2 Creating decorative edge finishes
Another advanced technique is creating decorative edge finishes. This involves adding decorative elements or patterns to the polished edges. You can achieve this by using specialized edge bevelers, edge stamps, or grooving tools. Experiment with different designs and techniques to create intricate and eye-catching decorative finishes. These decorative edges add an extra level of sophistication and make your leather items truly special.8.3 Combining edge polishing with other leatherworking processes
Edge polishing can work synergistically with other leatherworking processes to create truly remarkable pieces. For example, combining edge polishing with stitching or tooling techniques can elevate the overall craftsmanship and aesthetics of a leather item. Explore different combinations and experiment with various processes to discover unique and captivating designs. The possibilities are endless, allowing you to unleash your creativity and create one-of-a-kind leather pieces.9. Safety precautions and best practices
9.1 Working in a well-ventilated area
When working with polishing compounds, solutions, or edge paints, it’s important to ensure proper ventilation in your workspace. Many of these products may contain fumes or strong odors that can be harmful if inhaled in large quantities. Ensure windows or doors are open, or consider using a fan to circulate fresh air while you work. It’s always better to prioritize your health and safety.9.2 Wearing appropriate protective gear
To protect yourself during the edge polishing and beveling process, it’s recommended to wear appropriate protective gear. This may include safety glasses or goggles to shield your eyes from any flying debris or chemicals. Additionally, consider using gloves to protect your hands from any potential irritants or harsh materials. Prioritizing your safety will ensure a comfortable and worry-free crafting experience.9.3 Handling and storing tools and chemicals safely
When working with tools and chemicals, it’s important to handle and store them safely. Keep sharp tools and knives out of reach of children or pets. Ensure that any chemicals or solutions are properly labeled and stored in a cool, dry place away from direct sunlight. Follow the provided instructions for storage and disposal to minimize the risk of accidents or damage.9.4 Taking breaks and avoiding overexertion
Leatherworking can be a time-consuming process, and it’s crucial to take regular breaks to rest and relax. Prolonged or repetitive movements can lead to fatigue and strain on your muscles and joints. It’s important to listen to your body and give yourself the necessary breaks to prevent overexertion. Stretching exercises can also help relieve tension and improve blood circulation.9.5 Seeking professional advice or training if necessary
If you’re new to leatherworking or feel uncertain about certain techniques, don’t hesitate to seek professional advice or training. Many experienced leatherworkers or crafting communities offer workshops, classes, or online resources that can greatly enhance your skills and knowledge. Learning from experts in the field can help you overcome challenges, improve your technique, and refine your craftsmanship.What Is the Best Way to Polish and Finish Leather Edges for a Professional Look?
When it comes to achieving a professional look for leather edges, following a finishing leather edges tutorial is crucial. Using a combination of sanding, burnishing, and applying edge paint or dye can result in beautifully polished and finished edges that elevate the overall quality of your leather goods.