
Are you looking to learn the art of riveting leather securely using a rivet setter? Look no further! This article will guide you through the process, providing you with step-by-step instructions and helpful tips along the way. Whether you’re a beginner or have some experience with leatherwork, mastering the skill of riveting leather will open up a world of possibilities for your projects. So grab your rivet setter, gather your materials, and let’s get started on this exciting journey!
Preparing the Leather
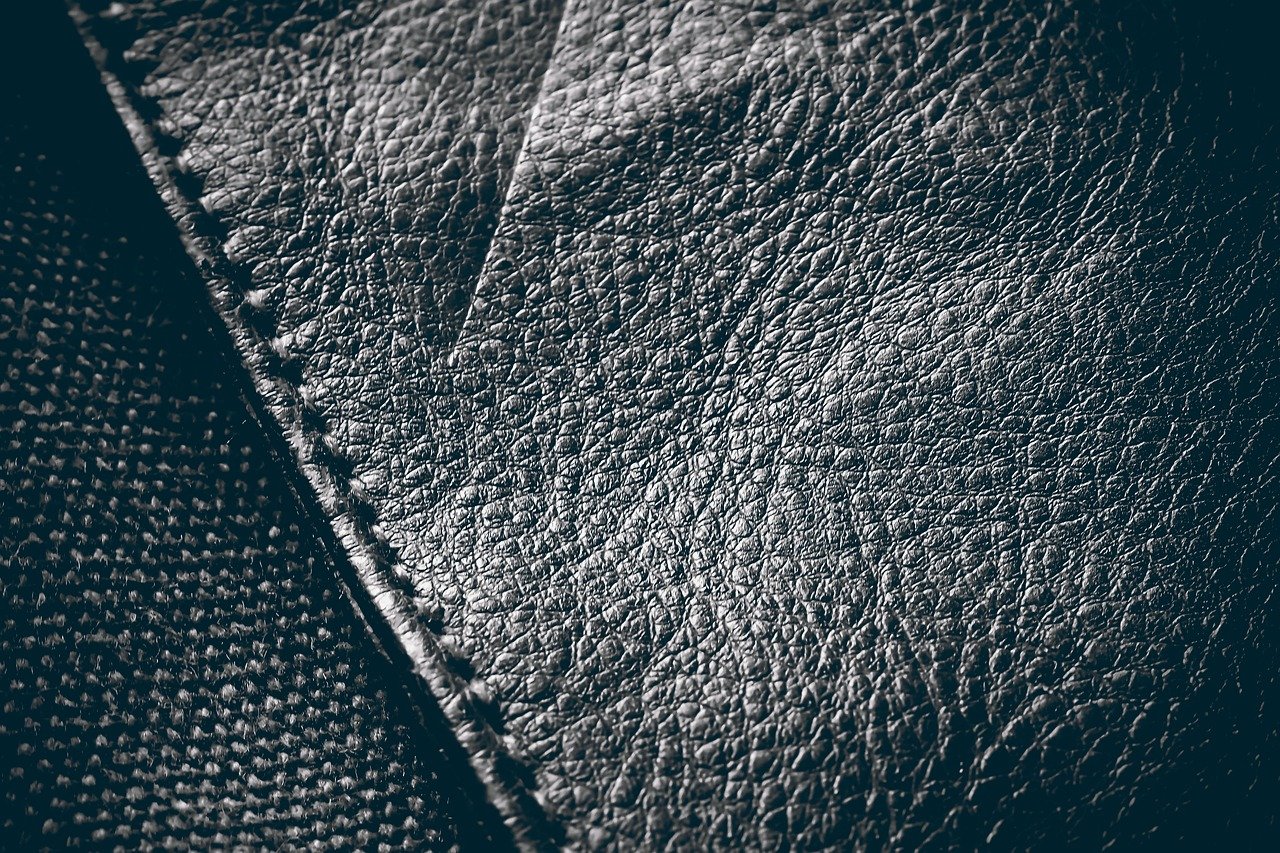
Choosing the right leather
When it comes to riveting leather, it is important to choose the right type of leather for your project. Different types of leather have different thicknesses and strengths, so you should consider the intended use of your leather item. For heavy-duty items like belts or bags, thicker and more durable leather is recommended. On the other hand, if you are making lighter accessories like bracelets or keychains, a thinner and more flexible leather will suffice.Cleaning the leather
Before riveting the leather, it is essential to clean it thoroughly. Use a damp cloth or sponge to remove any dirt, dust, or stains from the surface of the leather. Make sure to dry it completely before proceeding with the riveting process. Cleaning the leather not only ensures a neat and professional result but also helps the rivets to adhere securely to the leather surface.Marking the rivet placement
To ensure that your rivets are evenly spaced and positioned correctly, it is recommended to mark the placement on your leather. You can use a fabric marker or a pencil to make small dots or lines where you want each rivet to be placed. This will help you maintain consistency and avoid any mistakes during the riveting process. Take your time with this step to ensure a precise and aesthetically pleasing outcome.Selecting the Rivets and Rivet Setter
Types of rivets
There are various types of rivets available, each serving a specific purpose. Common types of rivets used in leatherworking include single-cap rivets, double-cap rivets, and tubular rivets. Single-cap rivets are perfect for thin or delicate leathers, while double-cap rivets provide extra security and are ideal for thicker materials. Tubular rivets, on the other hand, are often used for creating straps or handles on bags. Consider the nature of your project and choose the appropriate type of rivet accordingly.Choosing the appropriate size
Selecting the right size of rivets is crucial to ensure a secure and professional result. Rivet sizes are typically measured by their post length and cap diameter. The post length should be long enough to go through all the layers of leather that you are riveting, with a little bit of allowance for setting. The cap diameter should be large enough to cover the post and hold the layers of leather securely together. It is best to refer to the manufacturer’s recommendations or consult an experienced leatherworker to determine the appropriate size for your specific project.Selecting a rivet setter
A rivet setter is a tool used to set rivets securely in place. There are different types of rivet setters available, including hand setters and press-style setters. Hand setters are commonly used for smaller or more intricate projects, while press-style setters are ideal for larger-scale or production-level work. When choosing a rivet setter, consider the size and type of rivets you will be using, as well as your personal preference for the ease of use. It is important to ensure that the rivet setter is compatible with the size and type of rivets you have selected.Gathering the Tools and Materials
Rivet setter
A rivet setter is an essential tool for riveting leather. Make sure you have the appropriate rivet setter for the type and size of rivets you are using. Some rivet setters come with interchangeable heads to accommodate different rivet sizes and types. Investing in a good quality rivet setter will make the riveting process much easier and ensure a secure result.Setting anvil
A setting anvil is often used in conjunction with a rivet setter to provide a solid surface for hammering the rivets into place. It helps to evenly distribute the force and prevent any damage to the leather. When choosing a setting anvil, look for one that is heavy enough to stay in place during use and has a flat or slightly curved surface to accommodate the shape of the rivet.Rivets
Before starting your riveting project, ensure that you have an adequate supply of rivets. It is always a good idea to have extra rivets on hand in case of any mistakes or mishaps. Rivets come in various sizes, finishes, and materials, so choose the ones that best complement your leather item. Make sure that the rivets you select are appropriate for the thickness and strength of your leather.Hammer or mallet
A hammer or mallet is necessary for driving the rivets into place. Select a hammer or mallet that fits comfortably in your hand and provides enough force to secure the rivets. It is recommended to use a rubber or wooden mallet to minimize the risk of damaging the leather or leaving marks on the rivets.Hole punch or awl
In order to create pilot holes for the rivets, you will need a hole punch or an awl. The size of the hole punch or awl should correspond to the size of the rivet post. This will ensure that the rivet easily passes through the holes, allowing for a smooth and secure setting.Rubber or wooden mallet
When setting the rivets, it is important to apply even pressure to ensure a secure and visually appealing outcome. A rubber or wooden mallet can be used in combination with the hammer or rivet setter to help evenly distribute the force during the riveting process. This will help prevent any marks or dents from being left on the leather or the rivets.Preparing the Rivets
Trimming the rivet
Before using the rivets, it is important to trim the rivet post to the appropriate length. The length of the rivet post should be long enough to go through all the layers of leather being riveted, but not too long that it protrudes excessively beyond the rivet cap. Use a pair of wire cutters or scissors to trim the rivet post to the desired length.Shaping the rivet post
To ensure a secure fit, it is recommended to shape the rivet post slightly. This can be done by gently tapping the end of the rivet post with a hammer or mallet. The slight shaping will help the rivet to grip the leather layers firmly and prevent it from loosening over time.Sanding or polishing the rivet head
If desired, you can sand or polish the rivet head to achieve a sleek and finished appearance. Use sandpaper or a rotary tool with sanding attachments to smooth out any rough edges or imperfections on the rivet head. This step is optional but can add a professional touch to your finished leather item.Setting the Rivets
Creating pilot holes
Before setting the rivets, it is important to create pilot holes in the leather. Pilot holes allow the rivet post to easily pass through the layers of leather when setting. Use a hole punch or awl to create small, precise holes where you have marked the rivet placement. Take care not to make the holes too large, as this can weaken the leather and affect the overall stability of the rivets.Positioning the rivet
Once the pilot holes have been created, position the rivet through the holes, ensuring that the rivet cap is on the desired side of the leather. The smooth side of the rivet should be facing the side of the leather that will be visible in the finished product. Adjust the positioning of the rivets as necessary to ensure symmetry and alignment with your markings.Setting the rivet
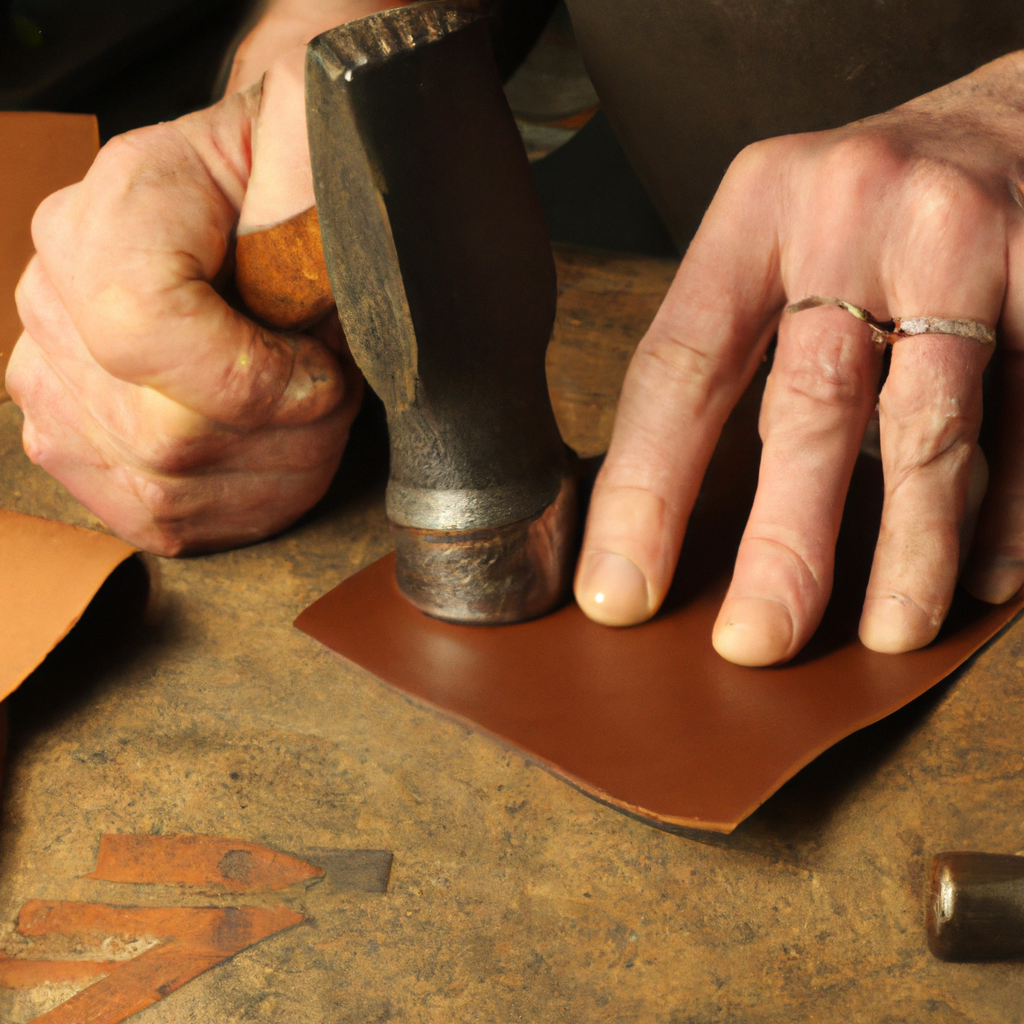
To set the rivet securely, place the rivet setter onto the rivet post. Make sure that the rivet setter is securely holding the rivet in place. Apply even and controlled force using a hammer or mallet to strike the rivet setter. The force of the impact will flatten the rivet post and create a secure connection between the layers of leather. Repeat this process for each rivet, ensuring that they are all set tightly and evenly.Using a rivet setter
The rivet setter is specifically designed to hold the rivet in place and assist in creating a secure connection. Place the rivet setter head onto the rivet post, ensuring a snug fit. Hold the rivet setter securely in one hand, while using the other hand to strike the rivet setter with a hammer or mallet. Make sure to apply sufficient force to properly flatten the rivet post and create a tight bond between the layers of leather.Using a setting anvil
An alternative method for setting rivets involves using a setting anvil. Place the rivet on the setting anvil, ensuring that the rivet cap is facing up. Position the leather over the rivet, aligning the pilot holes with the rivet. Use a hammer or mallet to strike the leather above the rivet, pushing it down onto the setting anvil. This will flatten the rivet post and secure the layers of leather together. Be sure to strike the leather with enough force to effectively set the rivet, but be cautious not to damage the leather or the rivet itself.Applying even pressure with a hammer or mallet
Regardless of the method you choose, it is important to apply even pressure when setting the rivets. Uneven pressure may result in rivets that aren’t securely set or may cause damage to the leather. Hold the hammer or mallet firmly and strike it in a controlled manner. If using a rubber or wooden mallet, the larger surface area will help to distribute the force more evenly, reducing the risk of leaving marks or dents.Securing Multiple Layers of Leather
Stacking the layers
When working with multiple layers of leather, it is important to stack them properly before riveting. Ensure that all the layers are aligned evenly and that any decorative elements or additional materials are in place. Take your time to ensure that the layers are positioned correctly to achieve a polished and secure finished product.Punching through the layers
After aligning the layers, use a hole punch or awl to create pilot holes through all the layers at once. This will ensure that the rivet easily passes through and secures all the layers together. Carefully punch through the layers, making sure that the holes are aligned and properly sized for the rivet post.Positioning the rivet
Once the pilot holes are created, position the rivet through the holes, ensuring that all the layers are held securely together. Double-check the alignment of the rivet with your markings to ensure a symmetrical and visually pleasing outcome. Take your time and adjust the position of the rivet if necessary.Setting the rivet with a rivet setter
To set the rivet securely in multiple layers of leather, use a rivet setter as described earlier. Place the rivet setter over the rivet post, ensuring a snug fit. Apply even and controlled force using a hammer or mallet to strike the rivet setter. This will flatten the rivet post, securely connecting all the layers of leather together. Repeat this process for each rivet, paying attention to consistency and tightness.Troubleshooting Riveting Issues
Rivet not setting securely
If you find that the rivet is not setting securely, there are a few potential causes to consider. First, ensure that the pilot holes are properly sized and aligned with the rivet post. If the hole is too large, the rivet may not grip the leather tightly. Additionally, make sure that you are applying sufficient force when setting the rivet. If the force is insufficient, the rivet may not flatten properly, resulting in a loose connection.Rivet bending or deforming
If your rivet is bending or deforming during the setting process, it could be a sign of using the wrong type or size of rivet. Make sure that the rivet post is strong enough to withstand the force applied during setting. Consider using a thicker or stronger rivet if you experience this issue. It is also important to use a rivet setter that securely holds the rivet in place to prevent it from shifting during setting.Rivet not going through the leather
If the rivet is not going through the leather, it could be an issue with the pilot holes. Make sure that the holes are properly aligned and sized for the rivet post. If the holes are too small, it may be difficult to insert the rivet. Additionally, check that you are aligning the rivet correctly with the pilot holes and have properly positioned the layers of leather.Rivet setter slipping
If you find that the rivet setter is slipping off the rivet post during setting, it may indicate an issue with the fit or grip of the tool. Ensure that the rivet setter is securely holding the rivet and that it is compatible with the size and type of rivet you are using. If the slipping persists, try using a different rivet setter or seek guidance from an experienced leatherworker.Uneven rivet setting
To achieve a professional and visually appealing result, it is important to set the rivets evenly. If you notice that the rivets are not flattening uniformly, it may be due to uneven force application or inconsistencies in the setting process. Take care to strike the rivet setter or the leather evenly with the hammer or mallet. Applying consistent pressure and using a rivet setter with a proper fit can help prevent uneven rivet setting.Finishing Touches
Trimming excess rivet post
Once all the rivets are securely set, you may notice that some of the rivet posts extend beyond the rivet caps. To achieve a neat and finished appearance, trim the excess rivet post using wire cutters or scissors. Be careful not to cut too close to the cap, as this may cause the rivet to become loose or weaken its grip on the leather.Sanding or polishing the rivet
For a polished and professional finish, you can sand or polish the rivet heads. Use sandpaper or a rotary tool with sanding attachments to smooth out any rough edges or imperfections on the rivet heads. This will enhance the overall appearance of your riveted leather item and give it a professional touch. Take your time and be careful not to damage the surrounding leather during the sanding process.Applying a protective finish
To prolong the lifespan of your riveted leather item and enhance its durability, consider applying a protective finish. Leather finishes, such as leather wax or leather sealant, can provide a layer of protection against stains, moisture, and general wear and tear. Follow the manufacturer’s instructions for the specific product you choose and apply the finish evenly to all exposed areas of the leather. This step will help maintain the quality and appearance of your riveted leather item over time.Adding Decorative Elements
Using rivets as design elements
Rivets can be more than just functional fasteners; they can also serve as decorative elements in your leather projects. By strategically placing rivets in patterns or designs, you can add visual interest and enhance the overall aesthetic of your leather item. Experiment with different rivet placements and arrangement to achieve unique and eye-catching designs.Choosing decorative rivets
When selecting decorative rivets, consider the style and theme of your leather project. Decorative rivets come in various shapes, sizes, and finishes, ranging from simple designs to intricate motifs. Choose rivets that complement the overall design and enhance the visual appeal of your leather item. Be sure that the decorative rivets are compatible with the type and thickness of your leather as well.Applying decorative rivets with a rivet setter
Applying decorative rivets is similar to setting regular rivets, but with an added emphasis on aesthetics. Use a rivet setter to secure the decorative rivets in place, ensuring that they are aligned properly and sit flush against the leather surface. Apply even and controlled force using a hammer or mallet to flatten the rivet post. Take care to strike the rivet setter or the leather evenly to prevent any distortions or damage to the decorative design.Can I Use a Rivet Setter to Create an Alligator Skin Pattern on Leather?
Yes, you can use a rivet setter for giving leather alligator skin pattern. By carefully pressing the rivet setter into the leather at regular intervals, you can create a textured pattern that resembles alligator skin. This technique is popular among leatherworkers for adding a unique and stylish touch to their creations.