So, you’ve got a collection of beautiful leather items that you’re itching to showcase to the world, but you’re not quite sure how to capture them in the best light. Fear not! In this article, we will guide you through the simple yet effective techniques to help you take high-quality product photos of your beloved leather goods. From setting up the perfect backdrop to utilizing the right lighting and angles, we’ve got you covered. Get ready to bring out the true essence of your leather items and impress your audience with stunning visuals. Let’s dive right in!

Choose the Right Equipment
When it comes to taking quality product photos of leather items, investing in the right equipment is crucial. While you can certainly use a smartphone, using a DSLR camera will give you more control over the settings and produce higher-quality images. A DSLR camera allows you to adjust factors like aperture, shutter speed, and ISO, which can greatly enhance the final result. In addition to a DSLR camera, selecting a suitable lens is equally important. The lens you choose will depend on the type of shots you want to capture, whether it’s close-up details or wider shots of the leather items. Consider investing in a macro lens for capturing intricate details, or a versatile prime lens for general product photography. To further improve the stability and sharpness of your shots, using a tripod is highly recommended. A tripod eliminates the risk of camera shake, resulting in crisp and clear images. It also allows you to experiment with longer exposure times, which can produce stunning effects. Make sure to choose a tripod that is sturdy and adjustable to suit your shooting needs. Lastly, consider using external lighting to improve the overall quality of your product photos. While natural lighting is often ideal, it’s not always practical or consistent. External lighting, such as studio lights or portable LED panels, allows for better control of shadows and highlights. This ensures that every detail of the leather items is properly illuminated, resulting in professional-looking photos.Create a Suitable Photography Setup
Once you have the right equipment, it’s time to set up your photography area. Creating a suitable setup is essential for capturing appealing product photos of leather items. Here are some tips to follow: Choose a clean and clutter-free background that complements the leather items and doesn’t distract from their features. Using a solid color or a backdrop specifically designed for product photography can help create a professional and cohesive look. Ensure proper lighting conditions by positioning your setup near a window or using external lighting as mentioned earlier. The lighting should be evenly distributed, without any harsh shadows or reflections that could distort the leather’s appearance. When positioning the leather items, consider their size, shape, and any features you want to emphasize. Experiment with different arrangements to find the most visually pleasing composition. Take your time to carefully position each item to ensure they are showcased in the best possible way. To enhance the visual appeal, use props that complement the leather items. This could include items like a watch, wallet, or other leather accessories. Choose props that are relevant and add interest to the composition without overpowering the main focus. By creating a suitable photography setup, you can capture product photos that highlight the beauty and craftsmanship of your leather items effectively.
Master Lighting Techniques
Understanding lighting is crucial when it comes to taking high-quality product photos of leather items. Lighting can dramatically affect the appearance and impact of your photos. Here are some lighting techniques to help you capture stunning images: Take advantage of natural lighting whenever possible. Position your setup near a window or shoot outdoors in an open shade. Natural light provides a soft and flattering illumination that can bring out the rich textures and colors of leather. Avoid harsh shadows by using diffusers or reflectors. Harsh shadows can obscure important details and textures of the leather items. Softening the light source can help create a more balanced and appealing image. Utilize diffused lighting to create a gentle and even illumination. You can achieve diffused lighting by using softboxes, umbrellas, or even a white sheet to diffuse the harshness of the light source. Diffused lighting reduces contrast and creates a more flattering look for the leather items. Experiment with different angles to find the most flattering lighting for your leather items. Different angles can showcase different textures and highlights, adding depth and interest to your photos. Don’t be afraid to move around and try various angles to find the perfect lighting setup. By mastering lighting techniques, you can bring out the best in your leather items and create visually captivating product photos.Clean and Prepare the Leather Items
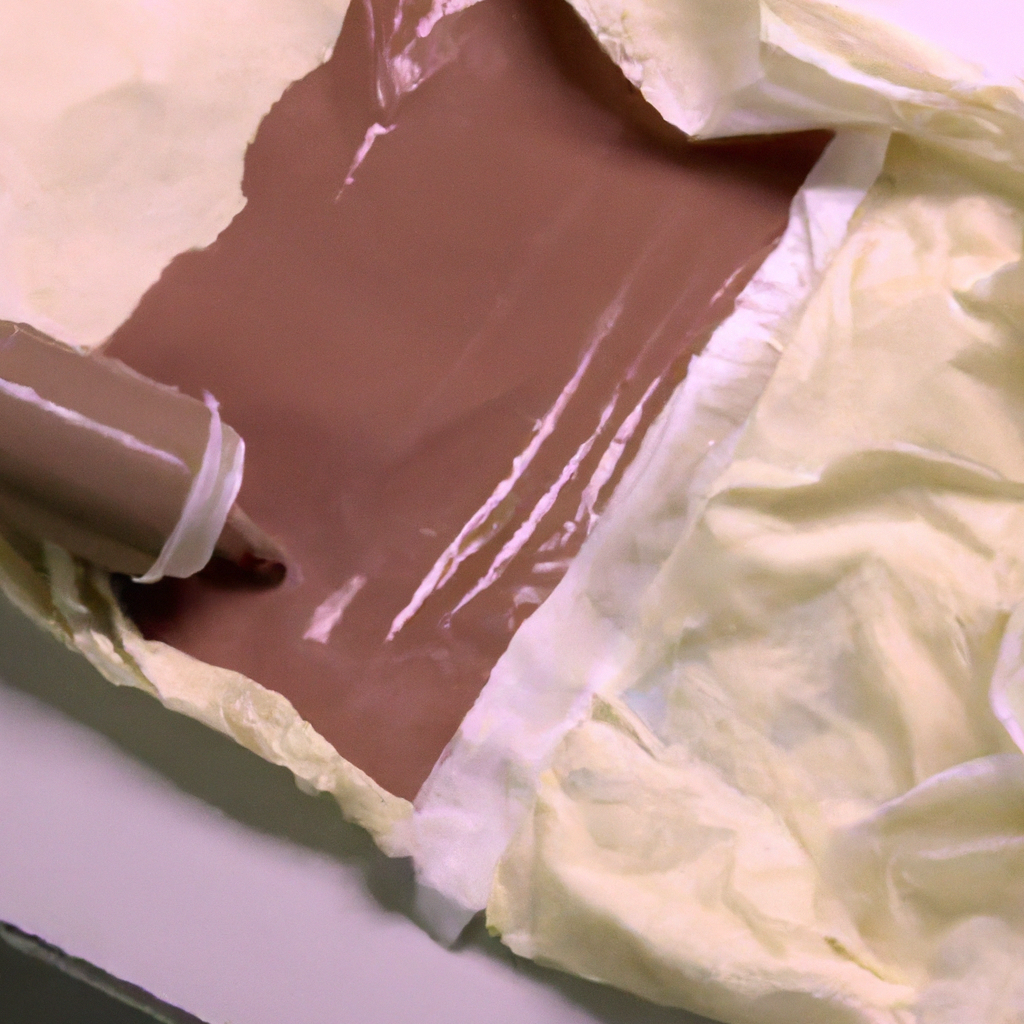
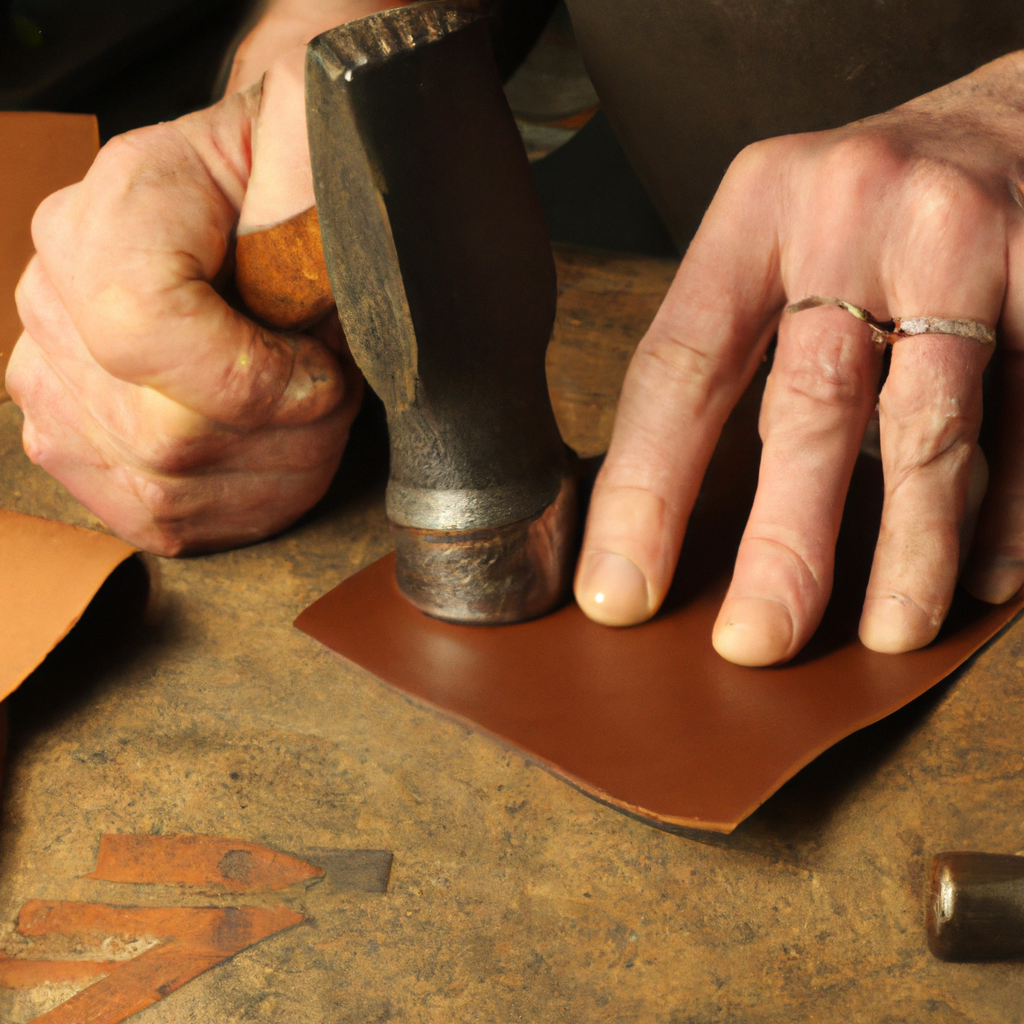
Before even picking up your camera, it’s important to ensure that your leather items are clean and well-prepared. This will help you capture product photos that showcase the true beauty and quality of the leather. Here’s a step-by-step guide to cleaning and preparing your leather items: Start by removing any dust or debris from the surface of the leather. Use a soft, lint-free cloth to gently wipe away any dirt or particles. Pay close attention to seams and crevices to ensure every nook and cranny is clean. If your leather items have lost their luster or appear dry, consider applying a leather conditioner. Leather conditioner helps moisturize and rejuvenate the leather, giving it a fresh and polished look. Follow the instructions on the conditioner and apply it evenly across the surface of the leather. Smooth out any creases or wrinkles that may have formed during storage or handling. Gently manipulate the leather to flatten out any imperfections. Be careful not to apply too much pressure or stretching, as this could damage the leather. Highlight unique textures and details of the leather by gently buffing it with a soft cloth. This helps bring out the natural grains and patterns, making your leather items visually appealing in the photos. By cleaning and preparing your leather items, you ensure that they look their best in the product photos, allowing their quality and craftsmanship to shine through.
Consider Styling and Composition
Styling and composition play a vital role in capturing captivating product photos of leather items. They allow you to create a visually appealing and cohesive image that attracts potential customers. Here are some tips for styling and composition: Choose an appropriate backdrop color that complements the color and style of the leather items. Consider using contrasting colors to make the leather stand out, or matching colors to create a harmonious composition. Play with different textures to add depth and interest to your photos. Incorporate textured backgrounds or props that complement the leather items. The combination of different textures can create a visually striking composition. Position the leather items strategically to create interest and tell a story. Consider the rule of thirds when placing them within the frame. Experiment with different angles and perspectives to find the most visually pleasing composition. Utilize design principles such as symmetry and leading lines to guide the viewer’s eye and create a harmonious composition. Symmetry can add a sense of balance and elegance to your photos, while leading lines can draw attention to the main focus of the image. By considering styling and composition, you can capture product photos that are visually compelling and effectively showcase the beauty and quality of your leather items.Capture Different Angles and Close-ups
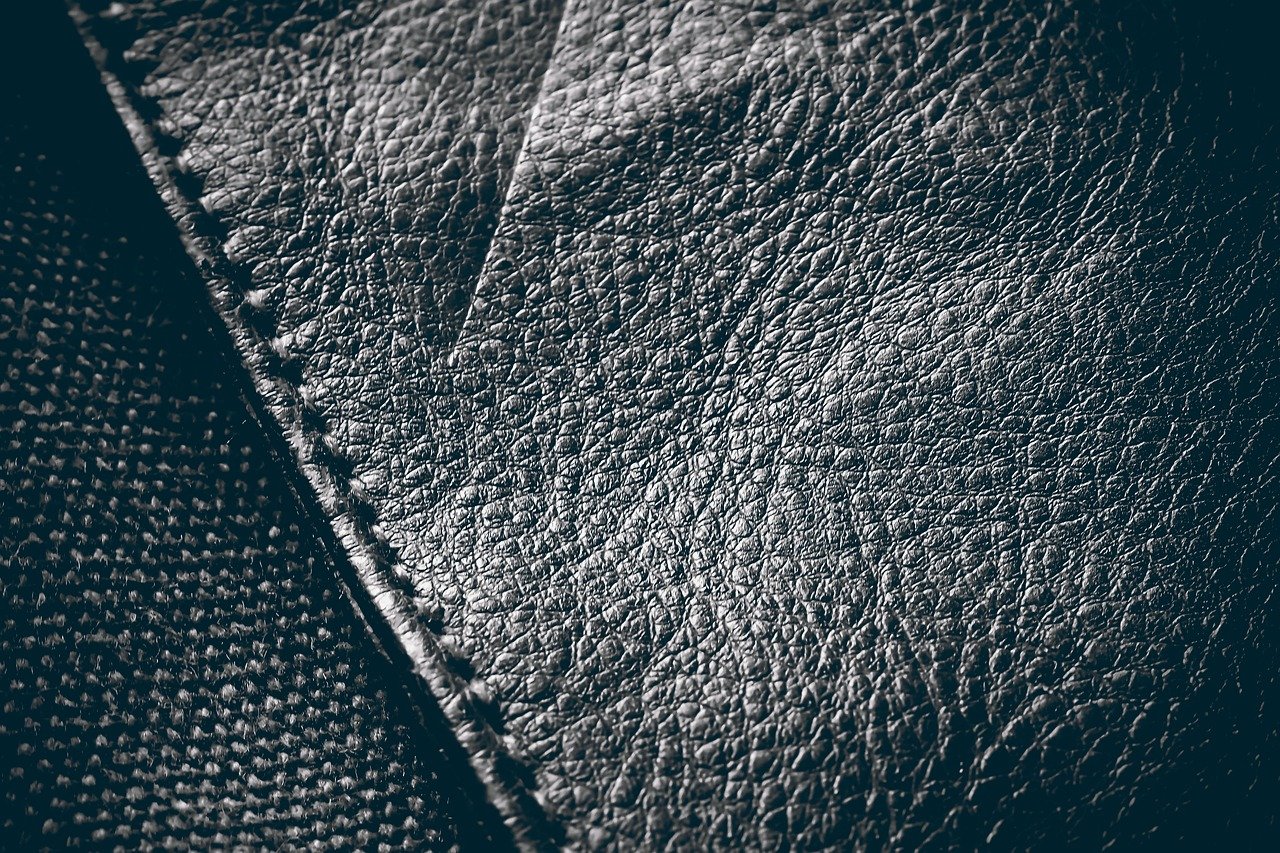
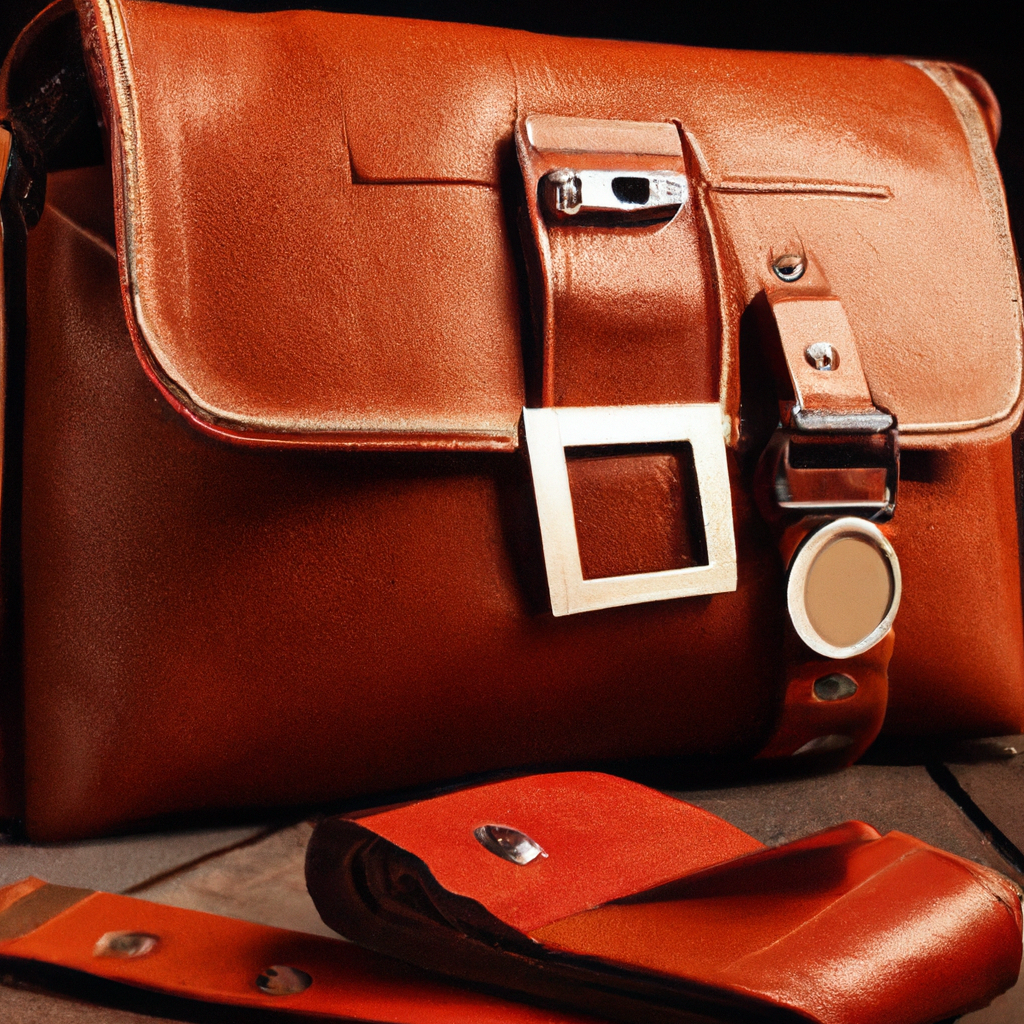
To create a comprehensive visual representation of your leather items, it’s important to capture them from different angles and include close-up shots. This allows potential customers to get a detailed view of the item’s features and craftsmanship. Here are some angles and close-ups to consider: Capture the front and back views of the leather items. This provides a complete picture of the item, allowing potential customers to see all the important details and features. Get detailed shots of stitching and craftsmanship. Close-up shots of the intricate stitching or handcrafted details can highlight the skill and quality of the leather items. Zoom in and focus on these elements to capture their beauty. Highlight any special features or embellishments on the leather items. Whether it’s a unique pattern, embossed logo, or metal hardware, close-up shots of these features can add value and enhance the appeal of the item. Show the leather item in use or context, if applicable. For example, if you’re capturing product photos of a leather bag, consider including shots of someone wearing or holding the bag. This helps potential customers visualize how the item can be used in their daily lives. By capturing different angles and close-ups, you provide potential customers with a comprehensive view of the leather items, helping them make informed purchasing decisions.
Edit and Enhance the Photos
Once you’ve captured a series of product photos of your leather items, it’s time to enhance them through editing. Editing allows you to fine-tune the images and make them truly stand out. Here are some editing steps to consider: Import the images into photo editing software of your choice. There are various options available, from free software like GIMP to professional software like Adobe Photoshop or Lightroom. Adjust brightness, contrast, and saturation to enhance the overall look of the photos. Carefully evaluate each image and make subtle adjustments to ensure the colors are accurate and the details are well-balanced. Crop and straighten the photo if necessary. Cropping helps remove any unwanted elements or distractions from the frame, while straightening ensures that the leather items appear level and balanced. Retouch any imperfections or blemishes that may have been captured during the photoshoot. This can include dust particles, small scratches, or minor flaws. Use the healing or clone stamp tool to seamlessly remove these imperfections. By editing and enhancing the photos, you can further polish and refine the images, ensuring that they represent your leather items in the best possible light.Maintain Consistency in Look and Style
To create a cohesive and professional brand image, maintaining consistency in the look and style of your product photos is essential. Consistency helps build recognition and trust among consumers. Here are some key aspects to consider when aiming for consistency: Use the same background and lighting setup for all your product photos. This creates a consistent look and feel across your entire inventory. Customers will easily recognize your products based on the consistent background and lighting. Create a consistent color palette that aligns with your brand identity. Choose colors that complement the leather items and create a visually pleasing aesthetic. Consistency in color reinforces your brand image and helps customers associate certain colors with your brand. Follow similar editing techniques for all your product photos. This ensures that all images have a consistent look and feel, making your online store or website more polished and professional. Consistency in editing also ensures that your products are represented accurately. Ensure accurate representation of leather colors. Photographing leather colors can be challenging as they may vary depending on lighting conditions. To maintain consistency, calibrate your camera and monitor to ensure that the colors you capture and edit are as true to life as possible. By maintaining consistency in look and style, you create a cohesive and professional brand image that enhances the overall appeal of your leather items.
Consider Professional Assistance
If you’re struggling to achieve the desired results on your own or simply want to elevate the quality of your product photos, consider seeking professional assistance. Here are some options to consider: Hire a professional product photographer who specializes in leather item photography. A professional photographer will have the expertise, experience, and equipment to capture stunning product photos that truly showcase the beauty and quality of your leather items. Consult with an experienced photo editor who can help you fine-tune your images and ensure that they look their best. A photo editor can provide valuable insight and guidance on how to enhance your product photos to attract customers. Take advantage of online retouching services that offer professional editing and retouching for product photos. These services can help you achieve a polished and high-end look for your leather items. Attend workshops or courses on product photography to improve your skills and learn new techniques. Many photographers and organizations offer workshops and courses specifically tailored to product photography. This can be a great way to enhance your knowledge and stay up-to-date with industry trends. By considering professional assistance, you can take your product photography of leather items to the next level and ensure that your images truly reflect the quality and craftsmanship of your products.What tools do I need to take quality product photos of leather items?
When capturing quality product photos of leather items, having the right tools is essential. These basic tools for leather crafting include a high-resolution camera, good lighting, a sturdy tripod, and a clean backdrop. Pay attention to details and use these tools to showcase the elegance of your leather products.