
A Simple Method For Making A Leather Dice Cup
Are you looking for a fun and easy project to work on? Look no further! In this blog post, we’ll show you how to make a leather dice cup, perfect for game nights and adding a touch of sophistication to your game setup. You can quickly have your custom-made dice cup with just a few simple steps. Keep reading to learn the secret!Gather Your Supplies
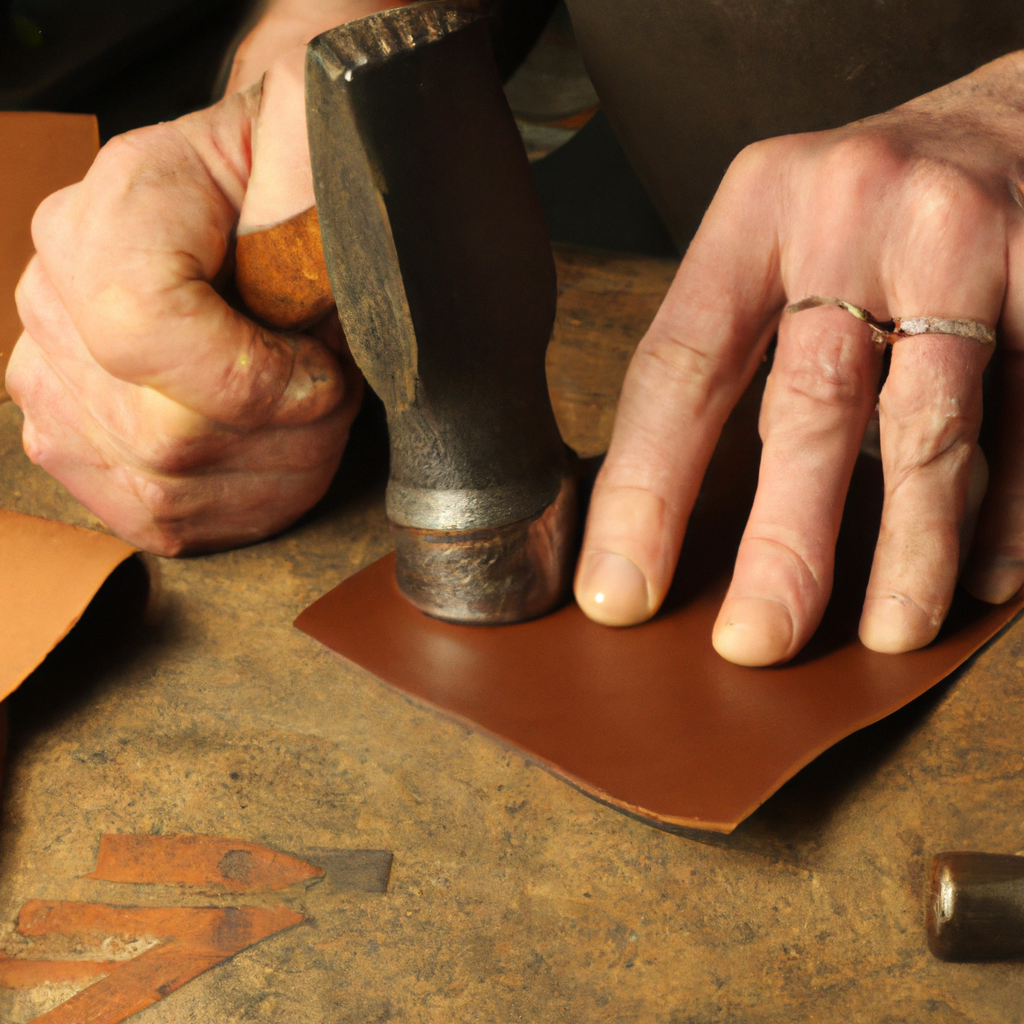
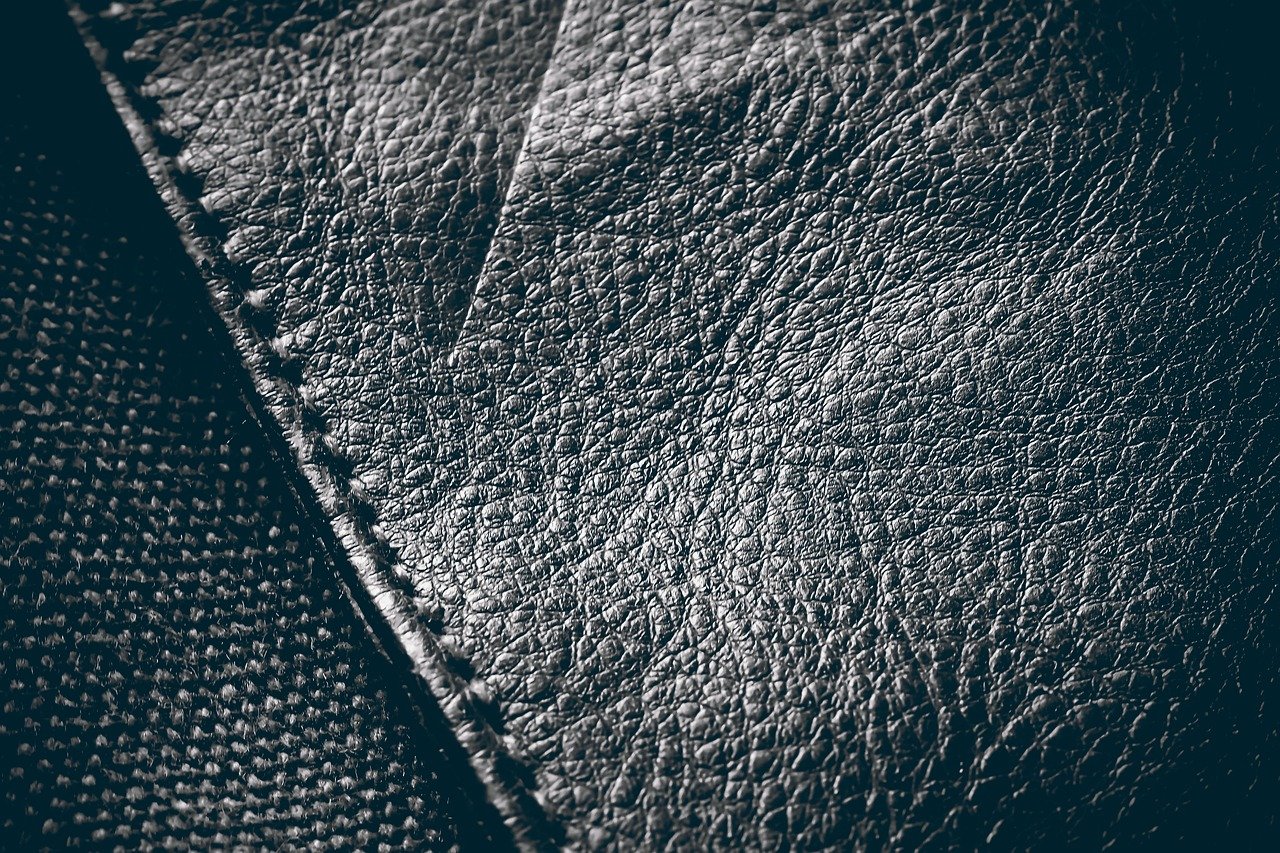
Consider making a leather dice cup if you’re looking for a unique way to add excitement to your game nights. This simple project is easy to do and can be completed in just a few minutes. To begin, you’ll need some supplies: a piece of leather measuring about 8 inches by 6 inches, a needle and thread, and a hammer. You can skip this step if your leather is pre-cut into dice-sized pieces. Otherwise, you’ll need to cut the leather into the desired shape. We used a square piece of leather for this project, but you can also make a dice cup in any other form (triangular, pentagon, etc.). Once the leather is cut into the desired shape, it’s time to prepare it for sewing. First, use the hammer to lightly pound the edges of the leather so that they are slightly rounded. This will make sewing the seams much easier later on. Next, use the needle and thread to sew the four corners of the dice cup together. Make sure you go slowly and evenly so the seams are smooth and look uniform. Once the corners are sewn together, it’s time to start sewing the sides together. Start by sewing one side near one corner and then work around the cup. Ensure you go slowly and evenly so the leather has no visible stitches or bumps. Once both sides are sewn together, it’s time to add the final touches. Use the hammer to lightly pound any bumps or imperfections out of the leather so that it looks smooth and uniform. Finally, use a needle and thread to sew a small hole in one corner of the cup to add dice easily.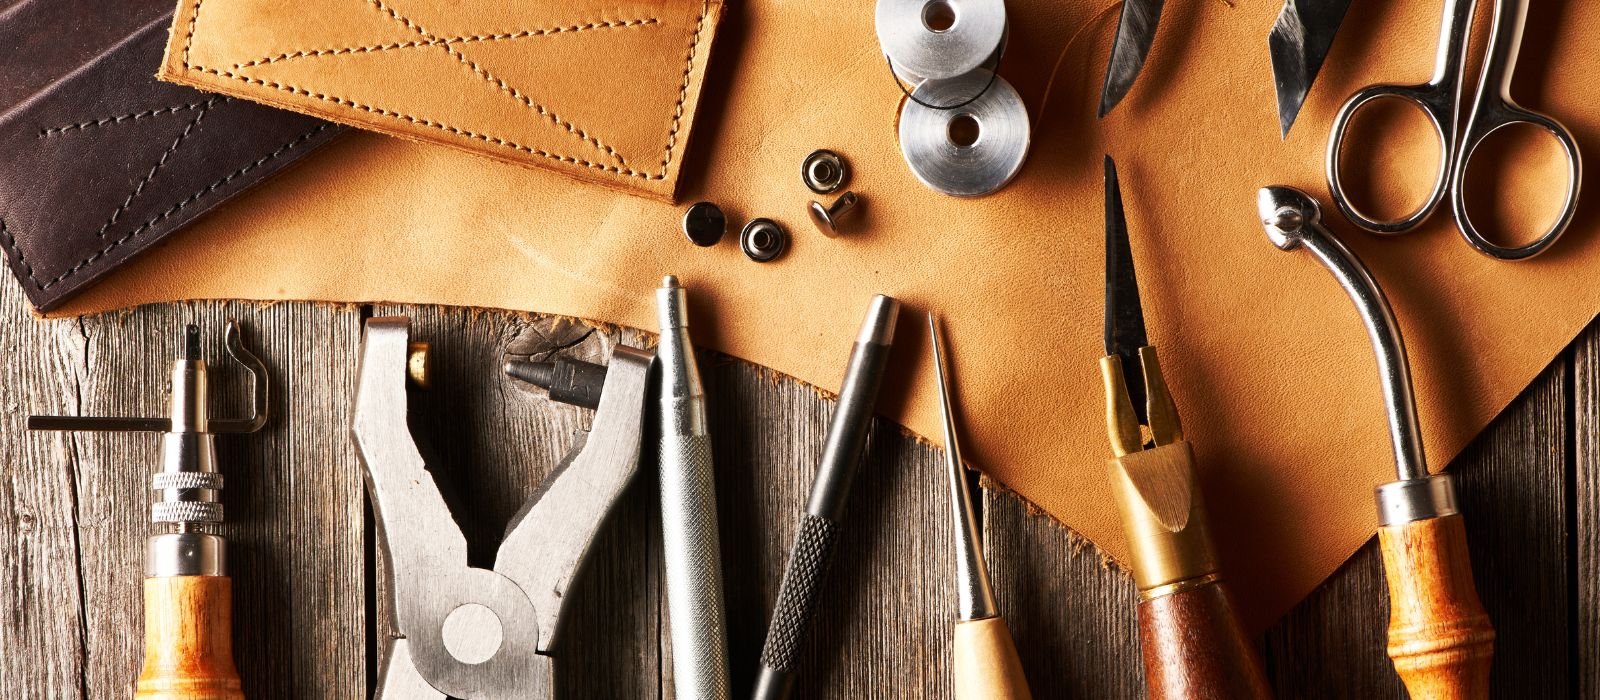
Preparing the Leather
To make your leather dice cup, you will need the following supplies:- Leather material
- Leather sewing supplies
- Dice
- Ruler or a straight edge
- Tape measure
- Permanent marker
- Craft knife or scissors
- Hot glue gun and glue sticks
- Sandpaper (fine, medium, or coarse)
- Lacquer or sealant of your choice
Cutting the Leather
First, you will need to gather some supplies for this project. You will need a small piece of leather approximately 3″ square and 1/2″ thick. You will also need a needle, thread, and dice (if you want to fill the cup with dice). Now that you have your supplies, it is time to start preparing the leather! Open the piece of leather up into a square shape and cut out all the details. Ensure each piece of leather is exactly 1/2″ thick and 3″ wide. Once you have finished cutting out all the details, take them all and carefully place them onto a flat surface so they can be Sewn together. Once everything is sewn together, it is time to add some finishing touches! First, trace around each side of the cup on a new piece of cloth or paper to get an idea of where all the seam lines will be. Then use a tailor’s hamstring stitch (or another sturdy seam) to close up any open areas on the sides of the cup. Next, stitch around each edge of the cup using either a tailor’s hamstring stitch or another sturdy seam, ensuring that stitches secure both ends. Finally, add any necessary decoration or trimming before booking everything with more stitches at both ends. And there you have it- your very own Dice Cup! Now all you need are dice to enjoy your newly made game accessory!Sewing the Seams
After sewing the seams, you must add a finishing touch by filling the cup with dice. You can use any dice, but common choices are d6s or d10s. Ensure that all the dice edges are securely glued down so they don’t come loose over time. As long as they fit snugly in the cup, it’s up to you! Once everything is dried and finished, your new leather dice cup is ready to be enjoyed!Adding Finishing Touches
To finish your Dice Cup, you’ll need to add a felt or cloth liner and then fill it with dice. You can use any dice you like, but popular options include d6s and d12s. If you’re using other types of dice, check the manufacturer’s recommendations first. Once everything is finalized, give your Dice Cup a final polish, and congratulations on making your own!Filling the Cup with Dice
Now that your leather dice cup is complete, it’s time to fill it with your favorite dice! If you’re new to dice, we recommend checking out our guide on how to play dice. Once you understand the game, you can fill your cup with dies. To fill your cup, start by removing the top layer of leather. This will reveal the foam core of the cup. Next, place a die inside the cup and press it down to flush it with the top of the foam core. Replace the top layer of leather and trim any excess material. Now it’s time to sew the seams. Start by stitching one end of the seam and then turn it so that the other end is facing out. Sew this end together, then turn the cup so that the newly sewn end is facing in and stitch this end together. Repeat this process until you have completed all of the seams. Now it’s time to add the finishing touches to your dice cup! If you want a more polished look, add a border around the edge of the cup. You can also add a handle or a strap to make carrying your dice cup easier. And that’s all there is to it! Your new leather dice cup is ready to be used!Enjoy Your New Dice Cup!
Once you have finished sewing the seams, it is time to add the finishing touches to your dice cup. This includes adding a border around the edge of the leather and applying a sealant to prevent any spills. Finally, we fill our cup with dice and enjoy its unique design!Can Leather Crafting Skills Be Used to Make a Leather Dice Cup?
Yes, leather crafting techniques can definitely be used to make a leather dice cup. By utilizing skills such as dyeing, tooling, and stitching, a skilled craftsman can create a durable and stylish dice cup that will last for years to come.