
A Leatherworker’s Guide
Choosing & Applying Leather Glue when to use them, adhesive used for binding leather together is simply called “leather glue”. With their speed and effectiveness, they may be an essential part of every successful project. You may use glue on your leather creations for two primary reasons.
Gluing is sometimes used instead of stitching in tiny leather products since sewing may be difficult and time-consuming.
A leather glue is commonly used as a temporary fix before stitching, making it much simpler to stitch and avoid making dumb errors by preventing the leather from shifting about.
Leather glue is a complex topic, therefore I’m going to break it down for you in this essay.
The many kinds of Leather Glues available.
Depending on the sort of leather you’re working with, there are a variety of glues you may use, some of which are more effective than others. Many commercial and industrial adhesive products might be useful when working with leather, but the finest ones are those that are particularly made for the job.
First, let’s talk about Leather Glue!
A leather glue may be used for a wide range of applications as well as repairs. Because they dry clear, they’re ideal for working with coloured leather. Glue for leather handicraft is widely available from a number of manufacturers.
Leather glue is ideal for little jobs where stitching is impractical since it creates bindings that are difficult to dislodge. For bigger tasks, you should use professional glue, which is stronger than regular glue.
Cement contact information
The curing time of contact cement is quite fast, and it is very strong. It is quite long-lasting and dries clear. If you’re working with suede or any other water-based material, avoid using this product since it isn’t waterproof.
Extra Strong Adhesive
As a general rule, super glue isn’t the best option for most tasks since it tends to be quite thick and will leave a noticeable residue on leather. Although super glue is very strong, it is difficult to apply and takes a long time to cure, making it inapplicable to most jobs.
Glue for Crafts
Because it dries slowly and keeps the leather supple, craft glue is an excellent choice for leather projects. Misuse of craft glue may permanently discolour leather, which makes it unsuitable for use in leather crafts. Using craft glue on leather is still possible, but you’ll need to exercise additional caution to keep it stain-free.
Steps for Using Leather Glue
Anything from wood to metal or other materials may be adhered to leather using leather glue. This tutorial demonstrates how to adhere two pieces of leather together, but the steps are the same no matter what kind of material you choose. You must ensure that you are using the correct adhesive.
Before you begin, make sure you have some paper towels and clamps on hand, as well as the leather and glue you’ll need.
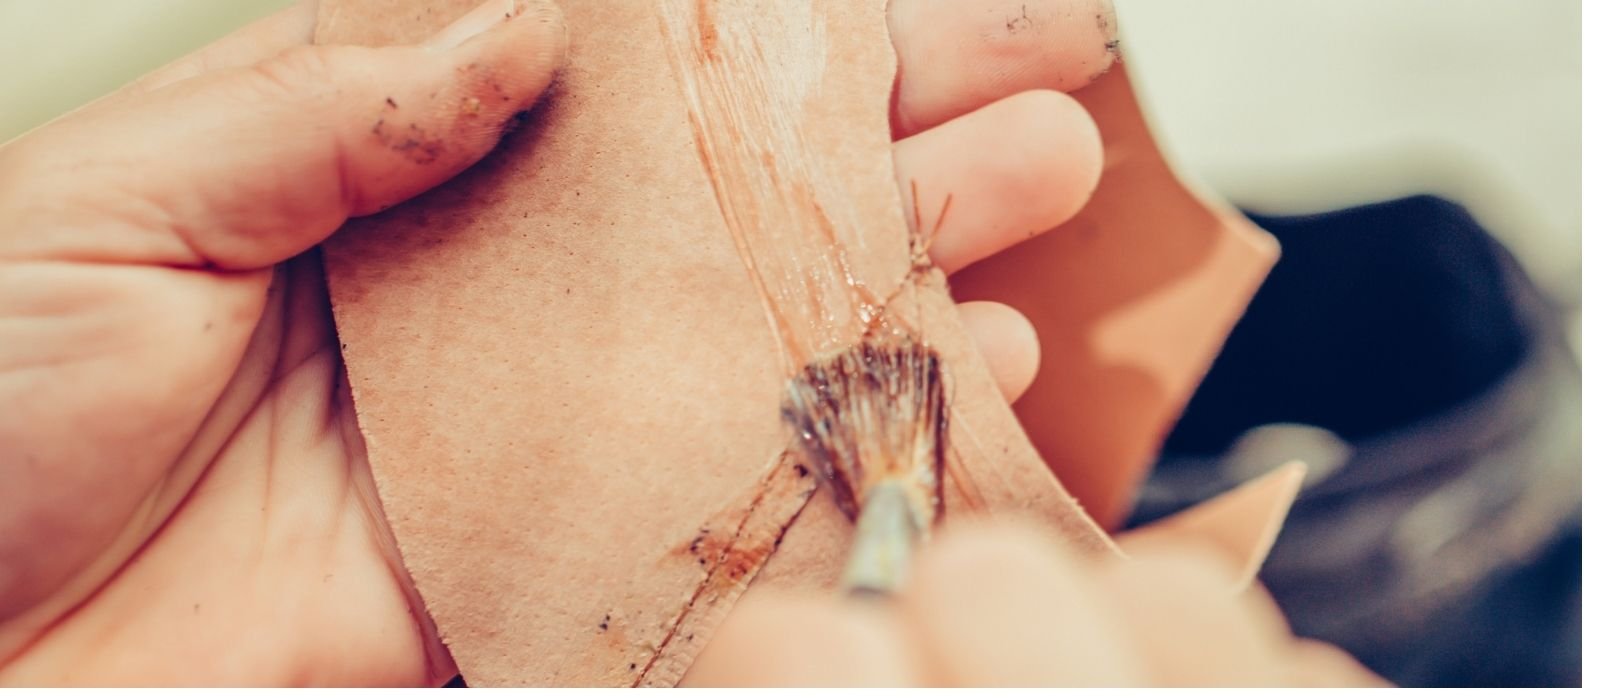
On apply the adhesive to flat surfaces, you may wish to use leather glue spreaders. Alternatively, you might use a special glue brush. Regardless of what you decide, make sure they are sparkling clean before you start. You don’t want to contaminate your fresh piece with old glue.
Don’t leave yourself short of space.
Choosing & Applying Leather Glue Prepare the adhesive.
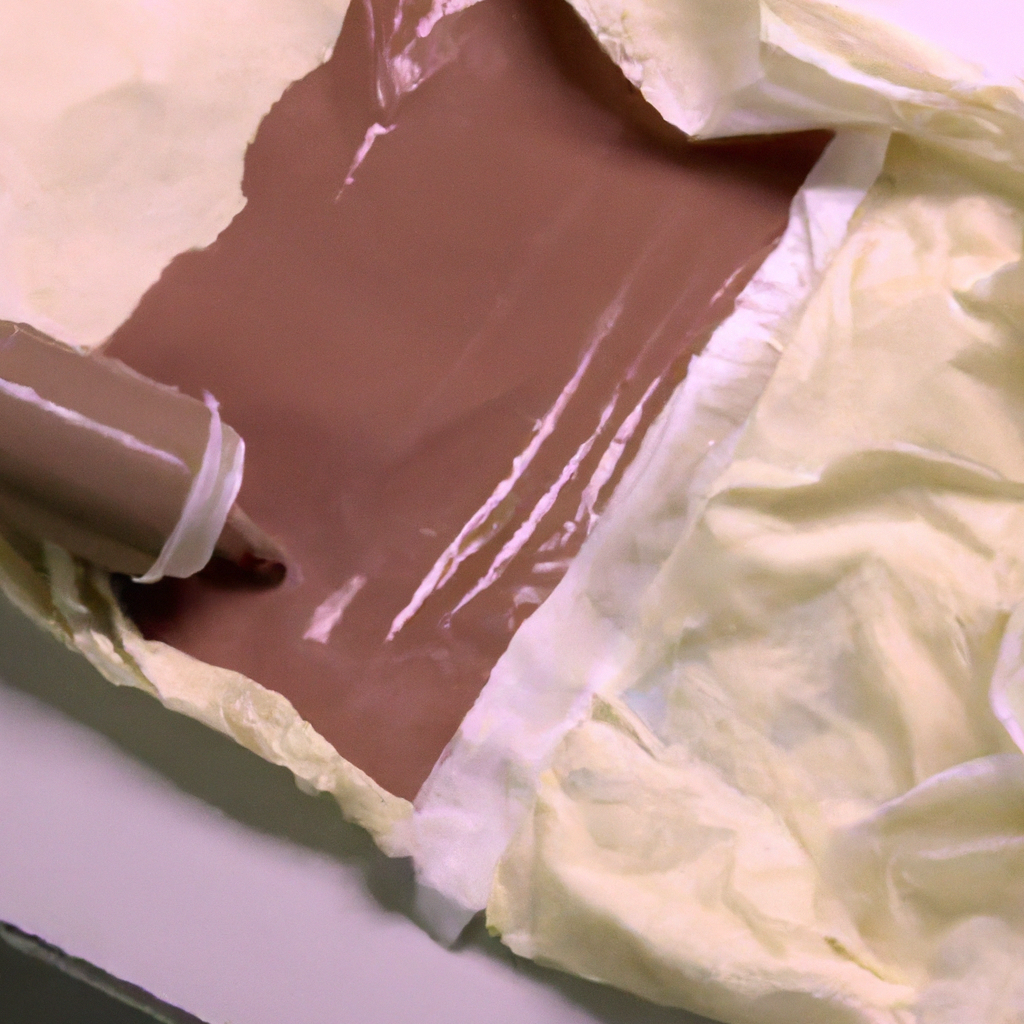
Decanting glue into a glue pot is a popular choice among certain individuals. With these pots, your glue will be ready to use right away and will be protected from drying out during storage. With an airtight closure, they make it simple to keep your glue in good condition. Preparation is key when it comes to decanting glue into a pot. If you don’t plan ahead, things may become a bit messy.
A glue pot’s additional utility is that it allows you to store thinned-out glue. In order to ensure that the glue has a more fluid consistency, you may need to dilute it. Check the side of the package to see whether your glue has to be diluted prior to use.
Glue it down.
To avoid your leather seeming sloppy or uneven, use just a tiny quantity of leather glue while applying it.
Apply glue to the middle of the area you’ll be attaching, then spread it out evenly throughout the whole surface area.
Paper towels may be used as a guide to help you place the glue exactly where you want it. Even if you’re a touch careless with the brush, this may prevent you from ruining a whole painting.
What you need to do next depends on the sort of adhesive you’ve chosen. Applying glue to both sides might result in an uneven surface, even if you only need to cover one side. In contrast, in order to adhere using contact cement, both surfaces must be covered.
Follow the application directions and make sure you’re using the correct glue before you begin. Before bonding the components, the contact cement will need to partly dry as well.
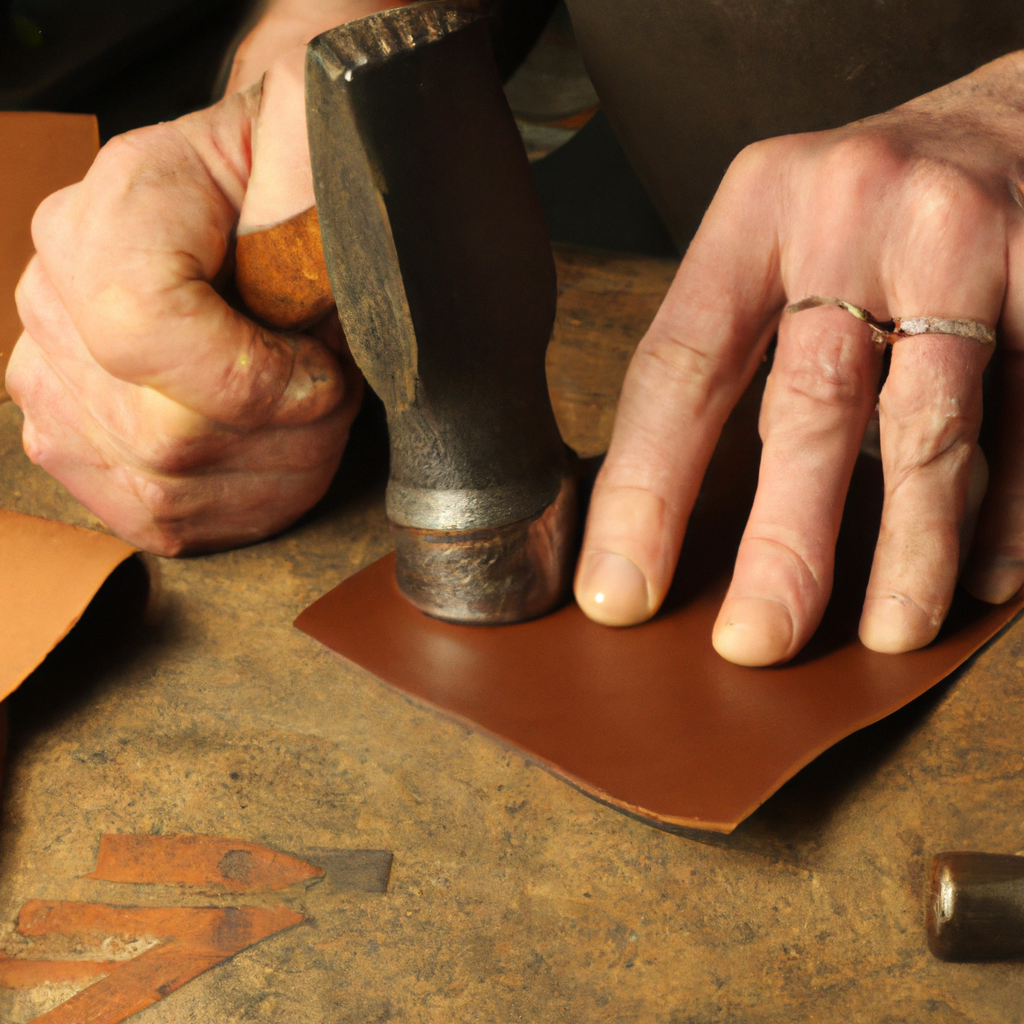
The leathers must now be stitched together. Once everything is in place and aligned, use your hands to firmly press the leather together. To compress the parts together, you’ll need a roller or a hammer with a broad head, which you may use. Prior to curing, it’s a good idea to scrape away any extra glue that may have accumulated. As a result, bubbles don’t develop, and you get a smooth, even finish.
Use clamps to hold the leather pieces together.
While the glue dries, you may use a number of clamps to keep your leather creation together. Just make sure the clamps are large enough to cover the whole piece of leather you want to clamp.
The leather clamp is a typical clamp, although leather weights on top of bigger bonded sections are preferred by some to ensure everything is kept securely in place.
Almost anything hefty will do if money is an issue. Bricks or hefty books have been used by others, as I have seen. Keep in mind that you don’t want to mark the leather, so avoid using anything between the weight and the item that will leave a mark.
Remove Excess Glue from the Surface
This is the time to begin removing the extra glue from the leather. A lint-free cloth is the finest option for this. Run it over any portions of your craft where glue has spilt and dampen it slightly.
It’s well worth the time investment to ensure that everything seems to be of the highest quality.
Also, now is the time to keep your glue in an airtight container and clean your brushes. Because glue might harden and make it impossible to open if it gets inside the cap, ensure sure there is no glue around the edge of the cap before you put it on.
Brushes and adhesive spreaders may benefit from the application of Terpentine. Cleaning with it is a breeze, which is why it’s one of my preferred cleaning solutions.
Allow enough time for the adhesive to cure
Again, check the glue’s directions to determine how long it will take to set before proceeding.
If you have a lot of glue, you’ll have to wait a long time for it to completely dry. To ensure a strong attachment, keep the clamps on for as long as possible before removing them.
Take off the clamps and tidy up the material
When everything else fails, remove the clamps. If there are any blemishes on the leather, you may need to clean them up, but it shouldn’t be a big deal since you already accomplished most of it before.
Conclusion
When glueing together a project, it’s common sense to think you’ll need the most costly glue available. There are a variety of adhesives to choose from, whether this is your first time using glue or you’re searching for a new product for a specific project.
Consider which glue is ideal for your project, what features you need, what equipment to use, and if glueing is the sole means to attach the material or a stop-gap before sewing or riveting before devoting some time to the process of research.
Regardless of what you chose, your glueing should now assist you get a beautiful and professional finish on your leather item.


Leave a Reply
You must be logged in to post a comment.