

Tips for Working with Leather
Are you working with thin leather ?here are some Tips for working with leather there are many colors, patterns, and textures to choose from in thin leathers. They may be used for various items, like belts, handbags, jewelry, bags, wallets, and more. Thin leathers are easy to cut and shape.
It’s not all plain sailing, though, when dealing with thin leathers. There are some factors to consider when dealing with a material: its thickness, how it’s been coated, and which colors to use. Burnishing thin leathers, in particular, is a challenge for many individuals.
In this tutorial, you’ll learn how to deal with thin leathers, how to cut and stitch the leather so that it doesn’t bunch up, and how to use burnishing and edge painting to give your items a more professional appearance.
Is it possible to cut thin leather with a knife?
Cutting thin leather using a Rotary Cutter is the most efficient method. Even if you’re a seasoned knife user, a high-quality rotary cutter minimizes snags and expensive blunders, even if you’ve used a knife for years.
Adjust leather stretching by pulling cloth tight at its base against a hard surface. If you’re cutting leather, it’s a good idea to have a sturdy cutting board nearby. Due to their greater density and less movement beneath the material, marble boards are our go-to choice whenever possible. Stamping and patterning leather will be much easier with the aid of these tools.
Rotating the leather around the blade’s tip like a compass or pizza wheel is also helpful with softer fabrics.
With softer leathers, this method is essential because it prevents the material from bunching up and generating uneven cuts. This is the approach I always employ.
What Is the Role of Edge Paint?
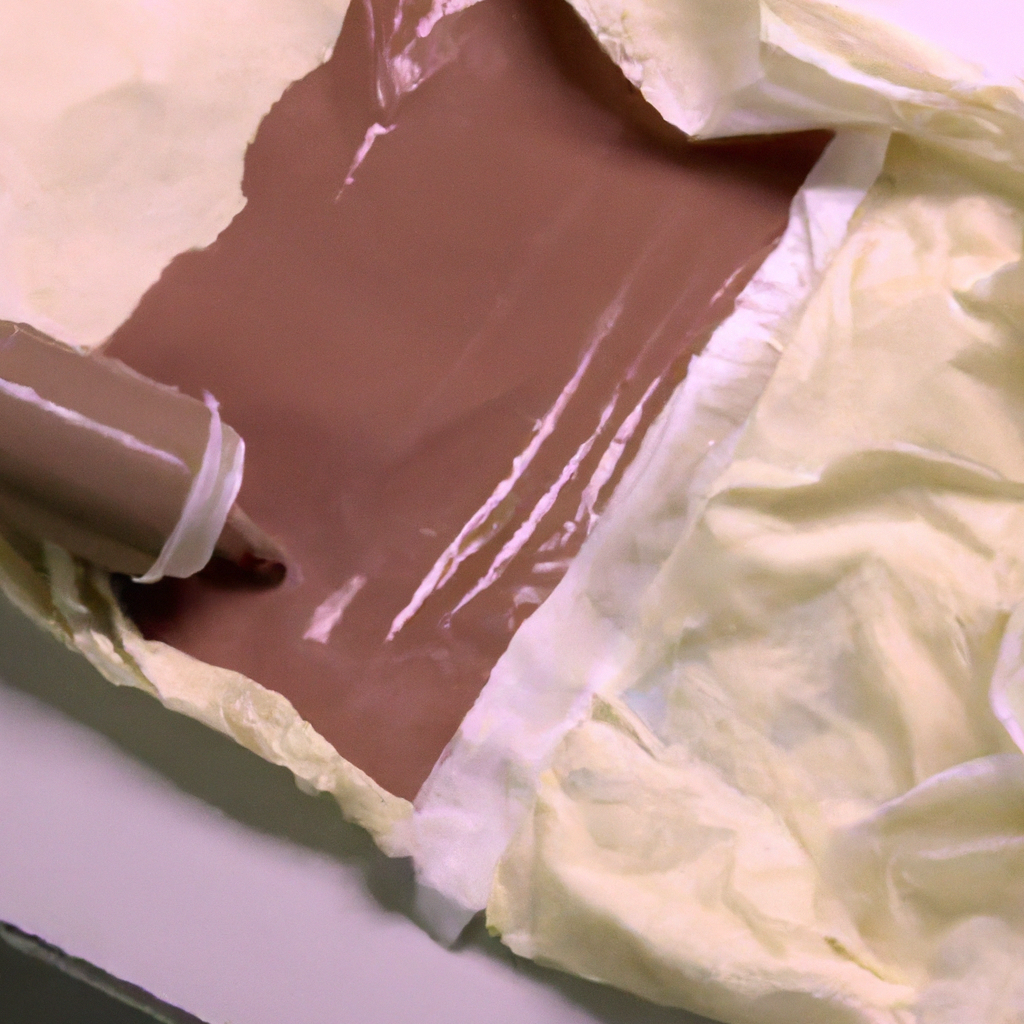
The primary function of edge paint in thin leather is to protect the quality of your items. For professional items, polished edges are required for more delicate leathers, which are more challenging to burnish.
This is where edge paint, a thin coat of paint applied to the leather’s edge, comes in. When burnishing, this layer protects the leather’s edge and provides a variety of edge finishes.
Although edging is a basic procedure, perfecting it takes time and effort. You want to apply the paint to the edge of the leather, ensuring sure it doesn’t go on the leather itself. You’ll be left with a surface that’s both covered and uneven.
The next step is to sand down the paint to remove the uneven surface. Give yourself plenty of time to allow the paint to dry completely. Some edge paints may be completed in less than 10 minutes; however, hurrying this step might result in poor results.
Allow time for it to dry.
To remove as much material as possible, sand it 2-3 times after the initial layer has been completed and the edge has been flattened. The nicest finish is achieved after one last sanding and buffing with a piece of canvas after you’ve built up a layer of paint that appears rounded and smooth.
To begin working with thin leathers, edge paints may be acquired from any leather supplier or ordered online. However, they are not inexpensive, and they must be applied correctly to avoid interfering with the process of burnishing your leather.
It is possible to apply acrylic paint similarly and get a more brilliant finish for a lower price than oil paint. They are, however, considerably simpler to come by and are a great way to get started with edge painting.
How should thin leathers be burnished?
To avoid fraying and deforming the leather, you must be careful while burning tiny pieces since the force you apply to the leather may sometimes press the edges down.
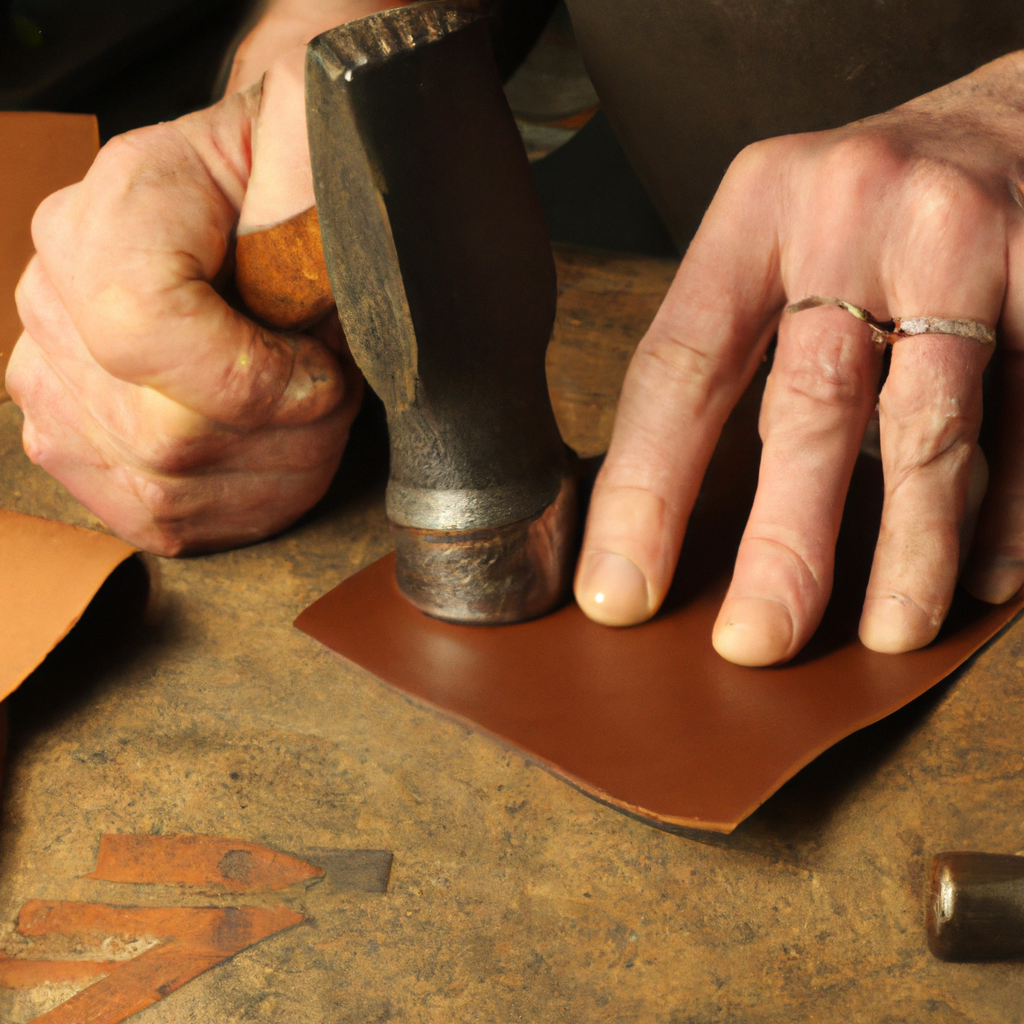
While it is feasible to buff leather, it is not recommended to use a hardwood burnisher. On the other hand, Canvas has the potential to generate stunning effects. Alternatively, you might use a fileteuse tool, which can be pricey,
For leather burnishing, the typical method is to use an iron heated over a flame to burn out any remaining fibers. Traditional burnishing also hardens the leather’s edge, making it more durable. While this is a classic method, it is also less often used these days due to the availability of more dependable and accessible alternatives.
However, it would help if you exercise caution, and as previously said, your best alternative may be to utilize edge paint.
The Most Effective Stitching Method For Thin Leather
You should choose thin leather if you have a sewing machine since it is no more difficult to stitch than denim. Working with thin leather is more straightforward than lighter materials since it does not fray or shrink.
It is important not to draw the stitches too tight while doing the stitching by hand since the needles are smaller and the awl is thinner than standard leather stitching. Many users complain that hand stitching causes the leather to bunch up. Sewing machines are suggested as a result of this. Make sure you use the suitable stitch for thin leather if you use a sewing machine. Using a “hitch” stitch, I’ve had excellent success.
As a designer, you must think about how your product will blend in with other products. Leathers thinner than most sewing machine materials are thicker than thicker leathers. The seam and the number of layers that need to be sewn together must both be taken into consideration. An industrial sewing machine may be necessary for intricate jobs with several layers. Using a domestic machine is a good option if you’re more careful with your tasks.
Repairing Weak Leathers Using Simple Techniques
Due to their malleability, thin leathers may be challenging to repair. When gluing them, you need to ensure they don’t bunch together.
After assessing the damage and ensuring you have all the necessary supplies (glues, filler, etc. ), the first step in repairing a leather item is to trim and prepare the area by gently sanding it with fine sandpaper to remove any loose bits of leather or threads.
You’ll need a sub-patch, often a piece of canvas fabric, to ensure the material stays up. This sub-patch should be kept out of sight to maintain a professional appearance.
Apply leather glue after positioning the leather over the sub-patch. Once the bond has had time to set, you’ll need to secure your leather in position.
Applying filler to the leather may be necessary to smooth out any blemishes on the surface.
Make sure it mixes with the leather’s color and finish before moving on.
What are the best paints to use on leathers that are very thin and delicate?
It may be ideal to use acrylic paint on thin leather since it is water-based and non-toxic, which means it may be applied with a brush or an airbrush without drying out the leather. Also, it’s a lot simpler to handle than leather dye, and it may be integrated into a design.
They also offer a wide variety of finishes to choose from, all of which may be used to give your items a unique texture. In addition, they’re simple to combine, offering you a wide range of options for coloring.
When working with acrylics, a few considerations to keep in mind. Since acrylic paints do not dry watertight, you’ll need to apply a moisture sealer on any leather goods that employ acrylic paints if you want to keep the color from fading.
In the end, this is a simple problem to solve and shouldn’t be a deterrent to utilizing acrylic paints.
Conclusion
The versatility of thin leather means that it may be used for a wide range of goods and designs. Working with thin leather is, thus, a risky proposition at times. It is critical to have a working knowledge of leather’s various characteristics and processes.
Cutting or stapling too near the edge is the only thing to check for when dealing with thin leather. If you make that error, you may have a deteriorated item.
In the end, thin leathers can produce attractive items. Therefore there’s no excuse not to include one in your next project.


Leave a Reply