How To Skive Leather For Your Projects
Do you want to learn how to skive leather for your projects check out this guide to learning how to create clean cuts and edges in your projects.
Because your leather purse or wallet keeps becoming bigger, you’re probably not thinning out the material properly before joining or folding it.
While skiving is a more complex skill to master, learning is very beneficial. Although certain robots can accomplish this for you, acquiring the skill yourself ensures that you’ll never be stranded if the worst should happen.
Learn how to skive leather and produce pieces precisely the right thickness along the borders, in pockets, or for other embellishments with only a few simple tools.
The purpose of this post is to explain when and why you should skive leather by hand, along with what you’ll need to get started.
How do you “skive” leather?
Skiving is removing excess leather from a hide to make it simpler to work with. To preserve as much of the leather’s natural appearance as possible, it is done on the ‘Flesh’ side of the leather.
The removed leather strip or the instrument used to remove it may both be referred to as a “skive.”
It’s one of the more sophisticated techniques a leatherworker must master, but it’s also critical to ensure that your components are uniform in thickness.
Skiving is most usually utilized on belt buckles, especially when putting two pieces of leather together. The result will have the correct thickness and consistency because the leather is thinned down.
Your items will seem more professional if you control the thickness of your leather. Also, sewing leather is more straightforward since the leather is thinner and more uniform, requiring less effort to punch holes.
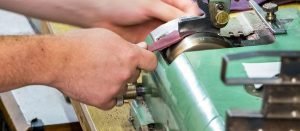
Skiving by hand has what advantages?
Skiving leather by hand has several advantages. People visiting craft and artisan fairs are less lenient for a “handmade” bag purchased in a store. You need to know what your prospective consumers anticipate from you.
Leatherworkers who have only ever sewn leather on a machine should consider skiving by hand since it assures that the whole process is traditional, a sought-after quality. Your clients are more likely to be open-minded regarding the quality of your items if you have established a reputation for workmanship.
The expense of machine skivers is another motivation to master this skill. For example, Bell Skivers are large, intrusive equipment that may be costly. The tools for hand skiving are more basic, but they are inexpensive, and anybody can pick them up and learn how to use them.
What do I need to begin working on this project?
You may use a variety of tools to skive leather. These are some examples:
Leatherworking Scissors – A Quality Pair
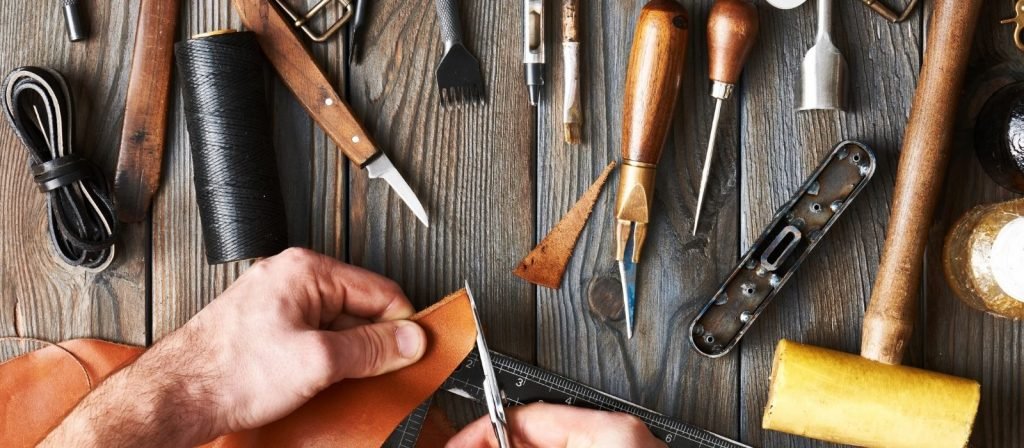
They’ll be thin enough to snip without tearing the hide and have a keen blade. It is possible to use them to remove stray threads and other small fragments after the bulk has been removed.
3.2. A Skiving Knife.
Various sizes and pricing points are available for skivers. I prefer metal for the knife-edge, which is easier to manage and more durable. Having a cheap instrument that you can’t sharpen correctly is not a good idea to maintain your knife edges sharp.
3.3. A Skiver for the Hand.
Skiving knives are a little different than these. Despite their appearance, they contain a sharp blade that may be either curved or straight and can be used to scrape ice off the windshield of your automobile. You get varied outcomes depending on the kind of blade you use. Flat edges give a smooth shave, while curved blades let you fine-tune your cutting depth.
3.4. The Splitter.
Even though they perform the same function, leather splitters and skivers are distinct tools. To split just the outside layer of leather, you need an instrument called a leather splitter. To achieve a uniform layer of leather, it is used to thin the leather between cuts.
For example, a wallet or a purse will have distortions because of the layers it breaks through. The exterior surfaces aren’t a significant issue if you’re designing anything with a flap or pocket to hide them. As long as you’re producing anything that will be seen, like an envelope-style purse, a skiver is an absolute must-have!
3.5. A Strop of Leather
Keeping your leather tools sharp is crucial, as was noted before. Using a leather strop is the best method to do this.
To begin sharpening your tools, you don’t need to use a specific strop since they are composed of leather strips connected. The process can be repeated with a different piece of leather.
Keeping your tools in top condition is essential.
Leatherworking requires sharp tools since a dull tool might shred the hide and shave off too much material. An item may be ruined if the edge is sliced with an overly sharp tool.
As long as you’ve got the hang of it, using the strop to accomplish this is straightforward and requires a little practice.
The first step is to thoroughly clean the blade and apply a tiny layer of oil.
Next, use your fingers to apply some pressure to the rear of the blade and pull it over the strop.
The next step is to turn the blade over and do the same thing on both sides.
Continue this procedure until the blade’s edge is free of nicks and rough edges.
How do I do this?
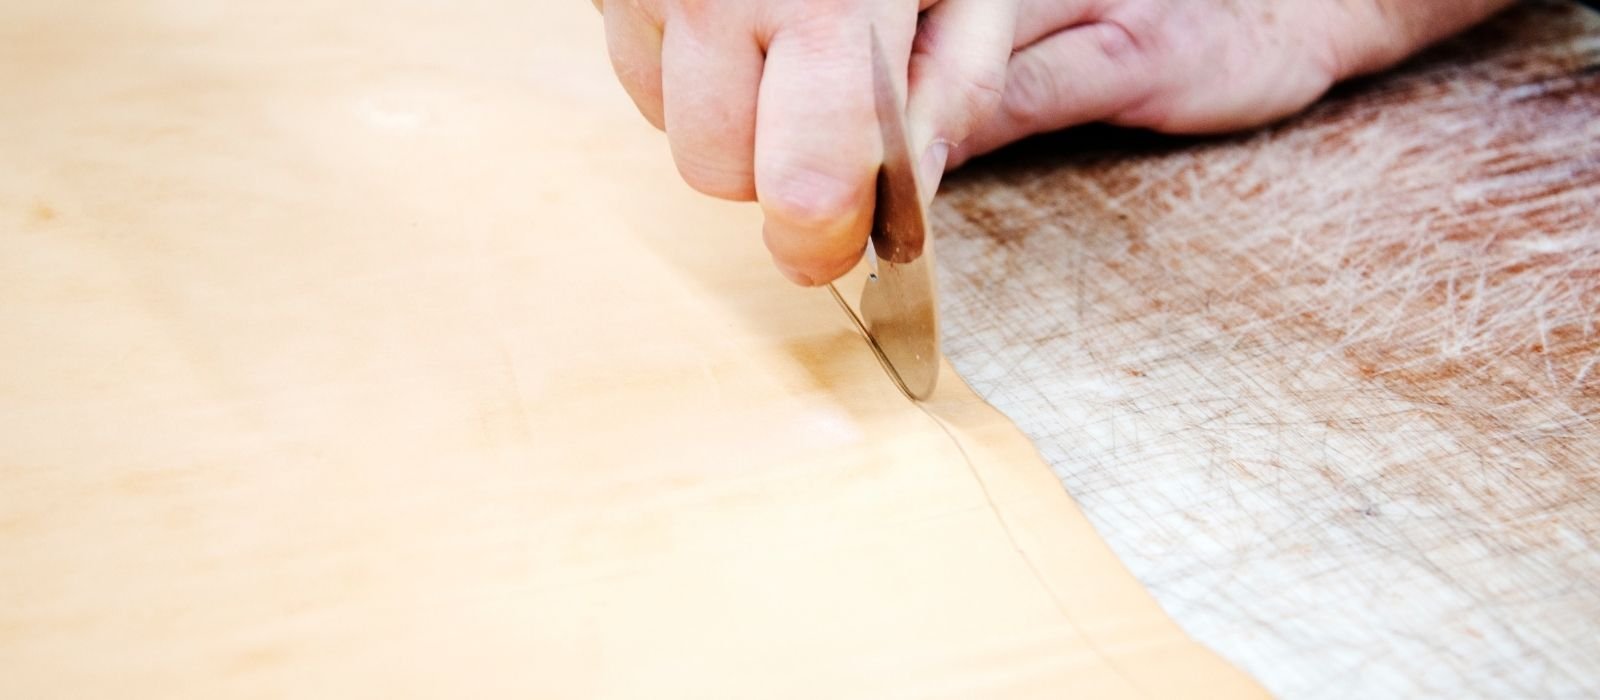
There isn’t much to learn about skiving. With the skiver angled against the leather, you should keep it in this position. Using your working surface as a guide is a great method to achieve this.
Tilt the leather skiver till it is at a 15-20 degree angle if you are skiving on a level surface. Your skiver will determine the precise angle, but it is the same for all pieces once you have figured it out.
Pull the blade over the leather towards yourself in one continuous stroke to get the skiver in position. Change how you hold your skiving tool or the angle you’re cutting to ensure a clean and equal cut.
When working leather, you don’t need to use too much force. Just enough to keep the blade going in an equal manner is all that is required. In this case, you won’t have to skive as many times until the leather is ready.
If you cut too deeply, your skivers may catch on the leather while they’re being used. This may be avoided by skiving in the other direction for a few seconds, which will level off the material and make cutting simpler.
Rather than skiing away from myself, I like to skive toward myself since I feel like I have more control over the leather. Cutting becomes a lot easier when you can see the results of your actions.
Test your work by tugging on the leather after you’ve skived off the extra. This shouldn’t shatter since the skiving process has made it considerably lighter and thinner. For the best results, go back and remove some more material until the cut is exactly where you wanted it to be.
Always keep in mind that repetition is the key to success.
Maintaining Your Skis/Snowboards
You must remember to clean and sharpen your blades. For most skivers, the edge of the tool and the device’s body is likely to get clogged with leather. Getting rid of the leather fragments is difficult, making a clean cut more difficult.
Afterward, check to see whether any of these pieces remain. In some instances, you’ll also need to replace the blade.
Conclusion
Skive your leather before joining it if you want a final result of the highest quality. Your work will have the appropriate thickness, and you’ll be able to produce top-quality goods for all of your clients. We’ve covered the basics of skiving leather and how to do it by hand in this post. The best tools and ways to get started have also been discussed. It would help if you learned how to skive leather for your projects and sell at craft fairs and marketplaces since it is a helpful talent.
It’s important to maintain the sharpness of your tools for leatherworking. Skiving is a process that can be done in just minutes, but it is what will help you produce clean cuts and edges on material. With skiving, there are no complicated steps or specific devices needed. It’s all about how much pressure you apply with your hand when cutting into the hide.
If you want to avoid the hassle of going back and re-cutting, take some time to learn how to skive correctly from start to finish. The process can be tough at first but it becomes easier with practice as you get better at judging where cuts will need to be made for accuracy. Learning this skill alone could save you hours of frustration!



Leave a Reply
You must be logged in to post a comment.